 Day One Fixes
SolvedHow-toUpdated 2026-11-04
WARDOGS: Foundational Tips for Beginning Builders
Short answer
Everything you could possibly want to know before equipping a hammer.
Steam Community guide by Skivin.
CLOSE THE DOORS!!
Firstly, and perhaps the most important piece of advice to give to any Wardogs players - close the doors behind you!
Doors do close automatically after about a minute, but a minute is more than enough time for someone to sneak in, and nothing is more annoying than having a FOB taken because some bozo left a door wide open. No base is ever truly impenetrable; Halligan bars can pry open doors and C4 isn't that expensive, but at least make them work for it.
When you close doors, make sure they actually fully close. If you or another player is standing too close, they'll be left ajar. I think the main cause of open base doors is people closing doors as they pass through and not realizing it didn't fully shut.
Placing the Forward Operating Base
FOB kits
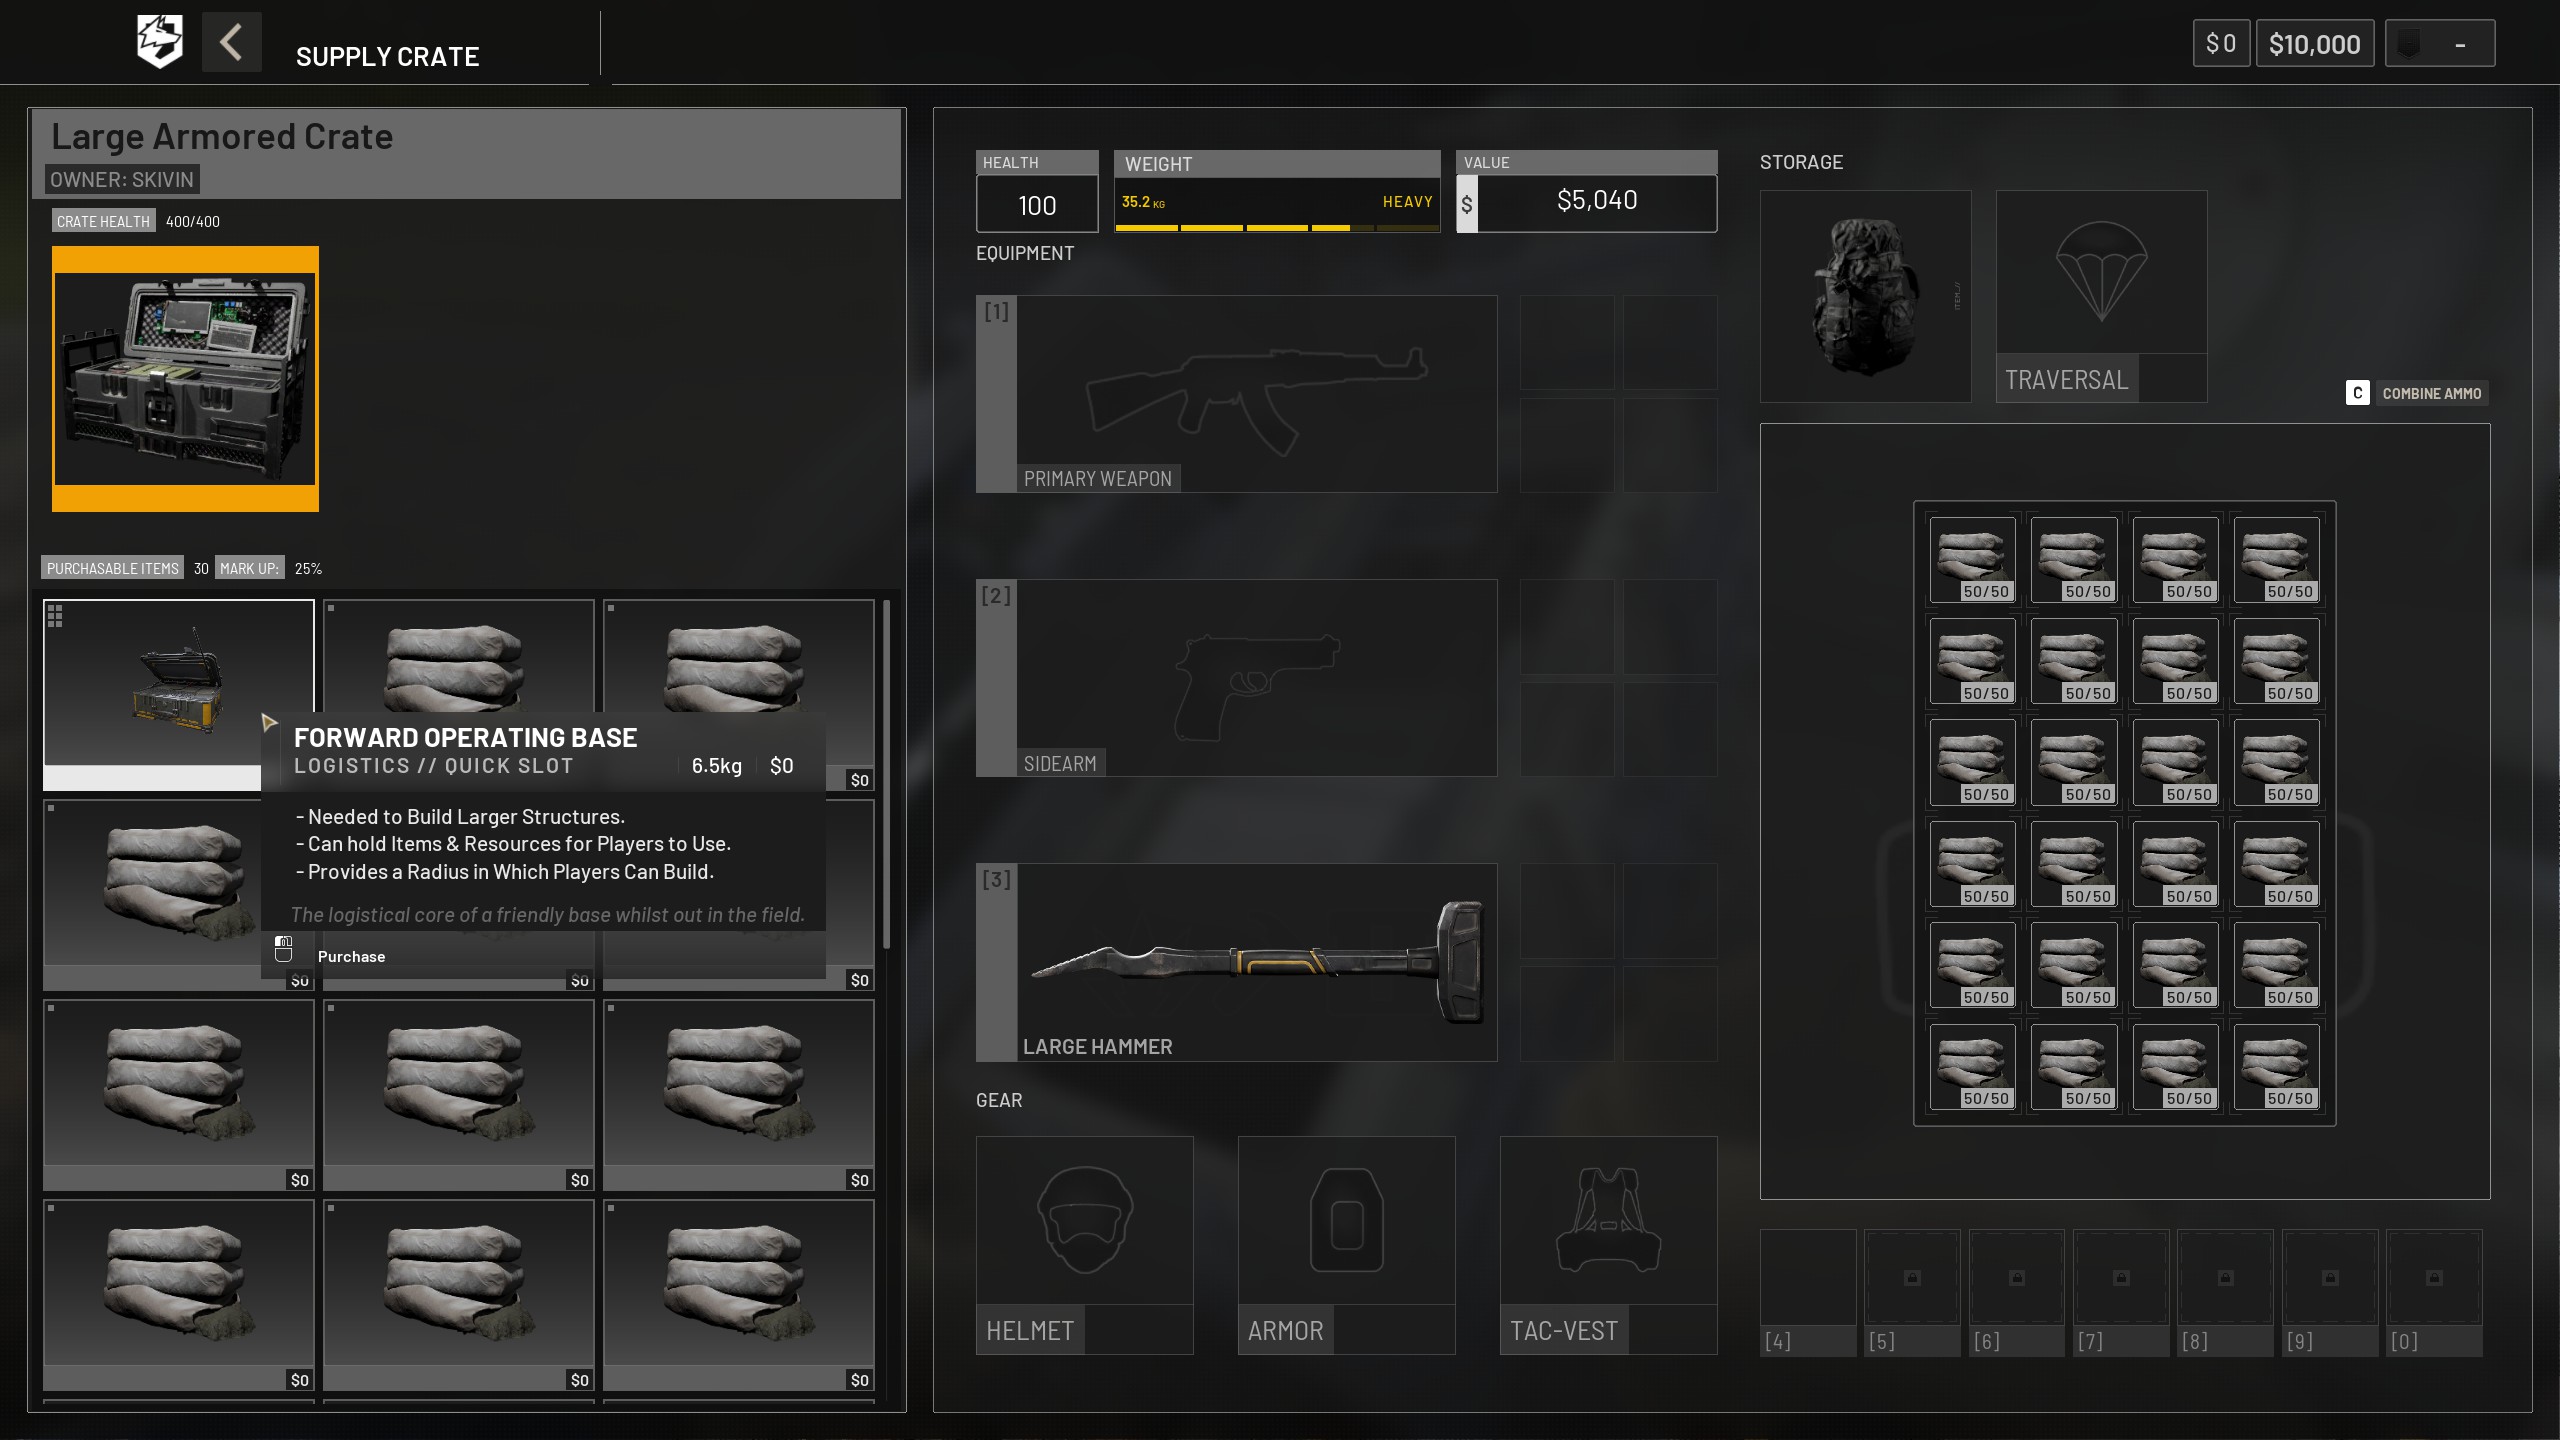
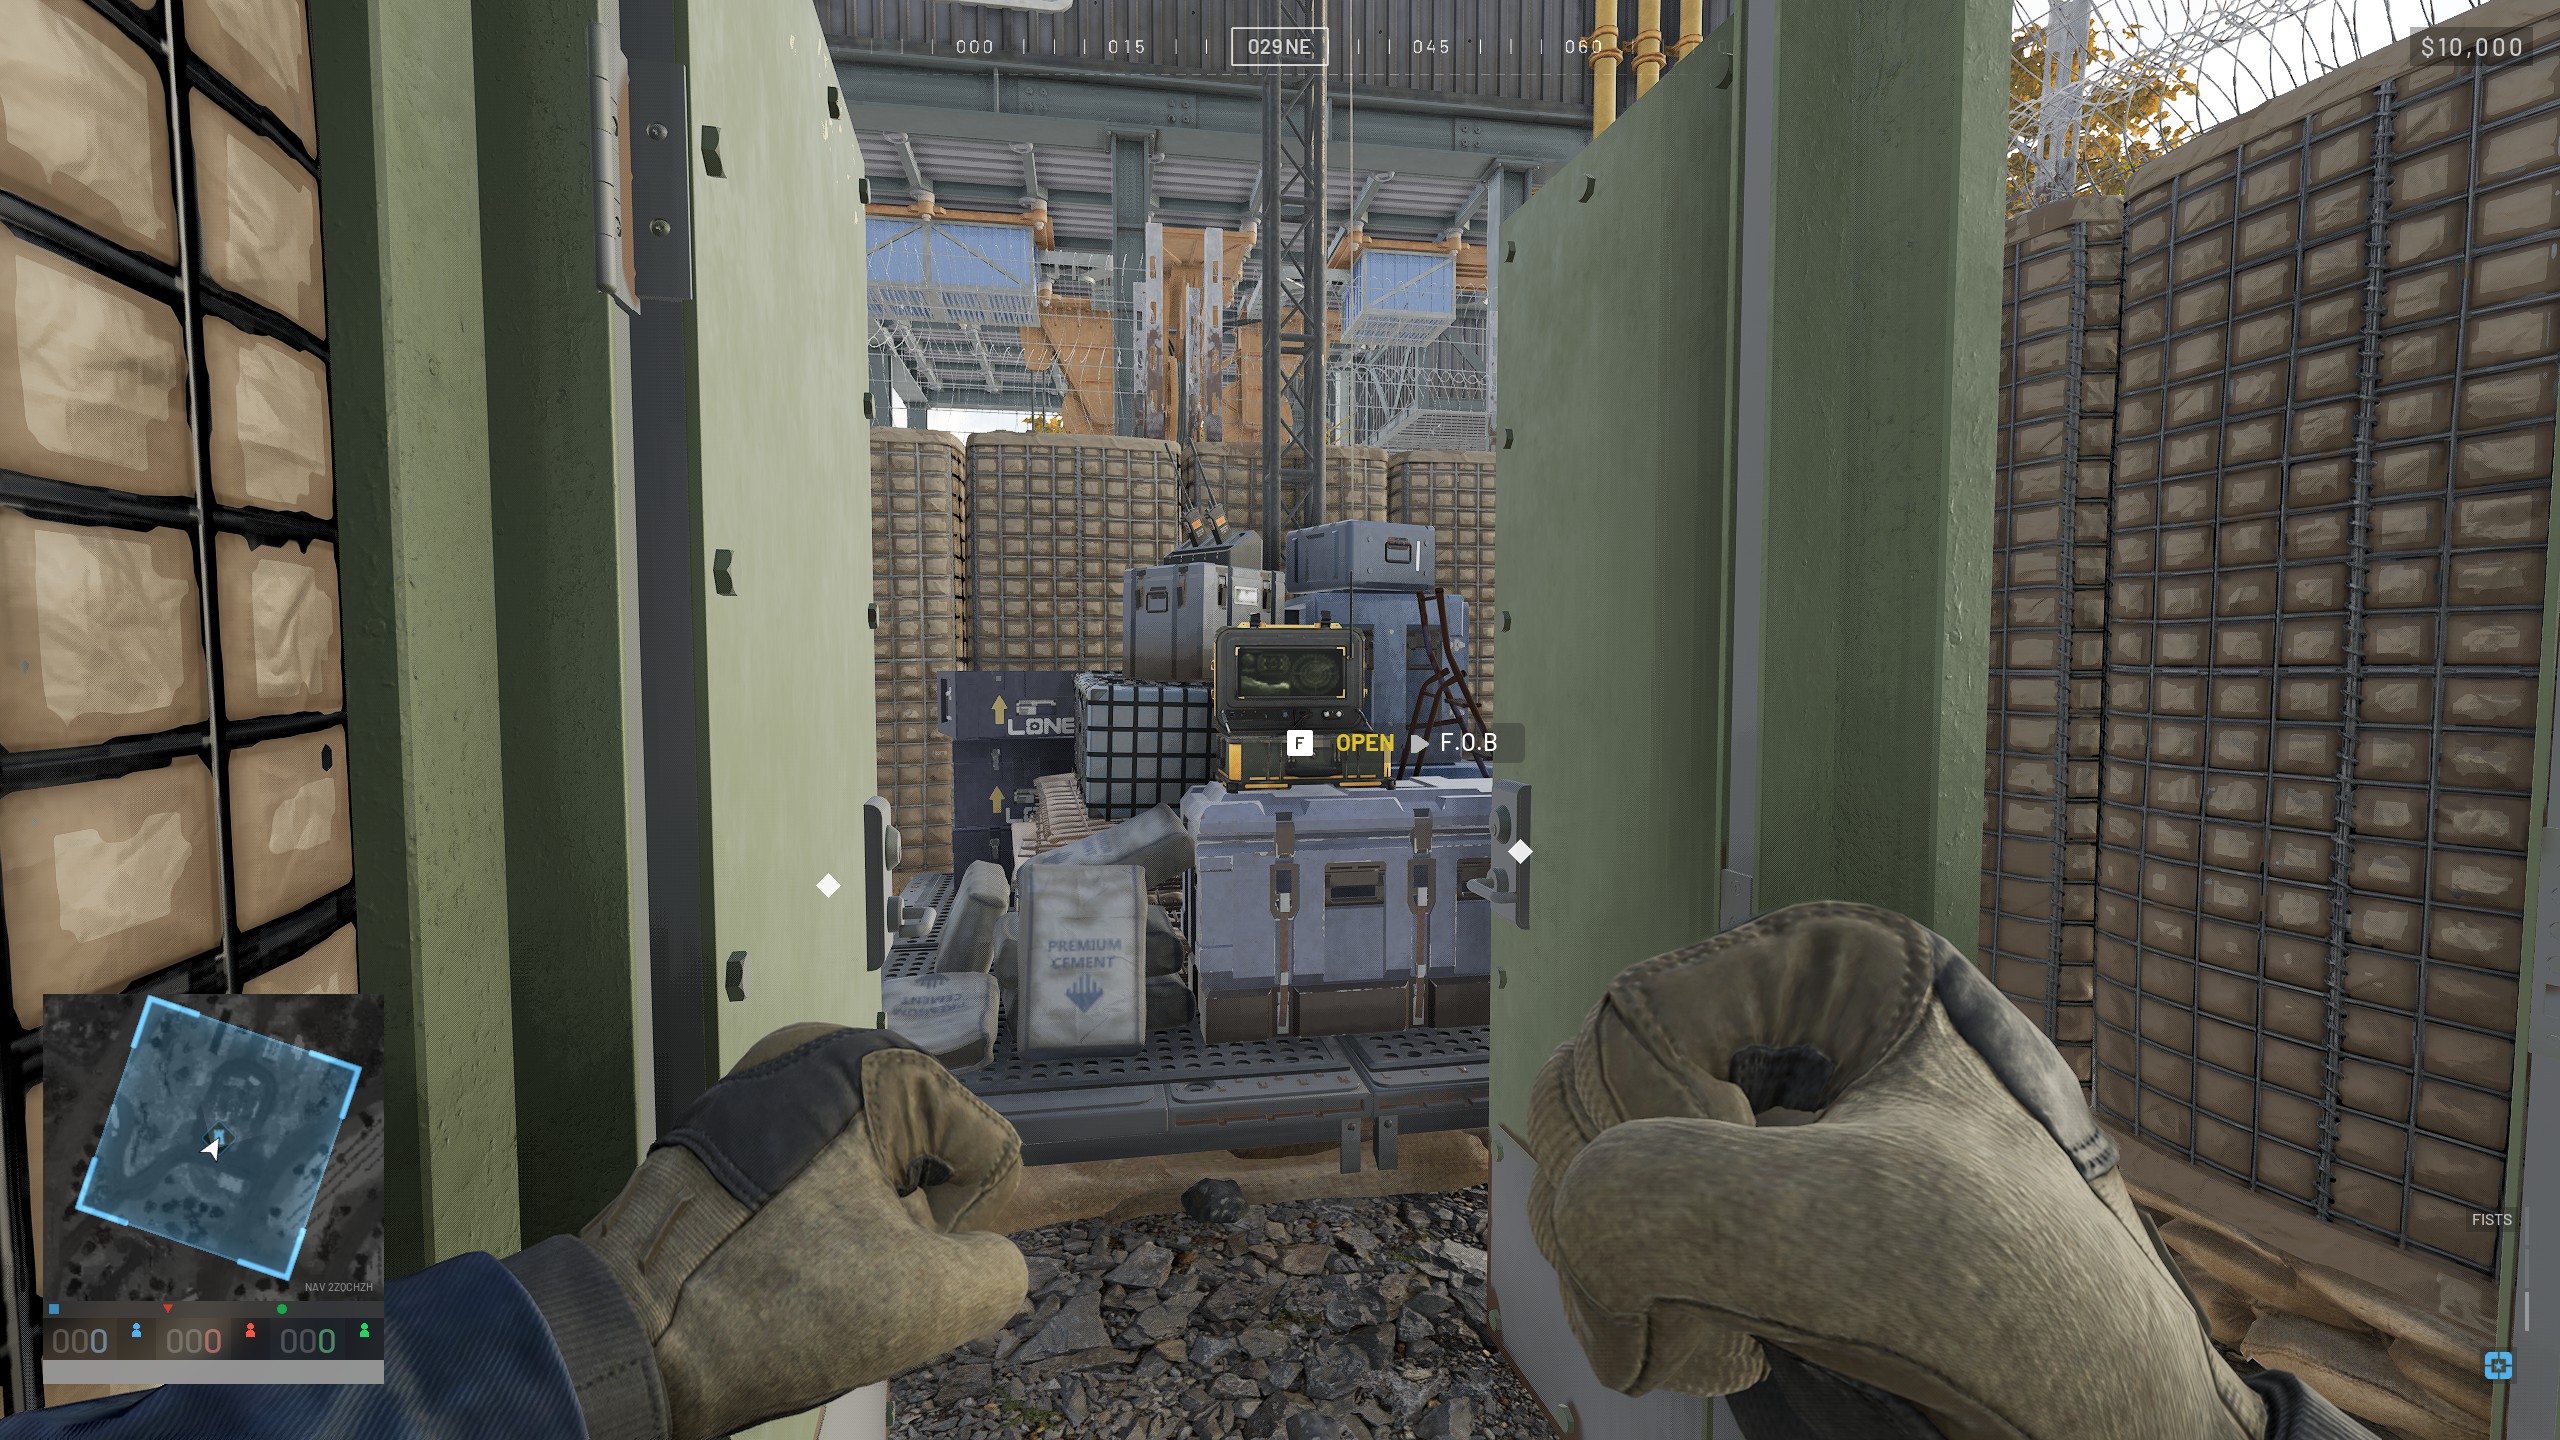
The first thing you need to do is actually place the FOB kit. This is the core item that allows construction of most of the buildables in the game, and it acts as both the central item that determines your building radius and as a stockpile that holds all of the materials you'll use to build your base. If an enemy reaches this, they're able to hack it and take over your base, so walling it off as soon as possible should be your #1 priority.
Items delivered in crates need to be "purchased" from the crate and manually delivered to the FOB's storage, so you usually want it to be accessible, but the large supply pallets can be unpacked anywhere within the FOB radius and will automatically deposit their resources remotely, so making an extra-secure walled FOB core is possible if you can convince your team to only deliver supplies in pallets.
You typically won't need to buy one of these, as somebody else on the team will end up setting one up, but talk in the team chat to make sure someone is getting one or you'll end up with a bunch of builders standing around with nothing to build. If you end up with too many kits, it's not a big deal, since they can always be used to establish additional bases.
Once you set up the FOB, its initial inventory will contain a small amount of basic supplies, including a medium hammer, so if you're at a low support level and trying to save money you can get away with not buying a hammer and pulling it out of your FOB storage instead.
Selecting a location
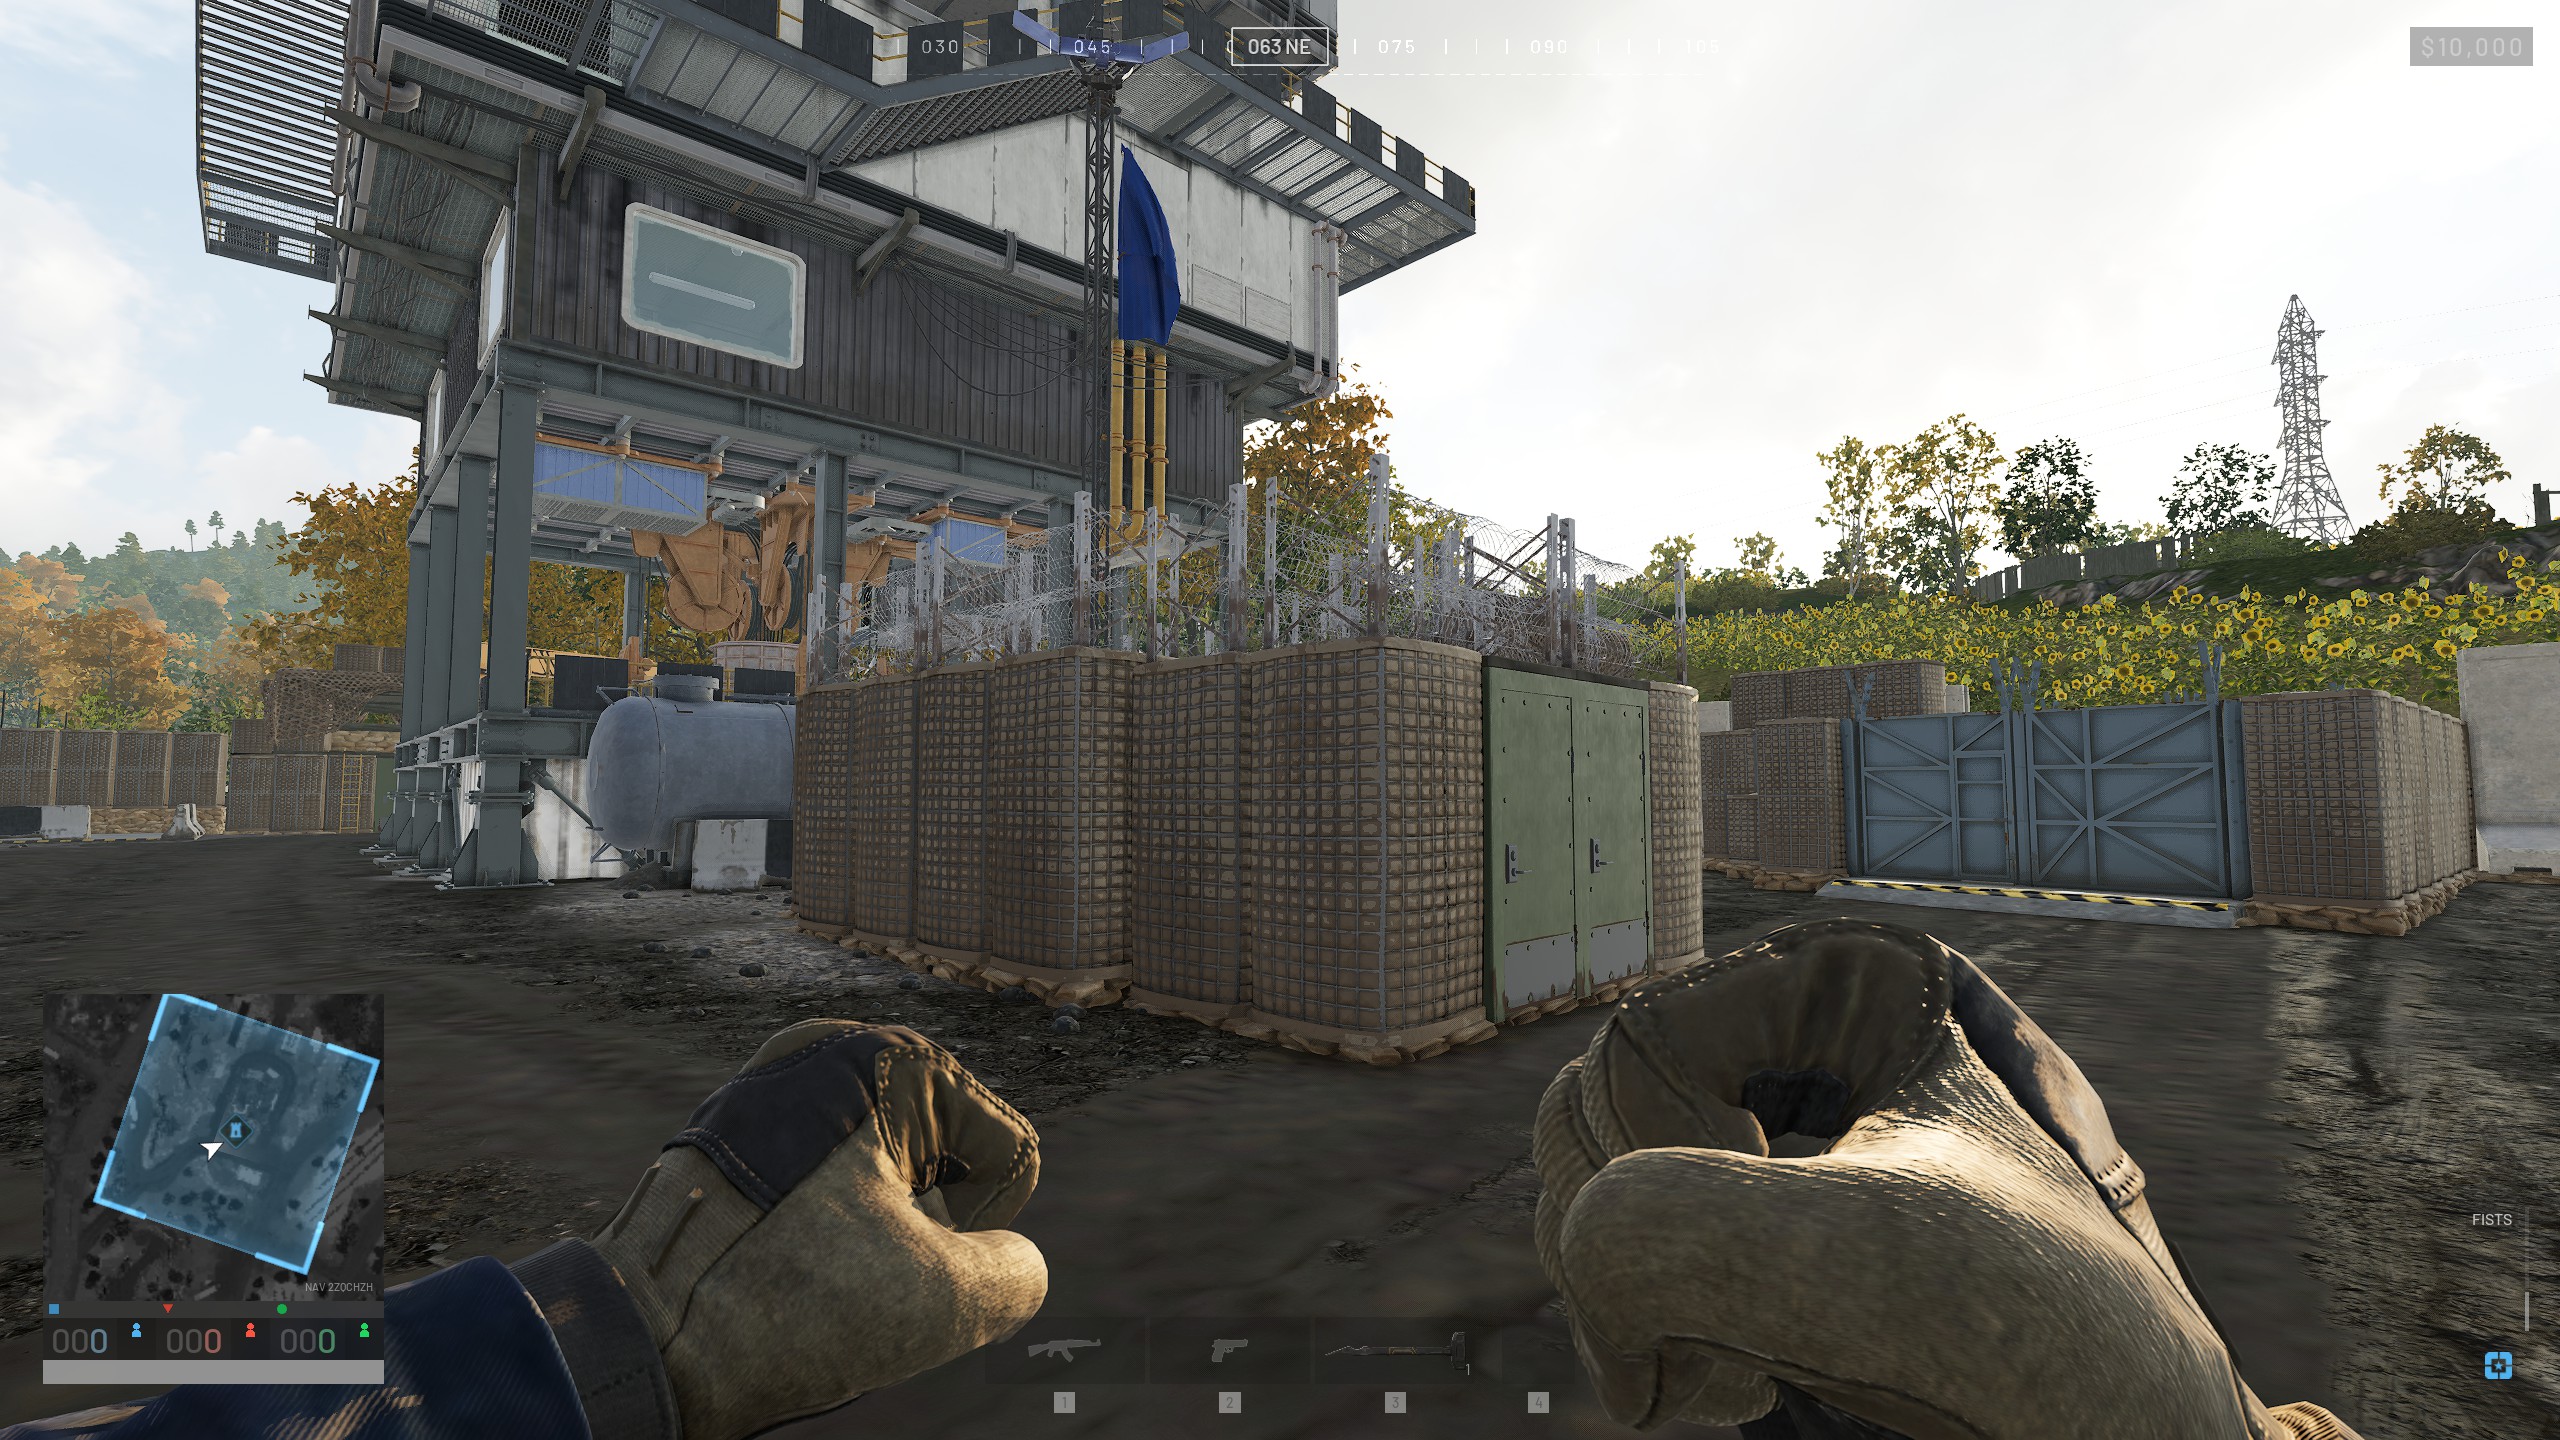
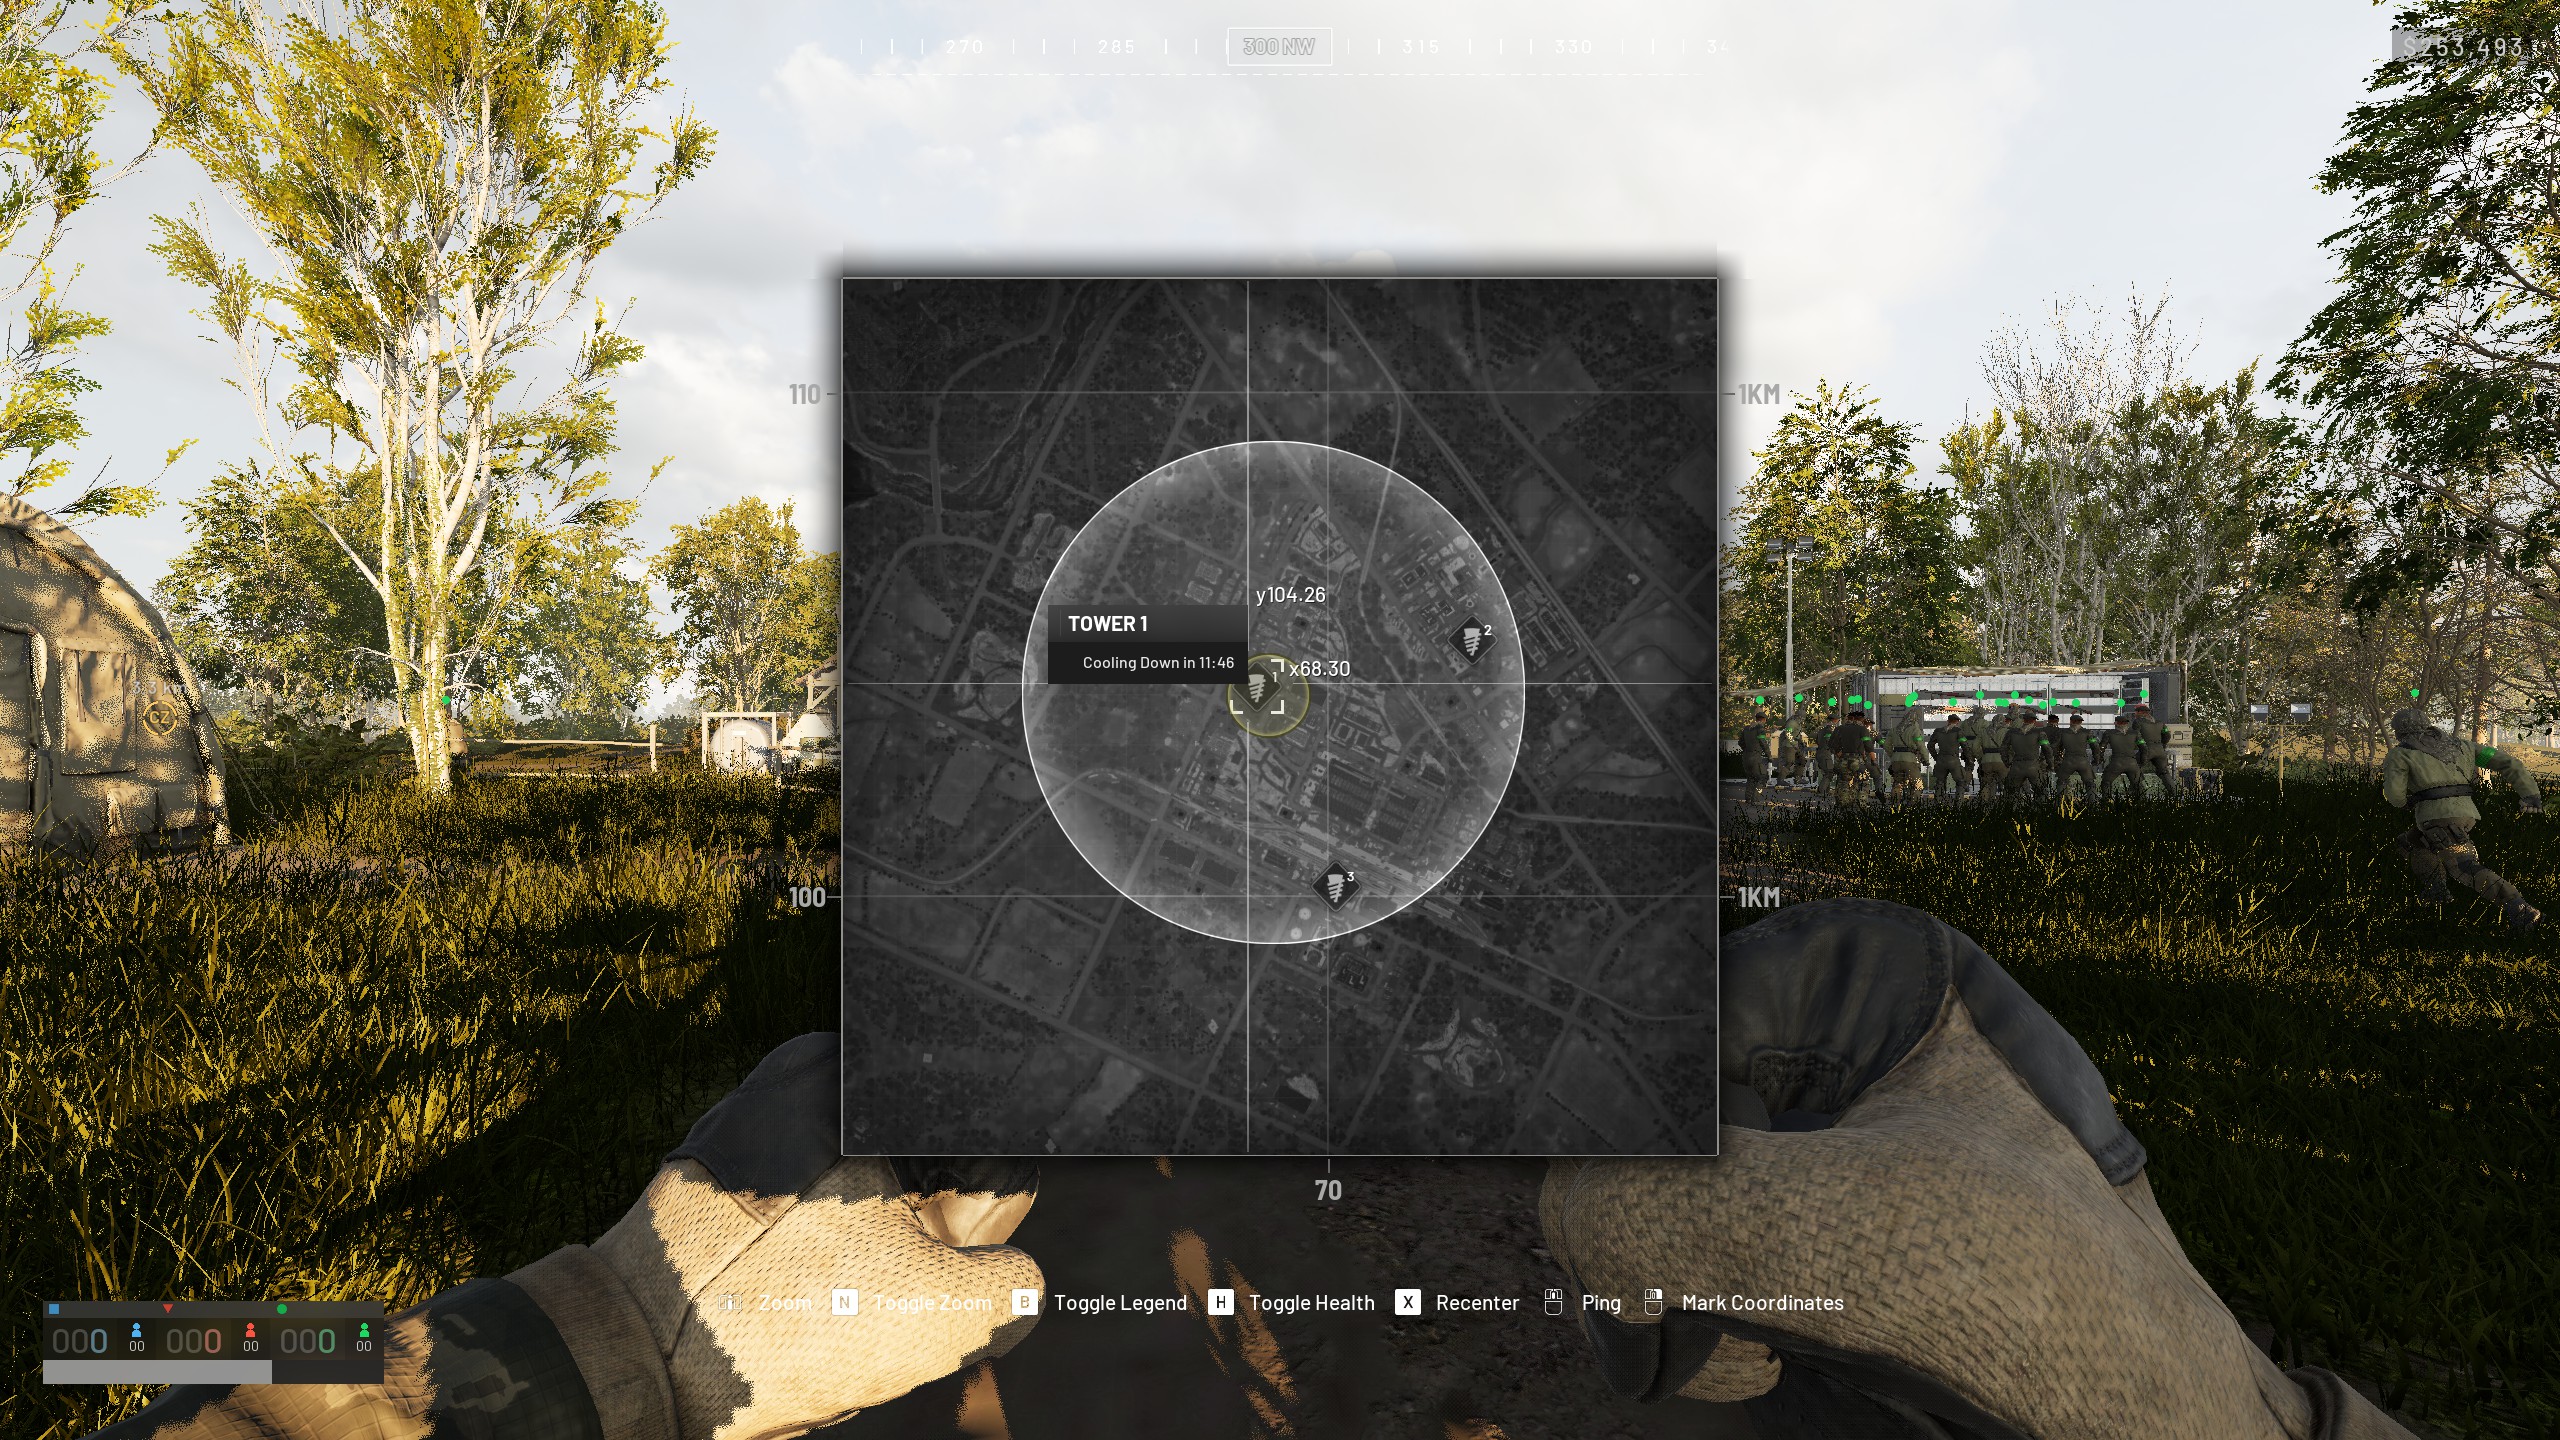
The most common spot to build FOBs is around one of the towers. These massive structures are the most significant landmark in Wardogs, and securing them is a core part of the game. Once your team captures enough towers, they can input a code that will force the hot zone to move to a claimed tower, allowing your team to score a heap of points while fighting from a heavily fortified position. If there aren't any empty towers to take over, there's a few reasons you might want to build a FOB away from a tower, but it's important to make sure any FOBs you build are inside the combat zone. Any time spent inside the zone is good, both for your team and your wallet, and a builder who spends the entire match building is often more valuable for the team than a player who chases the hotzone but constantly dies before getting there. If you're building outside the combat zone, that's one less body counting towards zone control for your team, which is generally a bad thing. There's a couple reasons you might want to build outside the zone anyway, but more on that at the end.
Securing the Perimeter
Outer Walls
However you plan out your walls, make sure to leave plenty of floor space. You want enough empty space for trucks to be able to drive in and turn around, and while it isn't strictly necessary, it helps to have room for helicopters to land inside too. There's a lot of stuff you or your teammates might end up wanting to build later, so make the walls bigger than you think you'll need.
Do not ever use the small Hesco blocks for building your external walls. It only takes 2 C4 charges to blow up a small block. C4 stacks in threes, so an explosively-inclined intruder can easily pop a hole in a small block wall and have booms to spare for causing chaos inside your base. A large Hesco block takes 4 C4 to destroy, making it much more of a pain for intruders to get through.
If you're a new player with only the small hammer and can't build large blocks, help others build or ask for someone to get a hammer for you.
Ideally, you want to use Bremer walls for your perimeter wall once you unlock the ability to build them. It takes a whopping 7 C4 to destroy one, making them by far the best wall type for resisting attacks. The shape of a Bremer wall can make corners a bit awkward, but there's plenty of ways to deal with that.
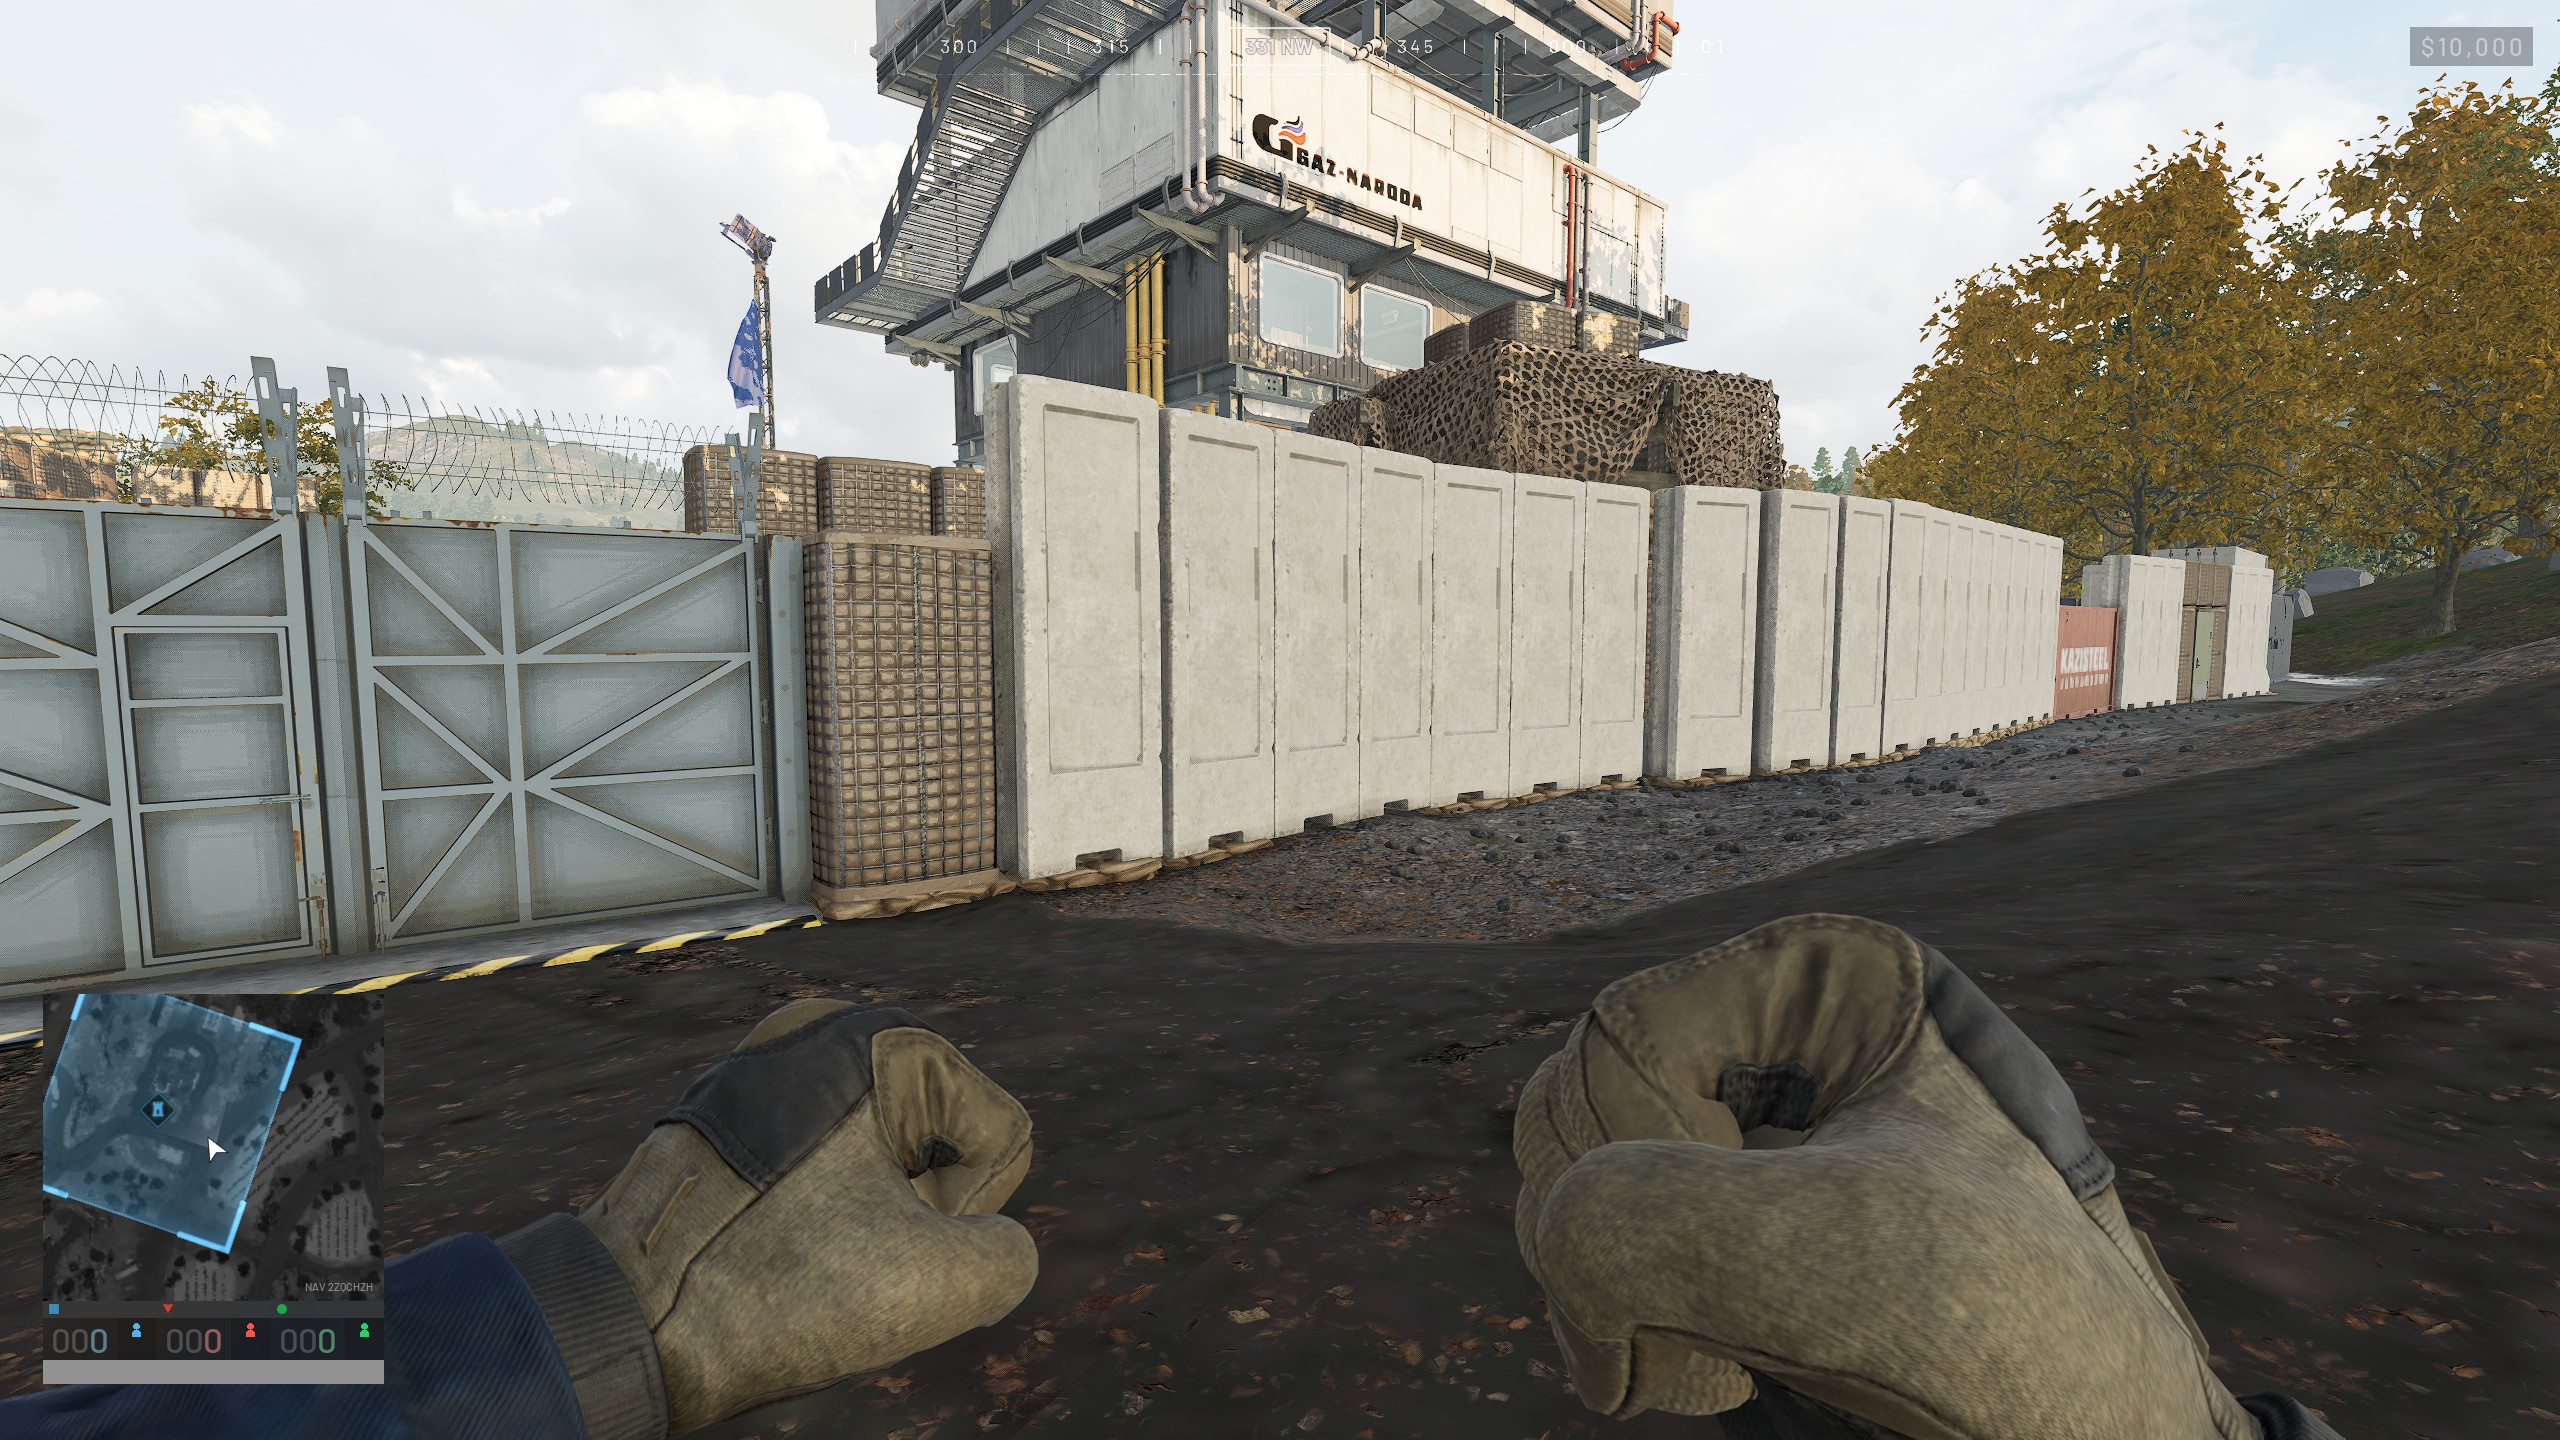
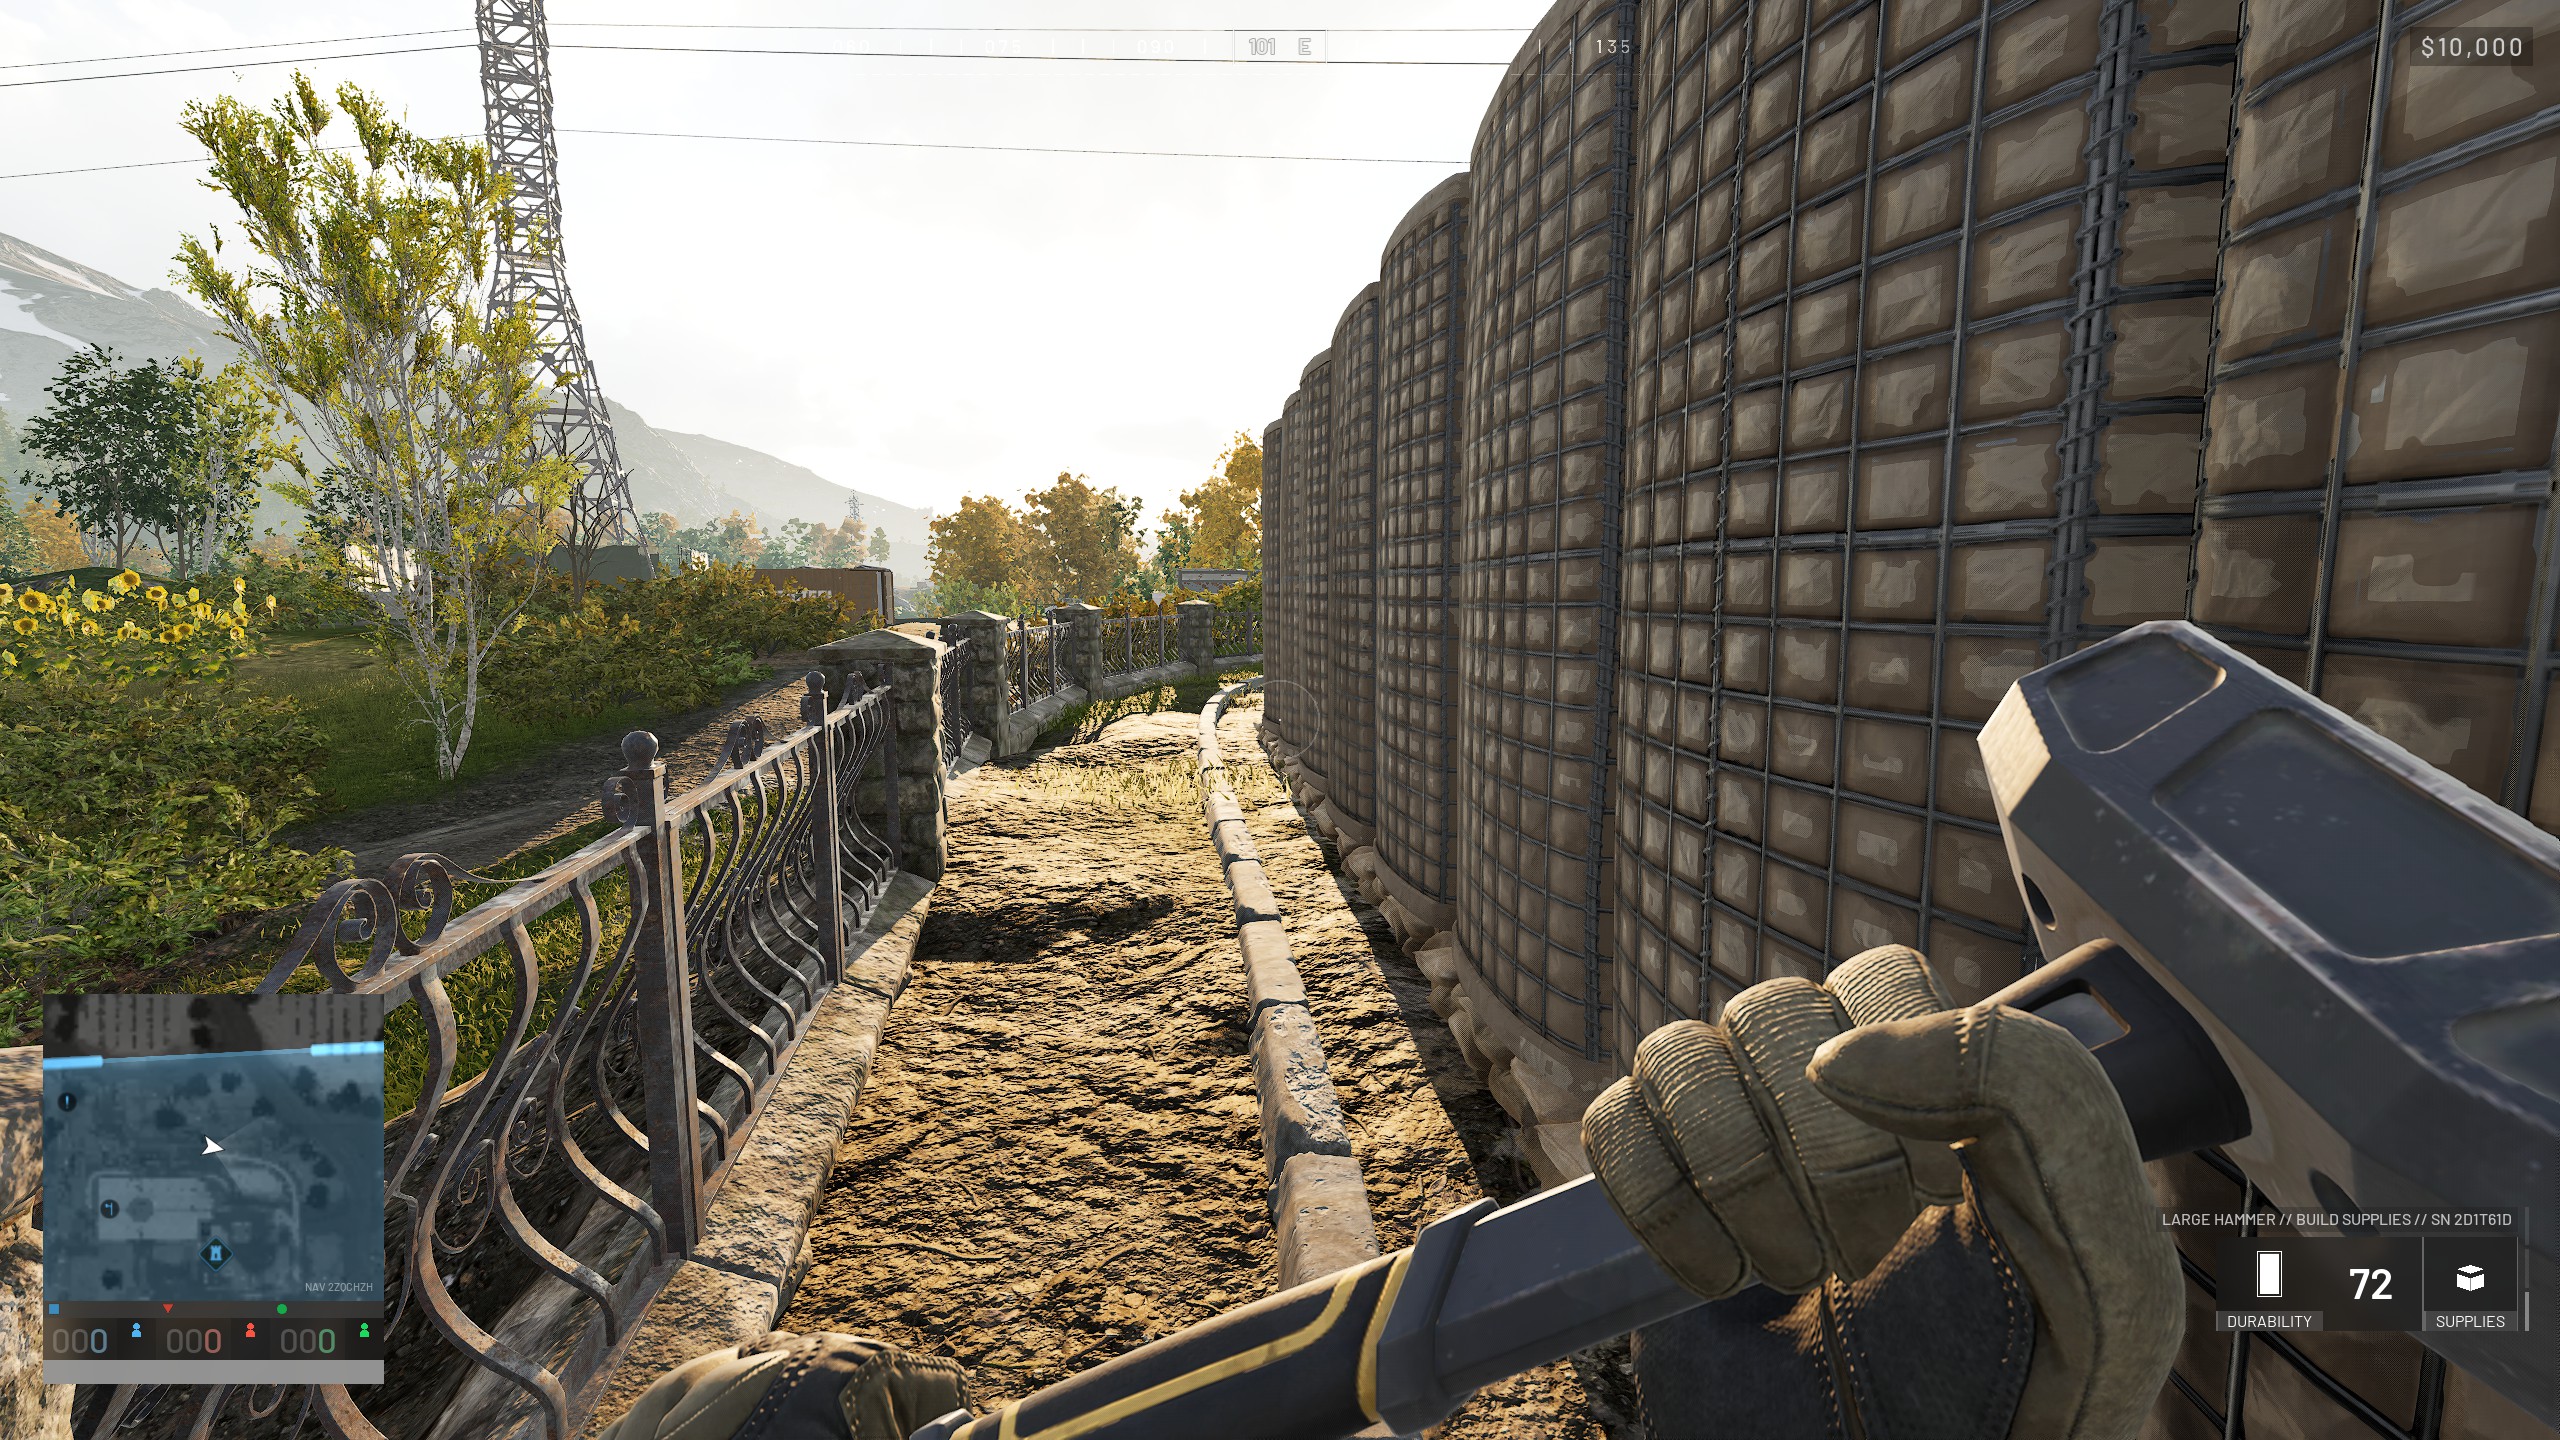
As you're building your wall, make sure to try to climb up any nearby objects and see if you can vault up onto your wall from the outside. A lot more scenery is climbable in Wardogs than you might think. People often use barbed wire to try to prevent this, but that means the only thing invaders have to do to get in is blow up the barbed wire.
In the playtest FOBs built at the church landmark often had this problem, as people liked to build their Hesco walls inside the fences and stone walls already placed around the church, which makes it trivial to climb over the entire thing. The above screenshot looks like it should be enough room, but it isn't, that jump can still be made. It's much better to either build your walls outside of the fences, build them further away, or make them all double high.
Airlocks
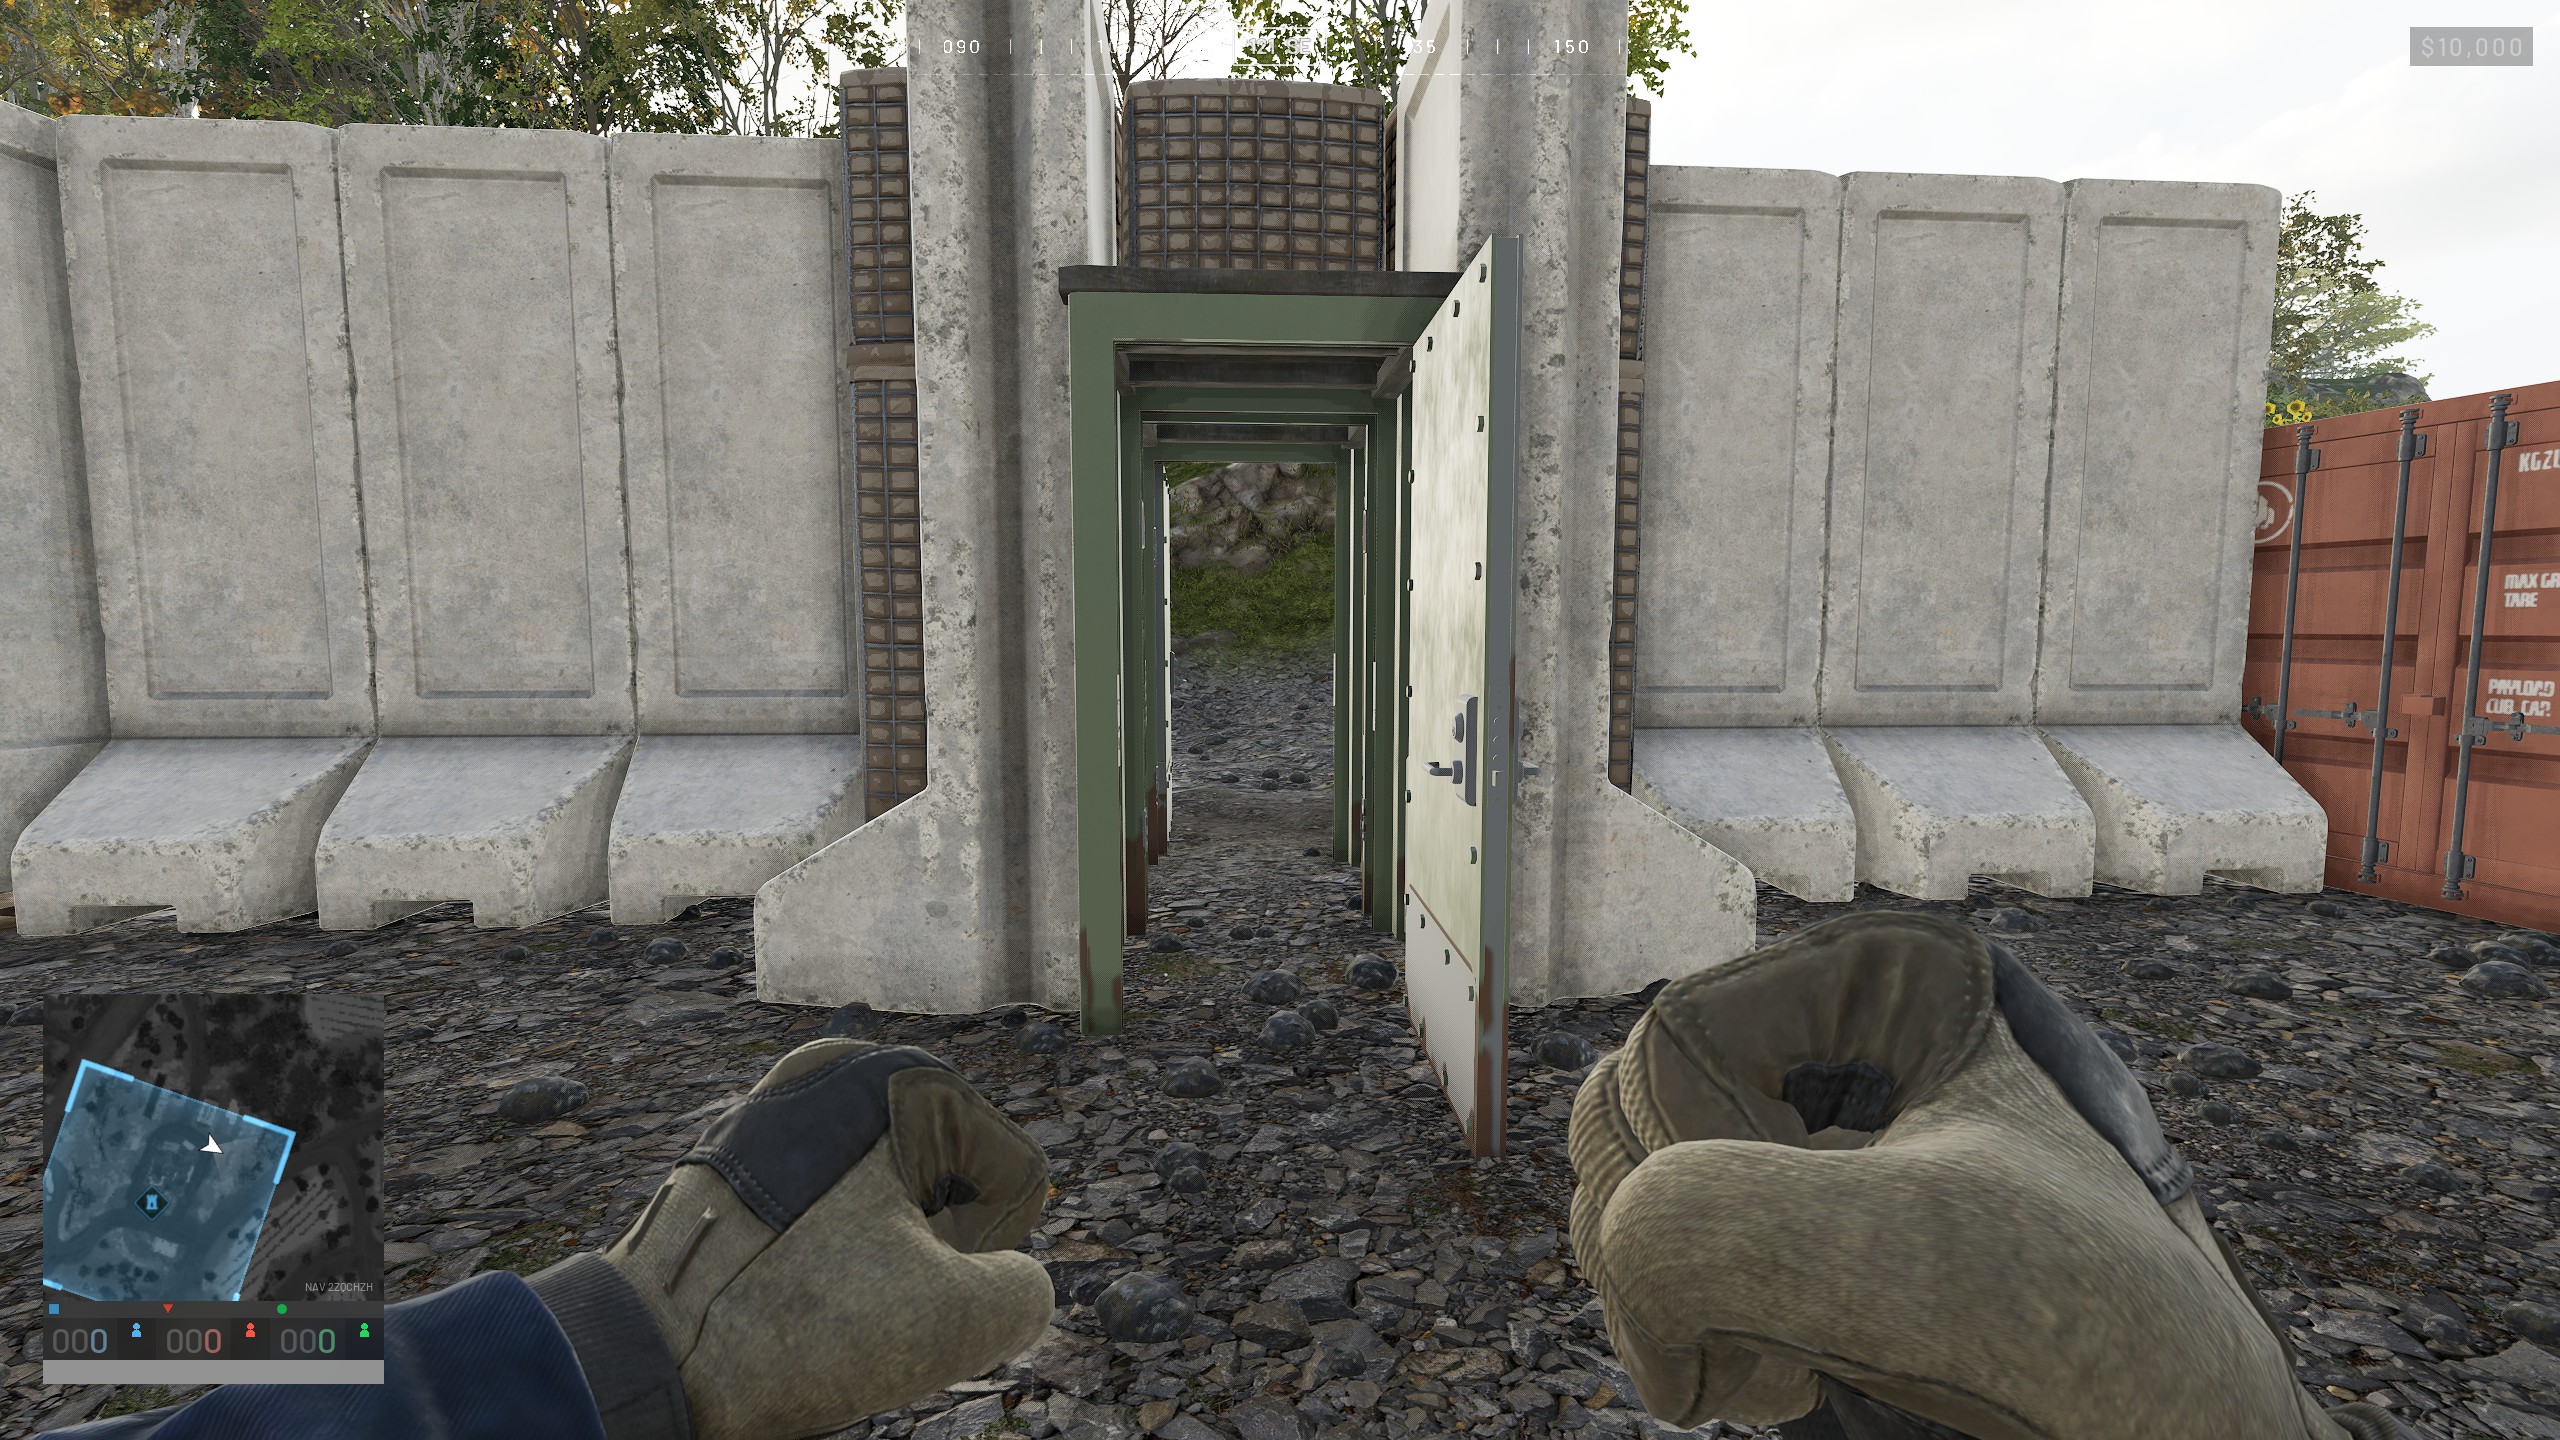
The idea behind an "airlock" is simply to have two doors placed along the same path, so an enemy sneaking around in the bushes can't just rush into your base and start blasting as soon as one door is opened. Players should (ideally) enter the airlock, close the first door behind them, then open the second door to leave. Doors are a weak spot that are vulnerable to explosives or being pried open, so making people pass through multiple doors also adds some extra resistance against attackers.
You should double up on internal doors as well as external ones, as enemies might sometimes parachute in past your external walls, and you want to limit their movement through the base as much as possible so it's easier to contain and kill them.
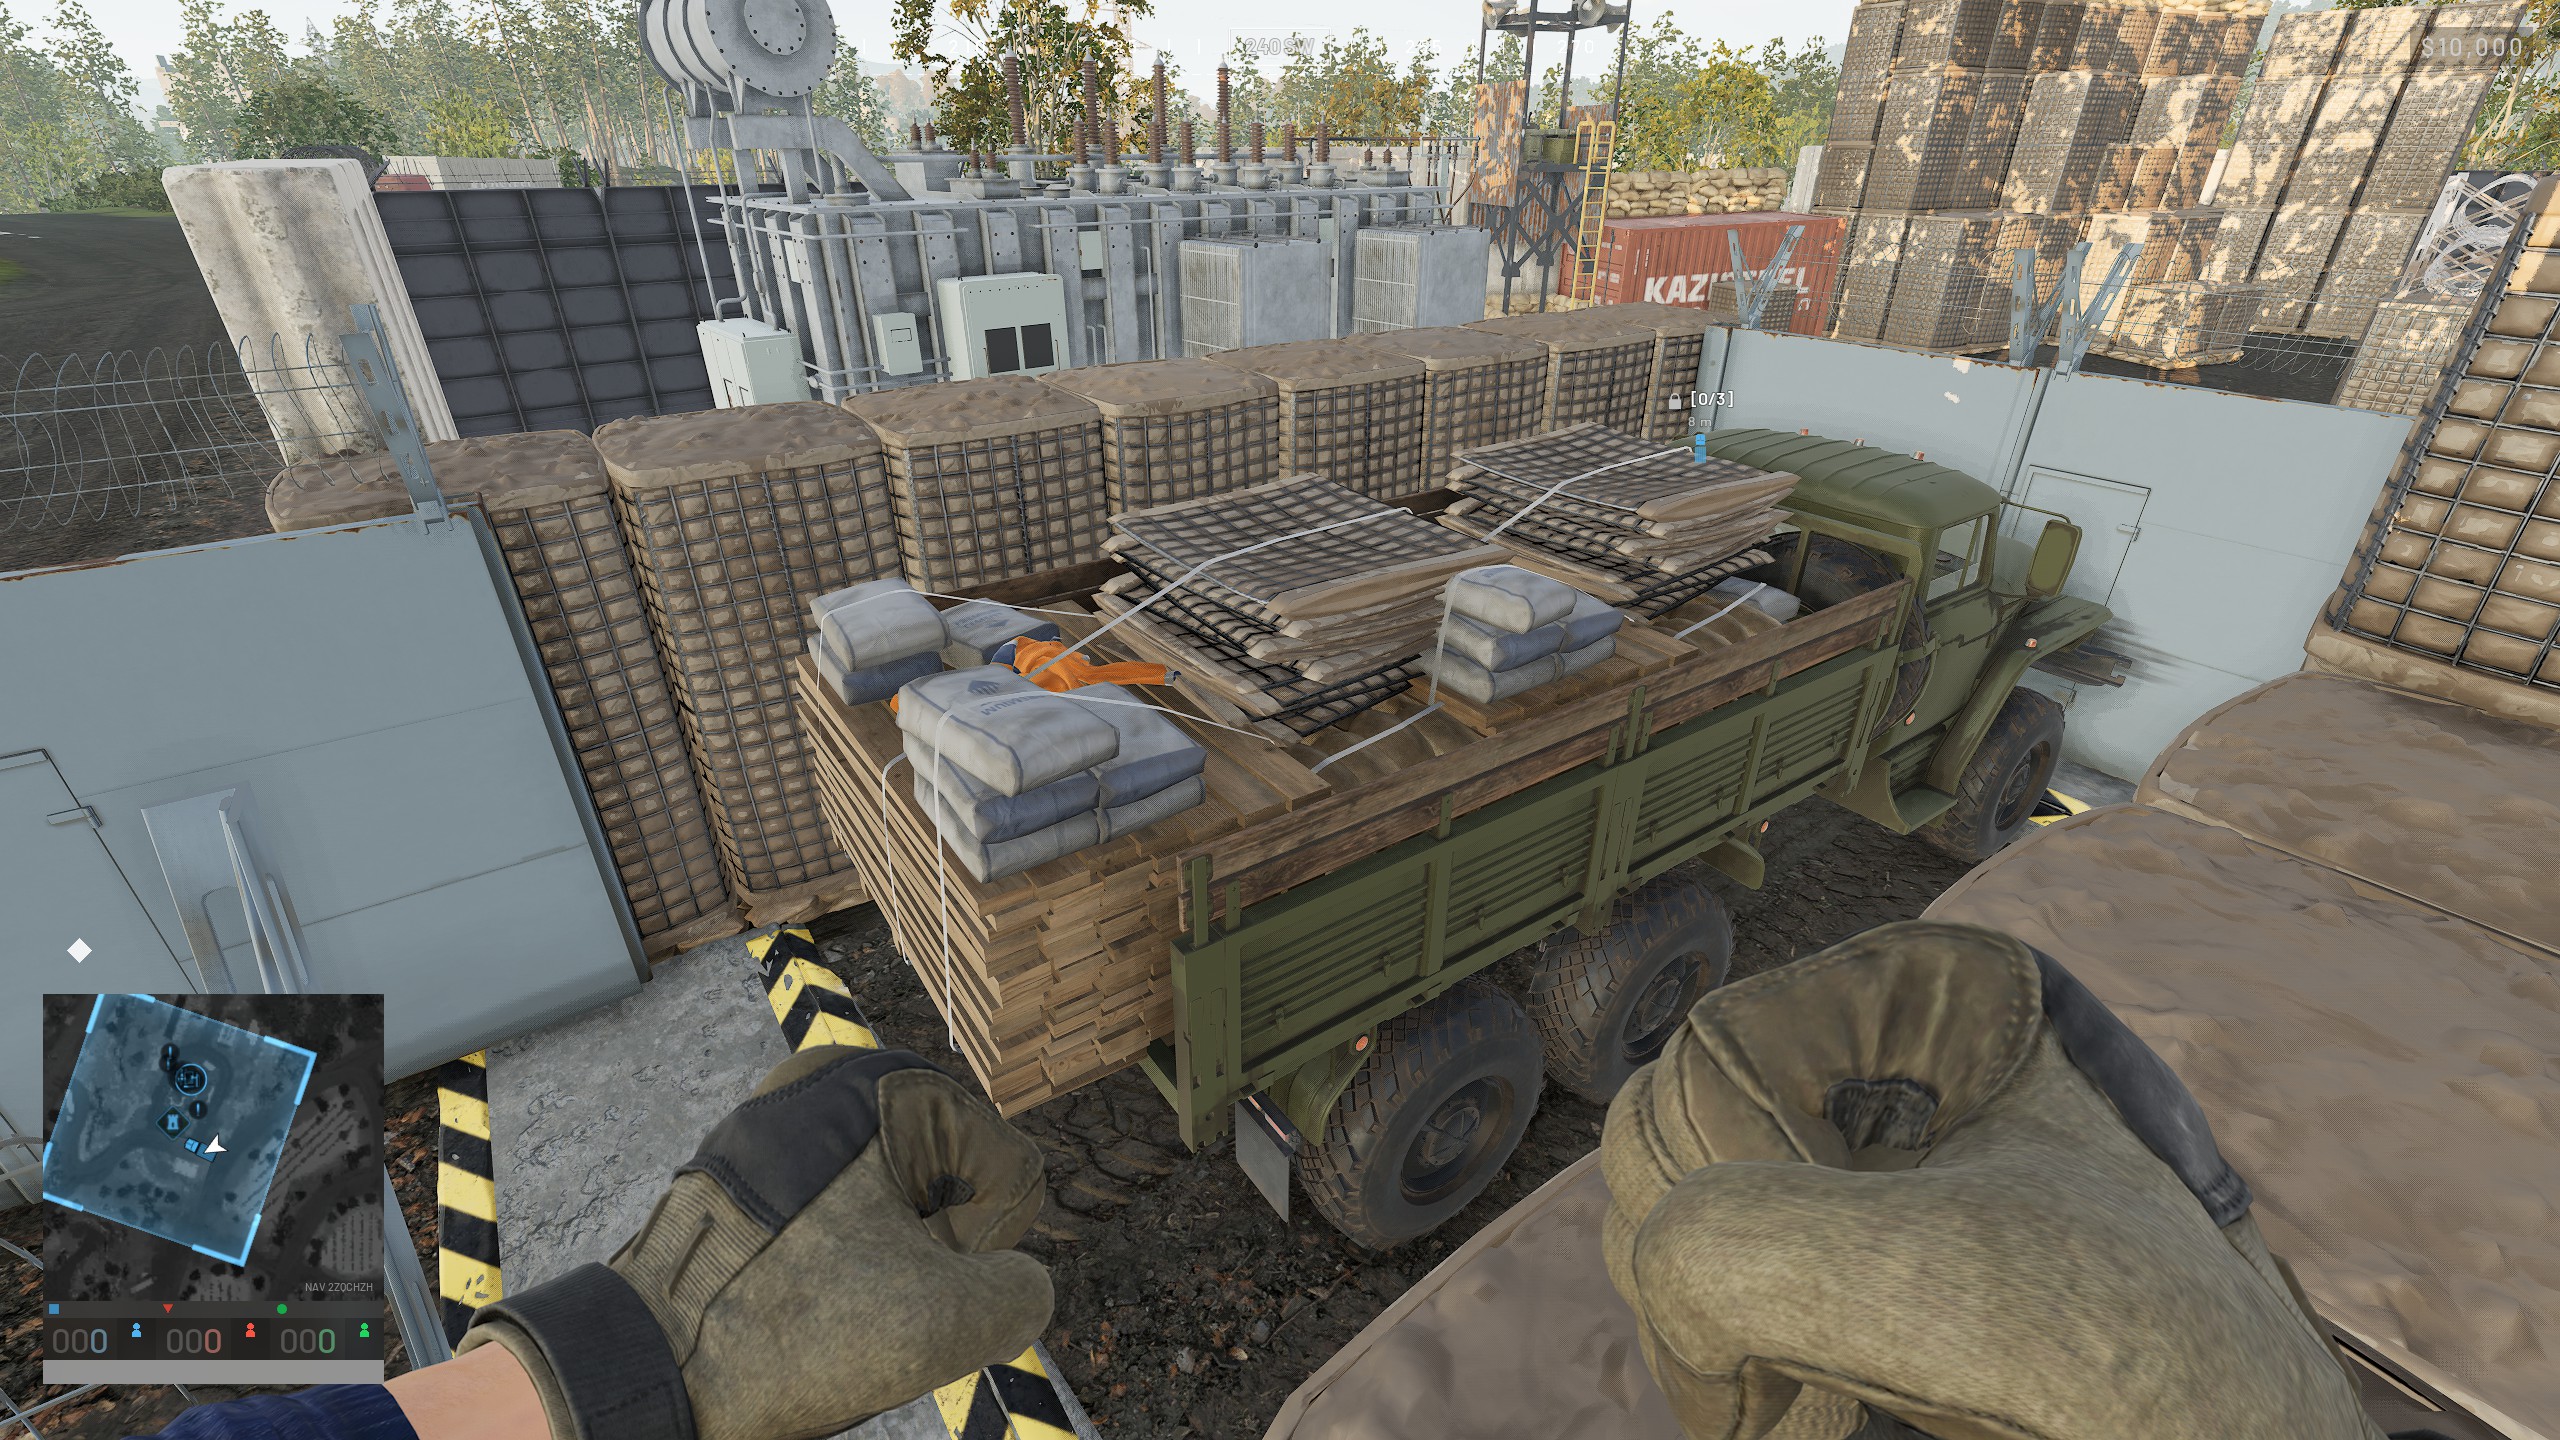
I've seen a lot of players make their vehicle gate airlocks too short to fit a vehicle into. This defeats the entire purpose, as both gates need to be opened at once to let vehicles in, which makes it easy for an enemy to gun everyone down while something is passing through. Try to make your vehicle airlocks at least six blocks long.
Shooting Platforms
While you don't want to build your external walls out of them, the small blocks are incredibly handy for building stairs that you can climb on top of. Once your walls and doors are built and your base is starting to feel safe, the first thing you should do is build points to climb up so defenders can peek over the walls and shoot back at whoever decides to mess with you.
It's especially important to do this by airlocks; if someone has intruded into your airlock and you have to open the inner door to be able to shoot at them, that defeats the entire purpose of the airlock as it gives them full access to the base if they kill you. A spot to climb up and peek inside lets you remove any intruders safely, and if they kill you, a teammate can revive you behind cover without risk.
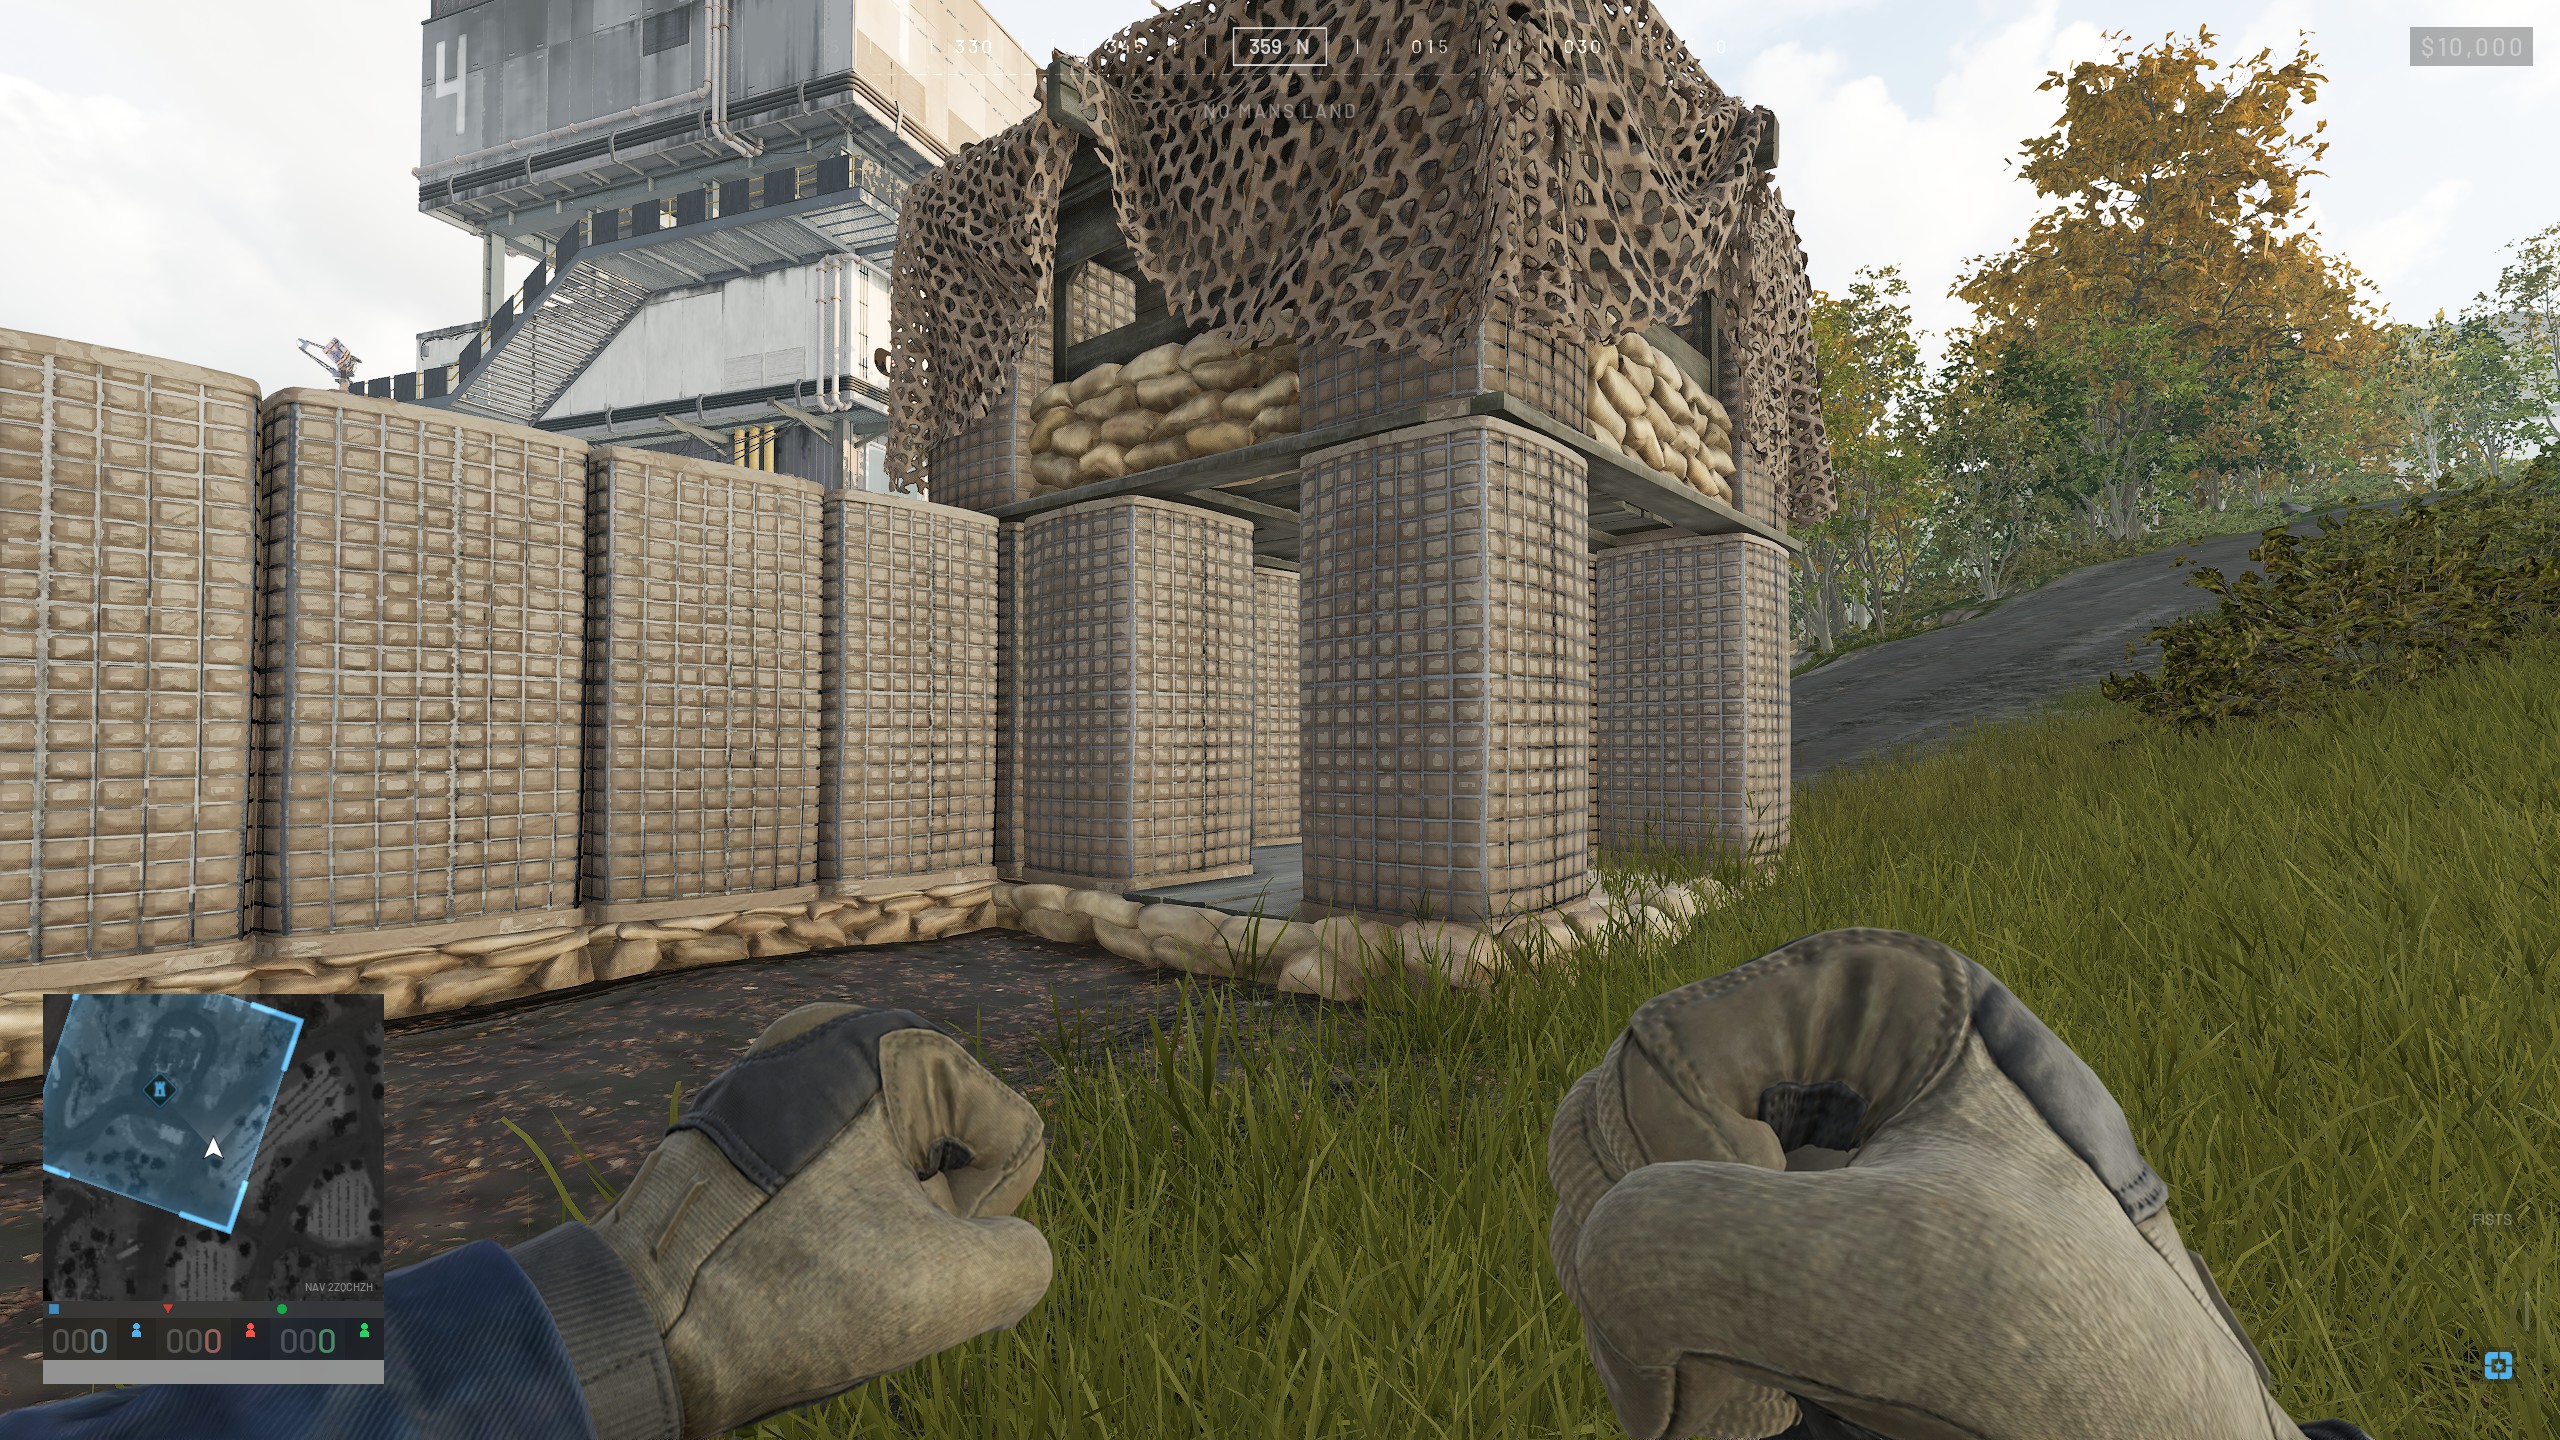
The recon tower and bunker prefabs are also quite useful for making safe places to shoot at people from. If you're thinking ahead, you can include these as you build your wall, but if you want to add some later you can always dismantle part of the wall and slot one of these in the gap. Just make sure to check that it's safe before doing so, and ask some teammates to cover you while you work.
The bottom level of the recon tower can be modified by building or removing blocks, so you can slap a couple doors in to make an extra access point, or wall it up completely to make it an extra-thick part of your wall, or hollow it out to serve as a bomb shelter for when your FOB inevitably gets shelled by artillery. The tower will collapse if you destroy too many blocks, from what I can tell it needs at least six intact.
Just make sure you don't leave an overhang outside the walls, as it makes a safe spot for enemies to take cover, heal, and repack magazines while they harass you and your fellow builders.
Securing the Tower
Obviously, if you're working on a FOB that isn't built around a drill tower, you can skip this entire section. But if you're a new player reading a guide titled "Foundational Tips for Beginning Builders," you should probably be building around a tower with the rest of your team while you learn the ropes.
Once your outer wall is complete, the next order of business should be making sure the tower itself is secure. Usually a tower FOB will have multiple builders working on it, especially at the start of a match, so if you notice other players have the wall-building under control it's not a bad idea to do this right away.
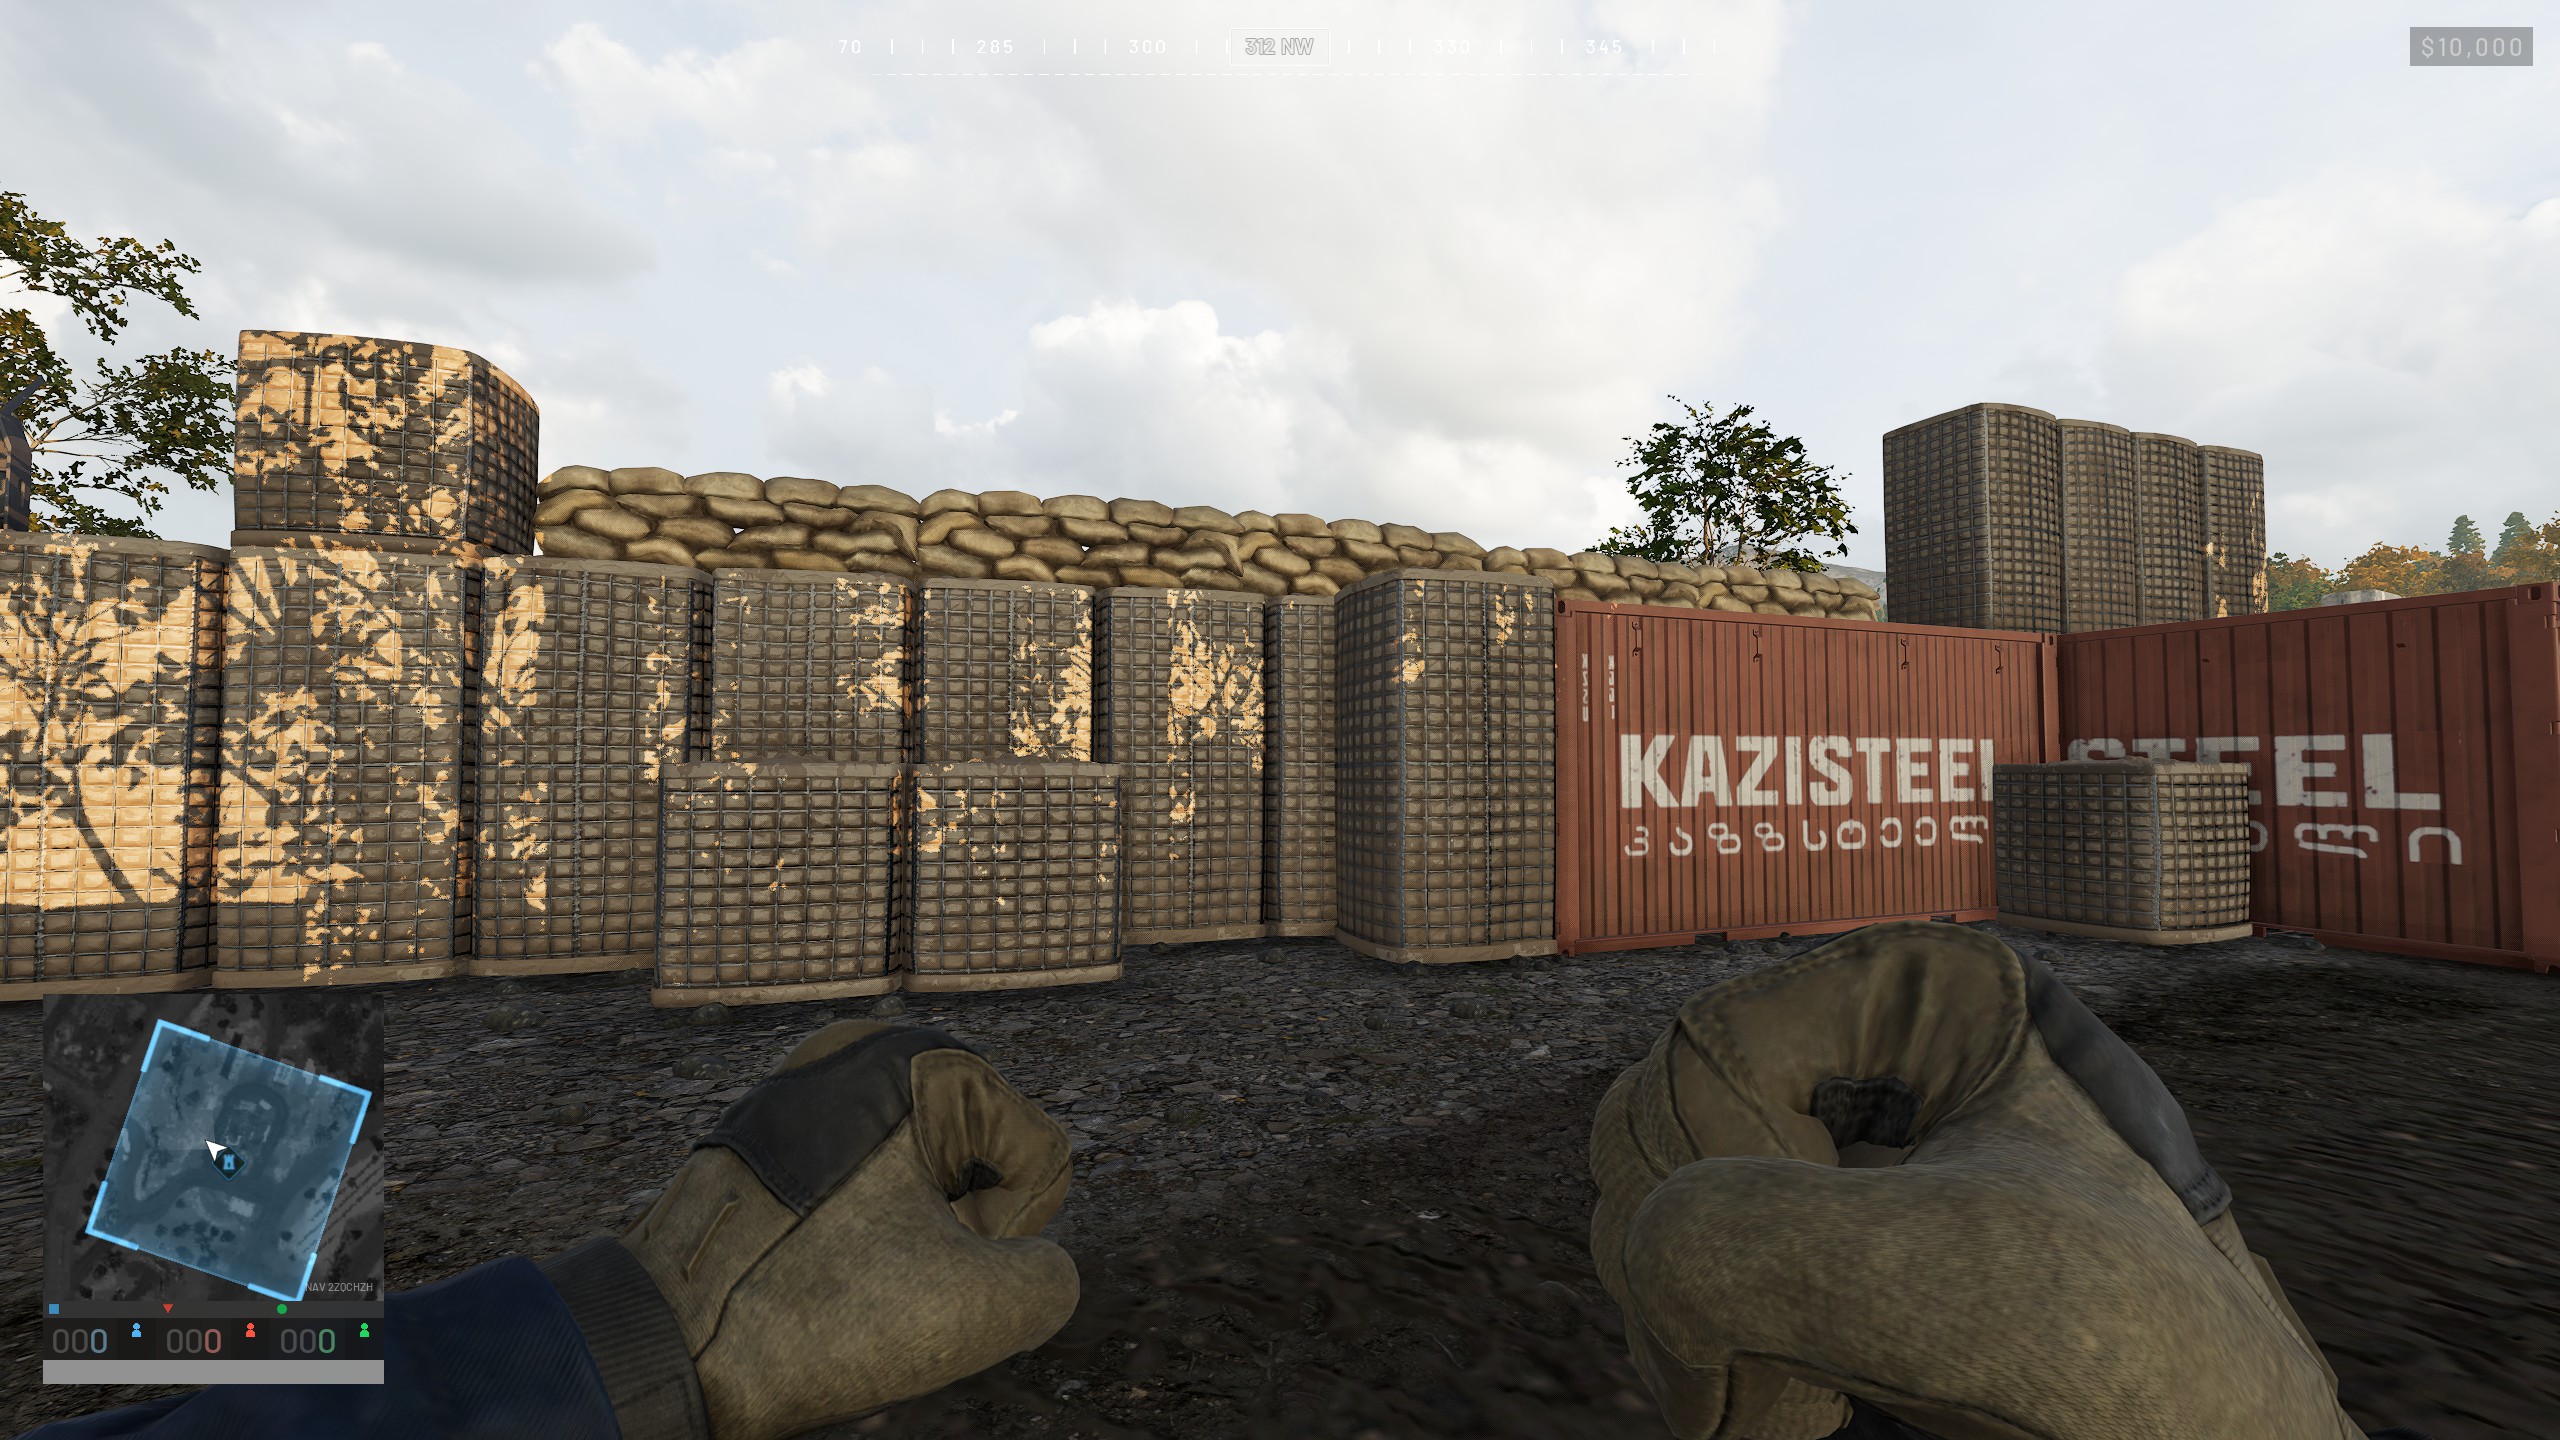
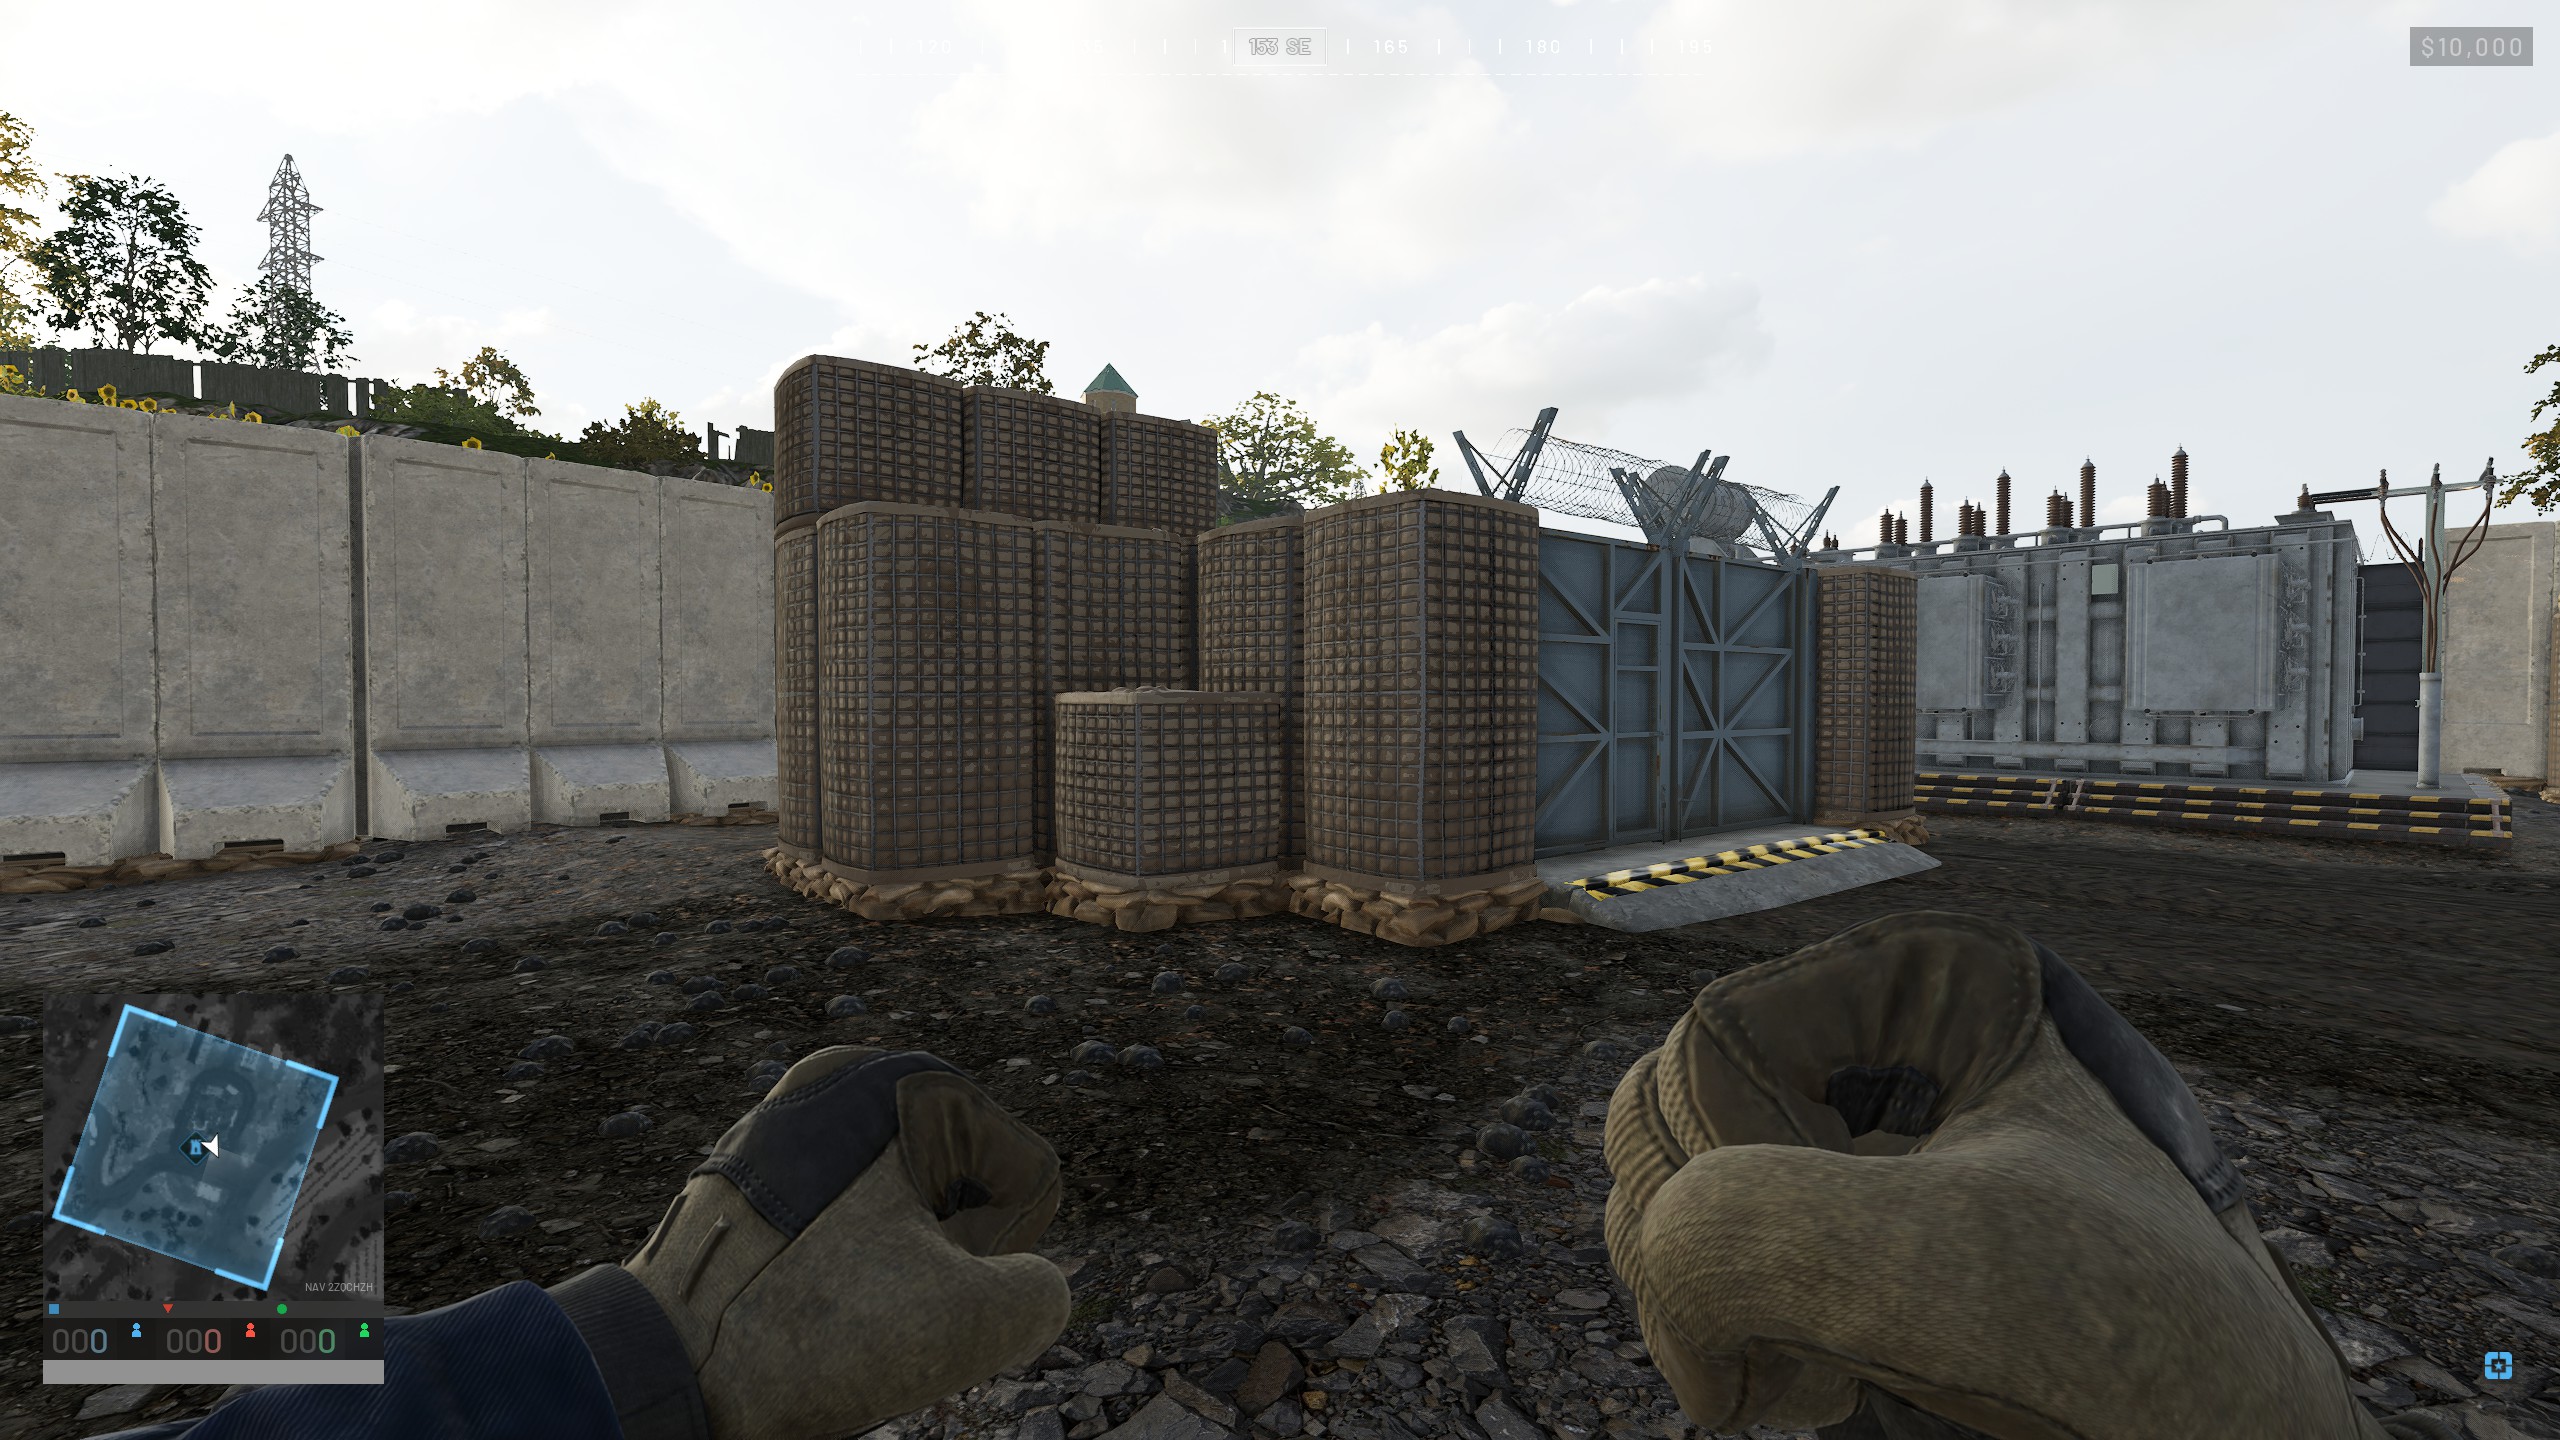
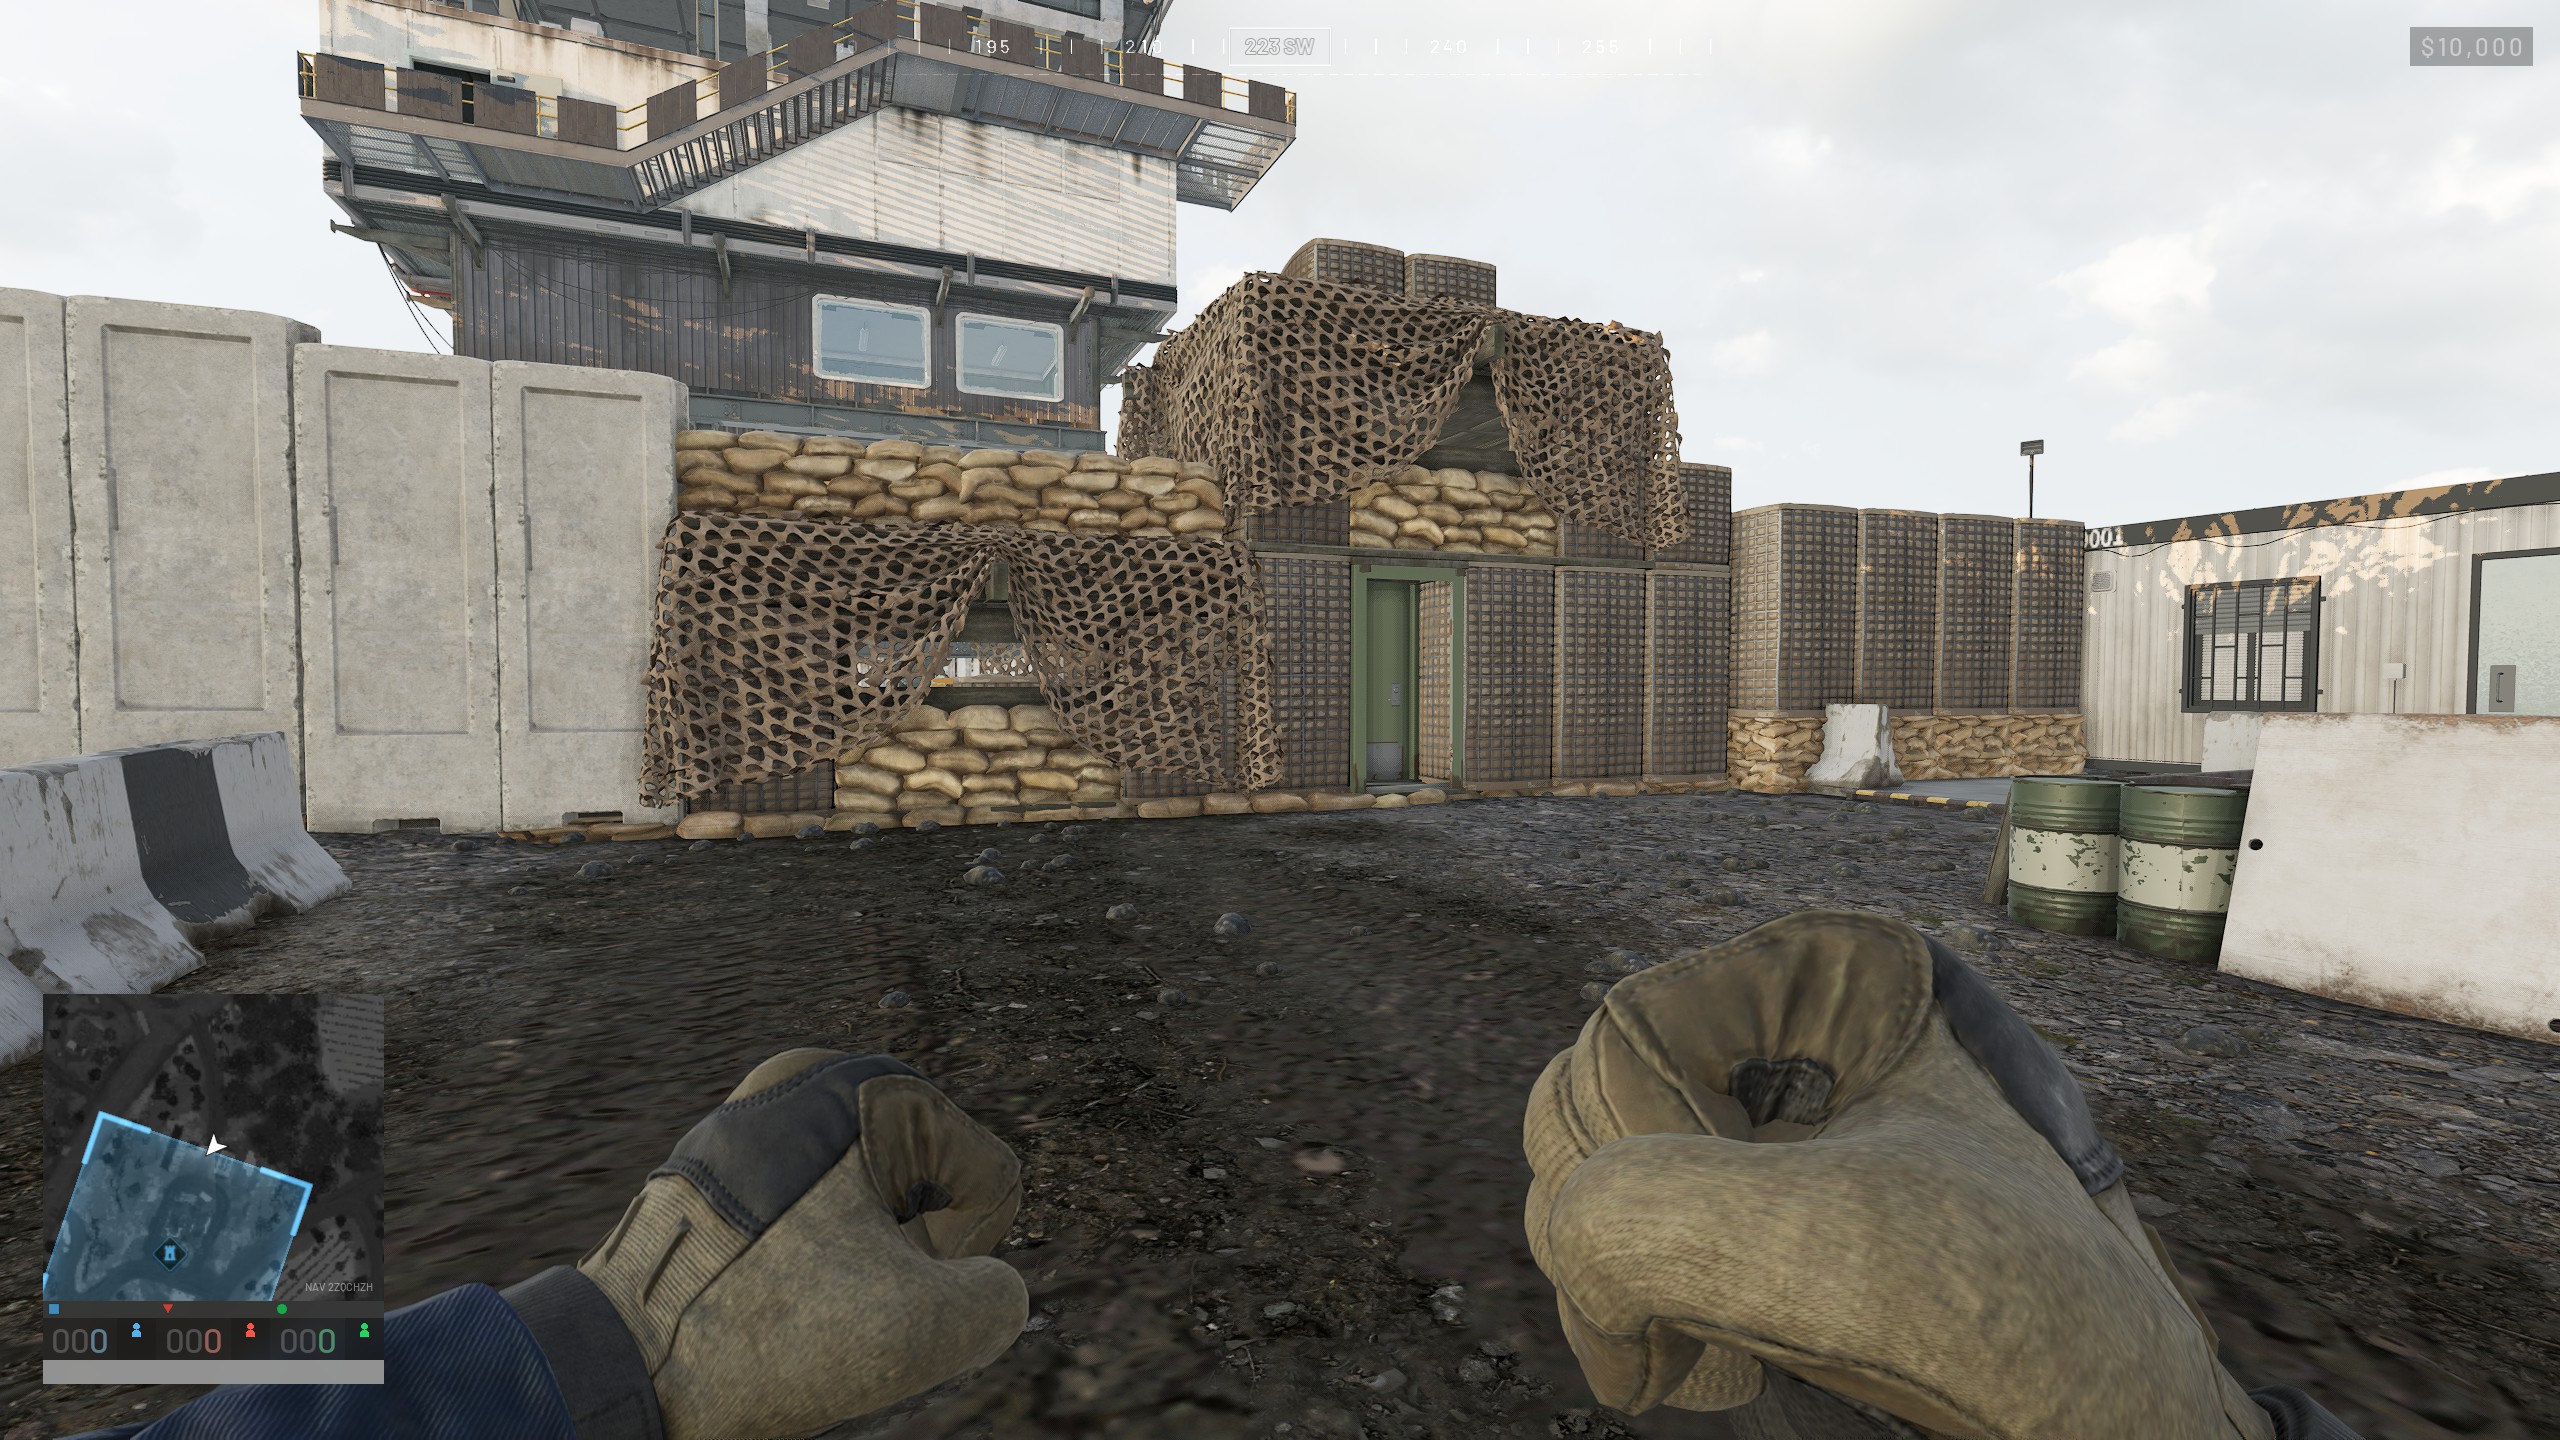
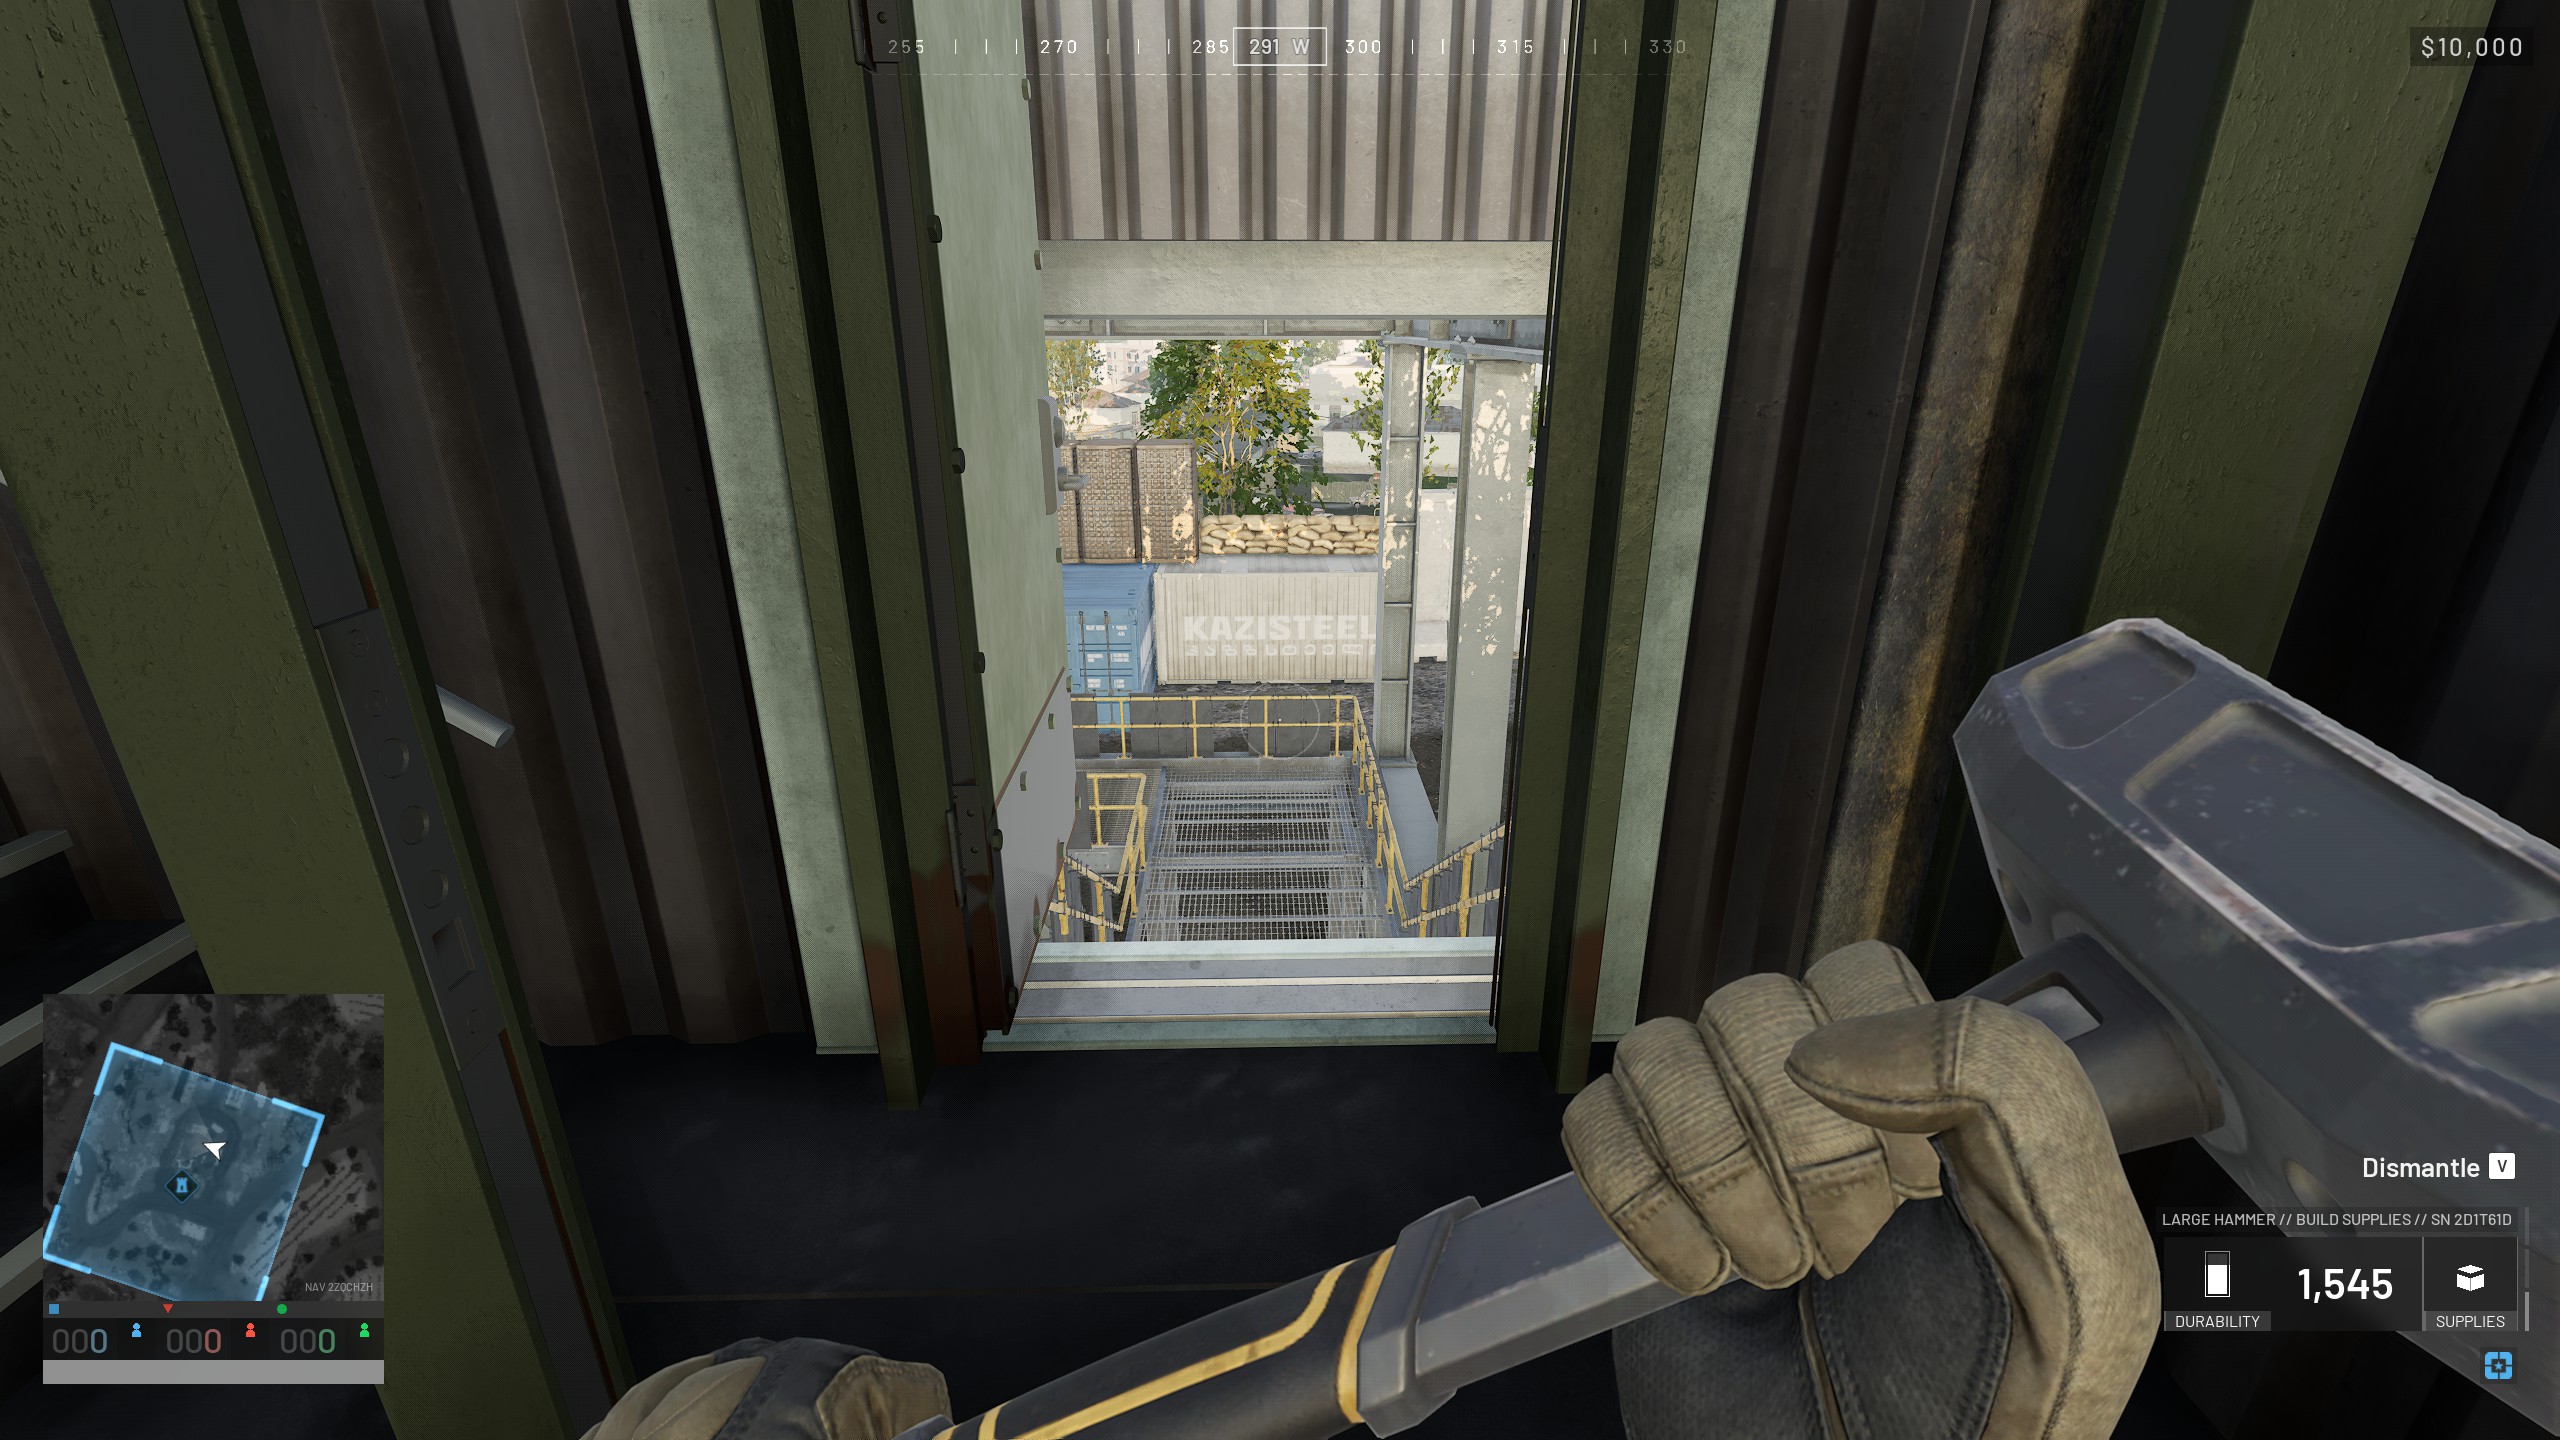
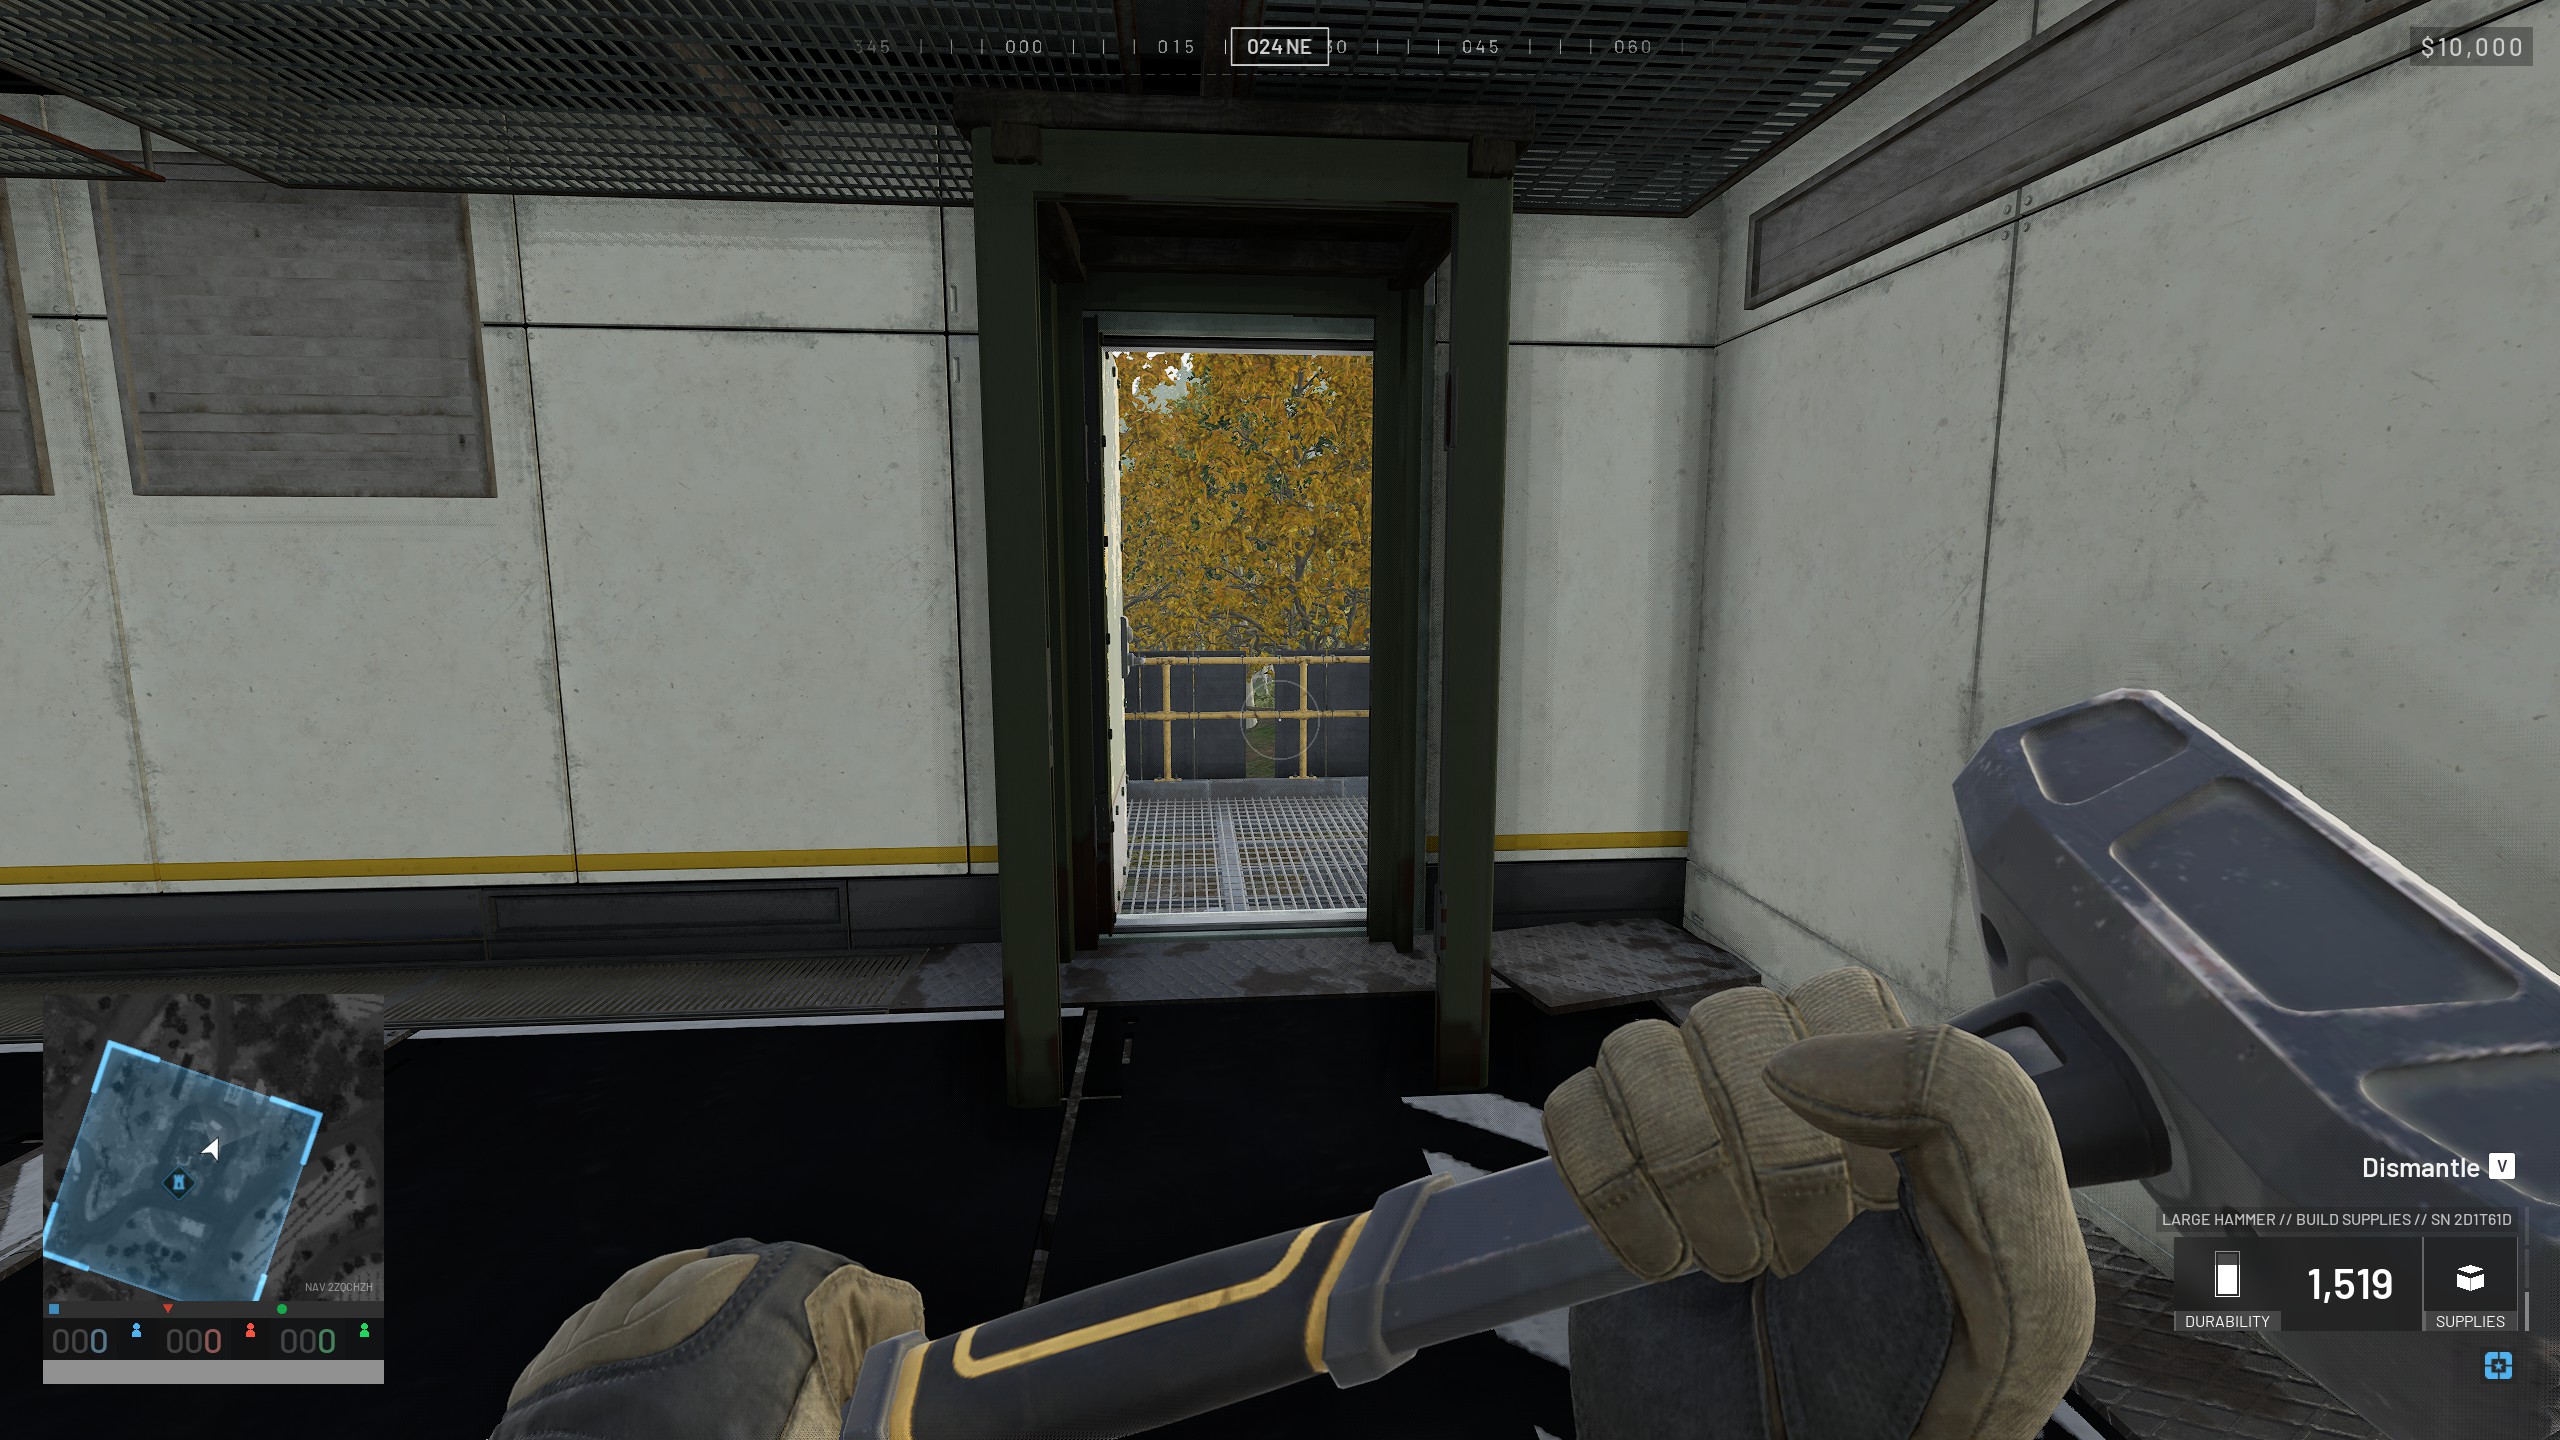
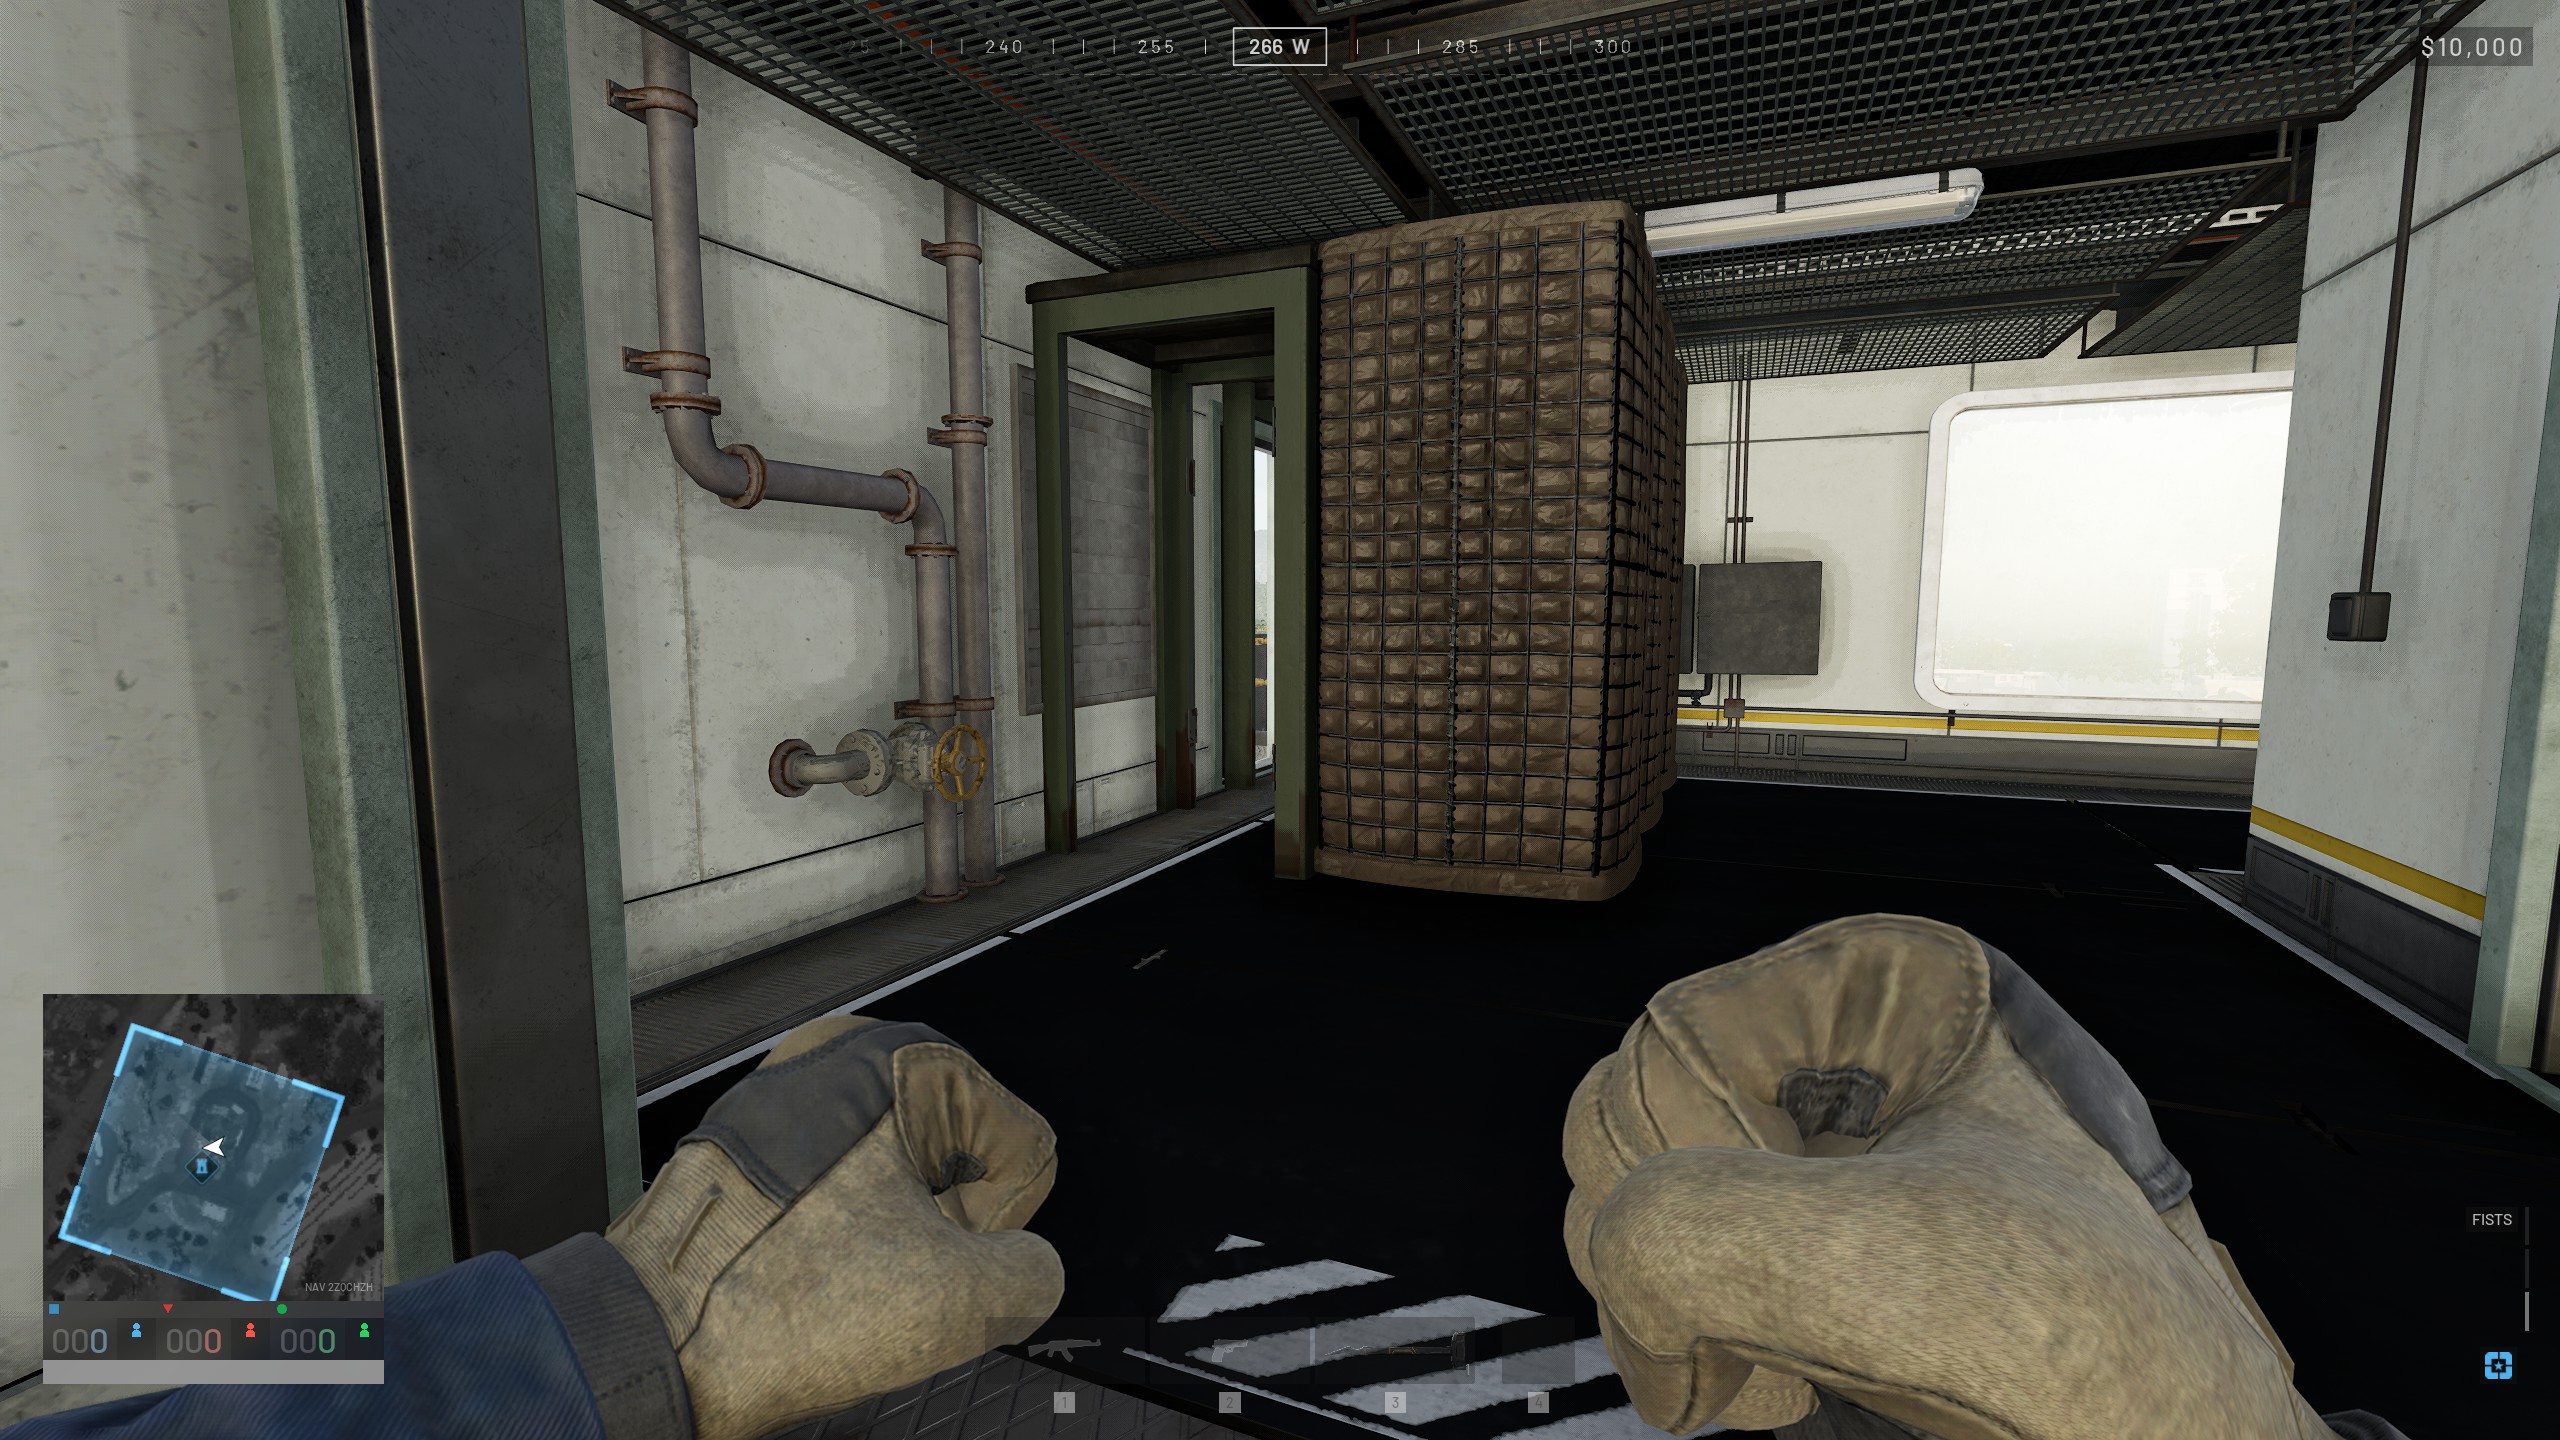
The main thing you want to do is place doors inside the FOB, so any enemies who parachute on top of the tower are stuck up there. There's not much point to super fortified double-high-triple-thick perimeter walls if anyone can take over your FOB by landing on top of the tower and walking down a few flights of stairs. There's three really obvious door-sized doorways in the tower which should always be secured, pictured above, and after that it's up to you how many extra doors you want to add. The more you have, the less chance of an enemy prying or blowing through them all, and less likely it is that a single door left open dooms your entire base. But if you have too many doors, your teammates are going to hate you. Try not to make it a pain to move through.
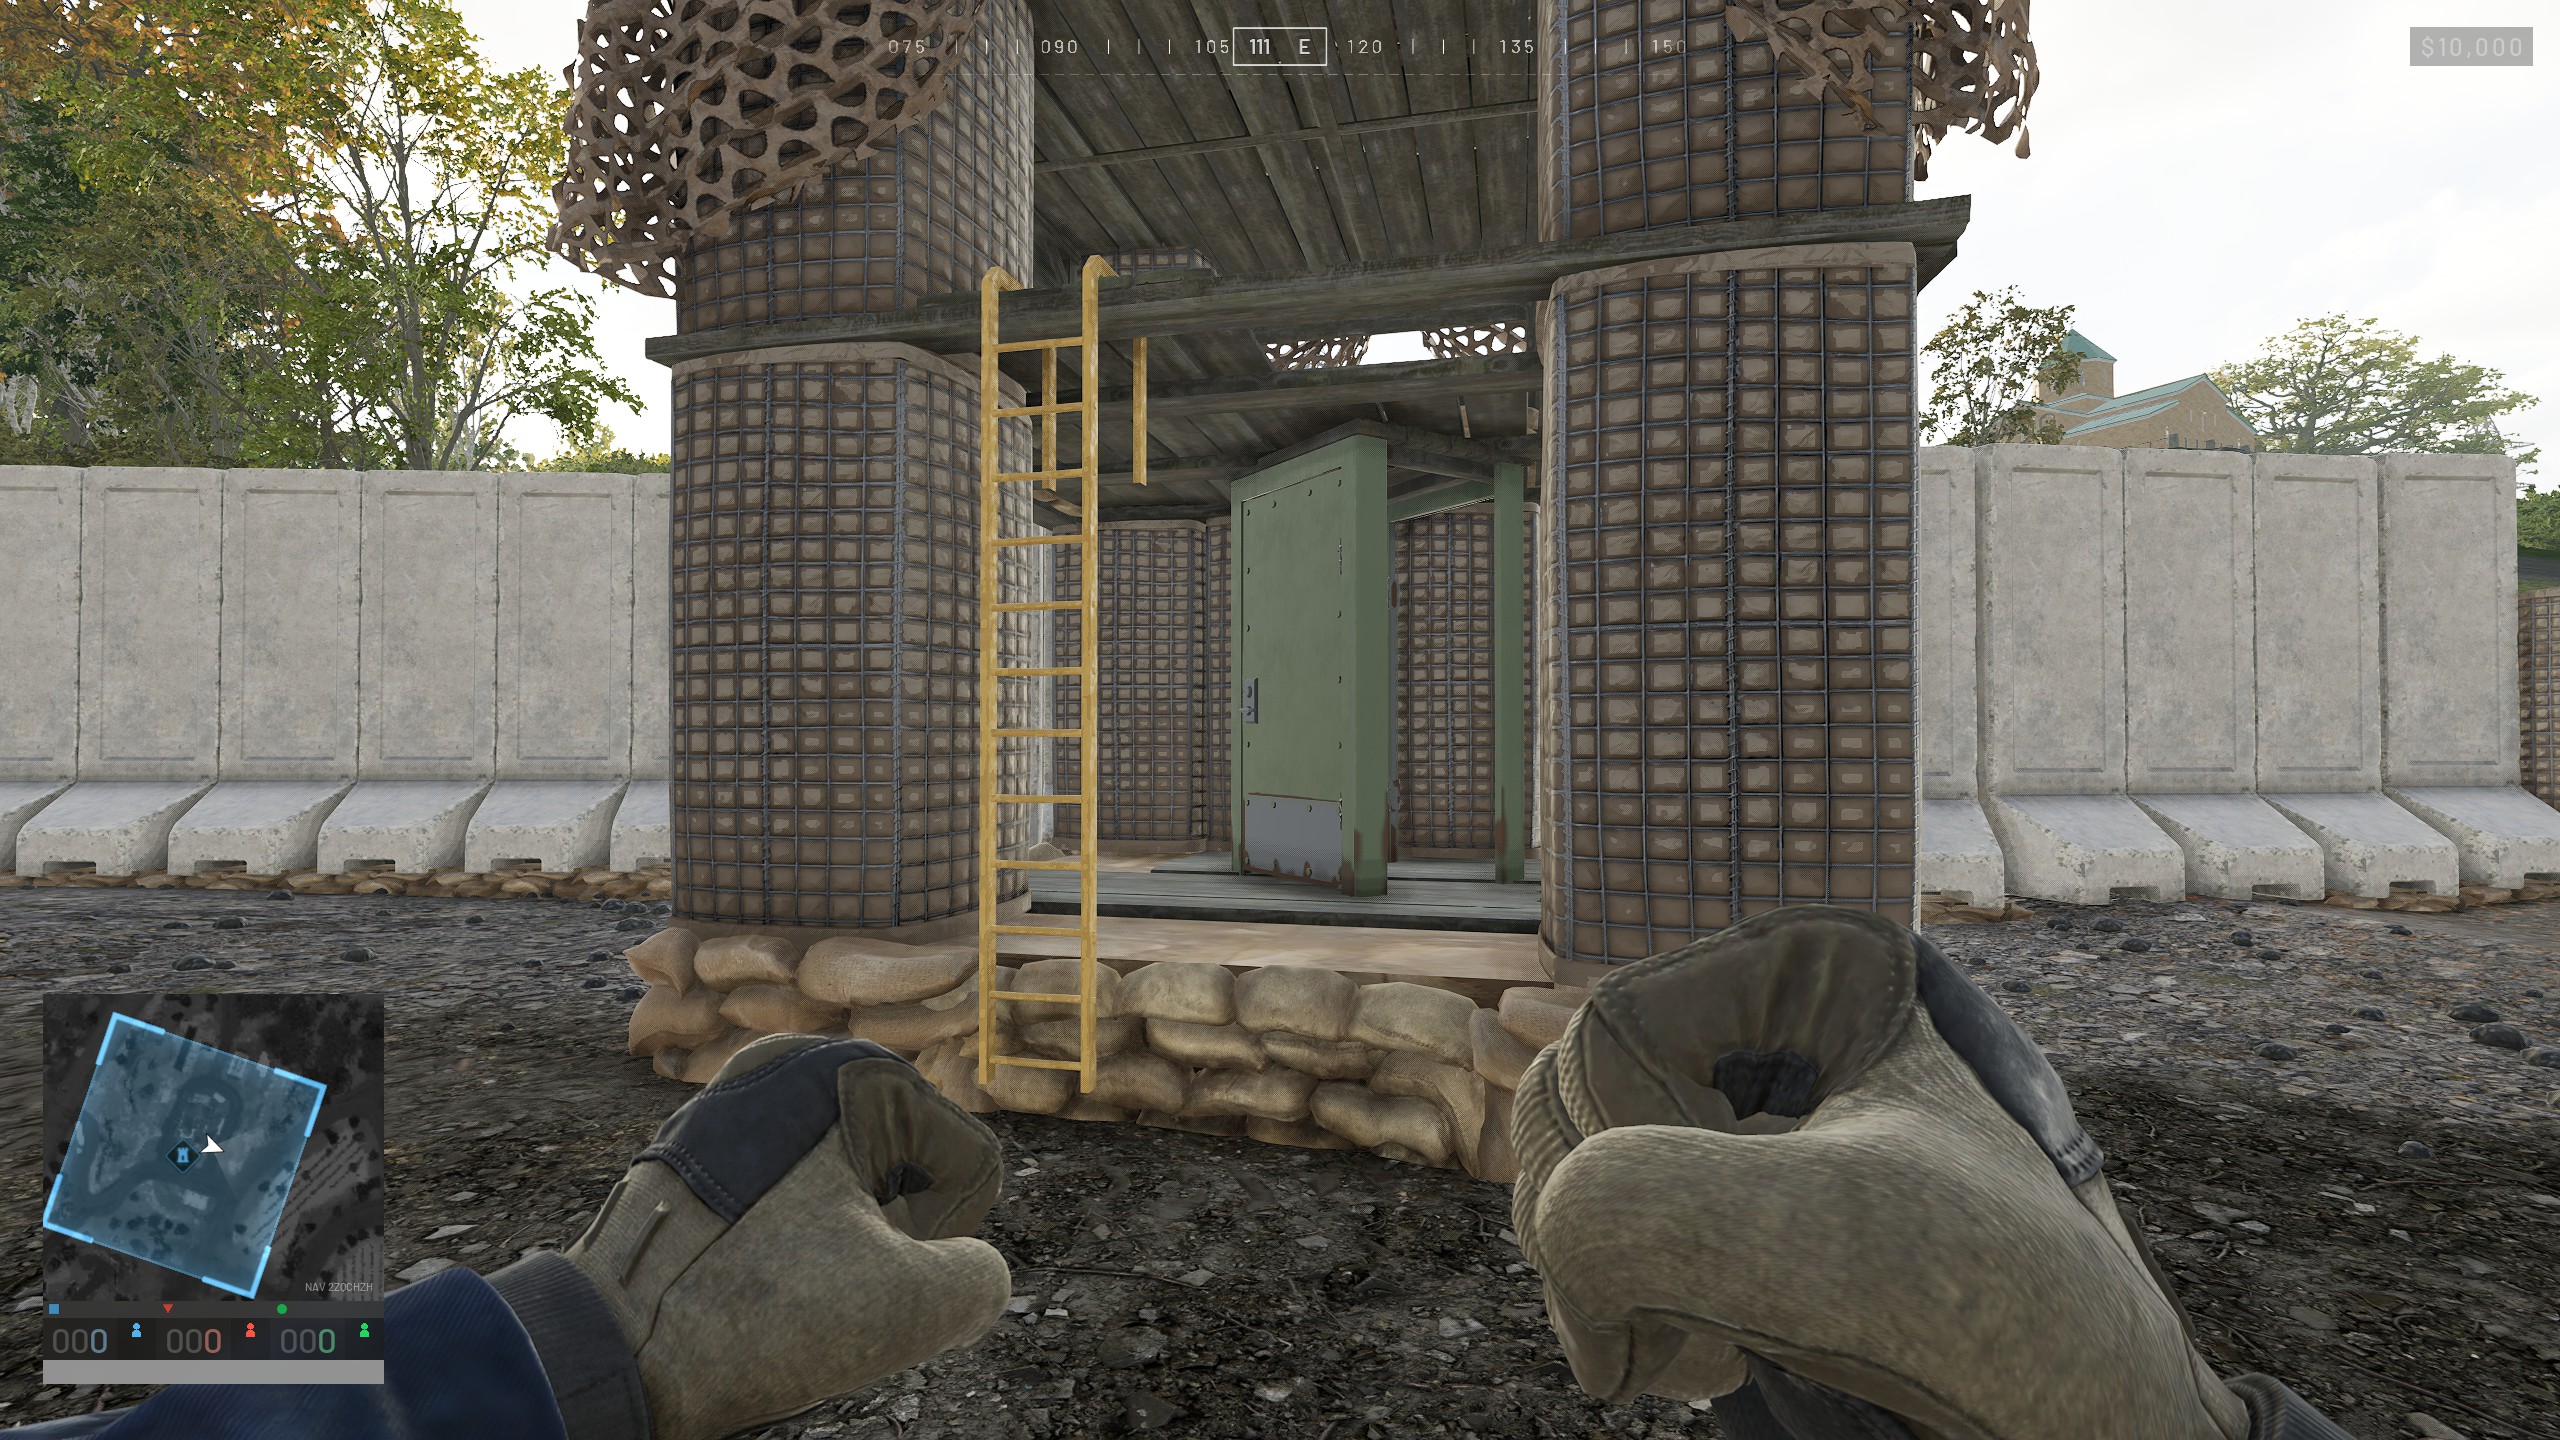
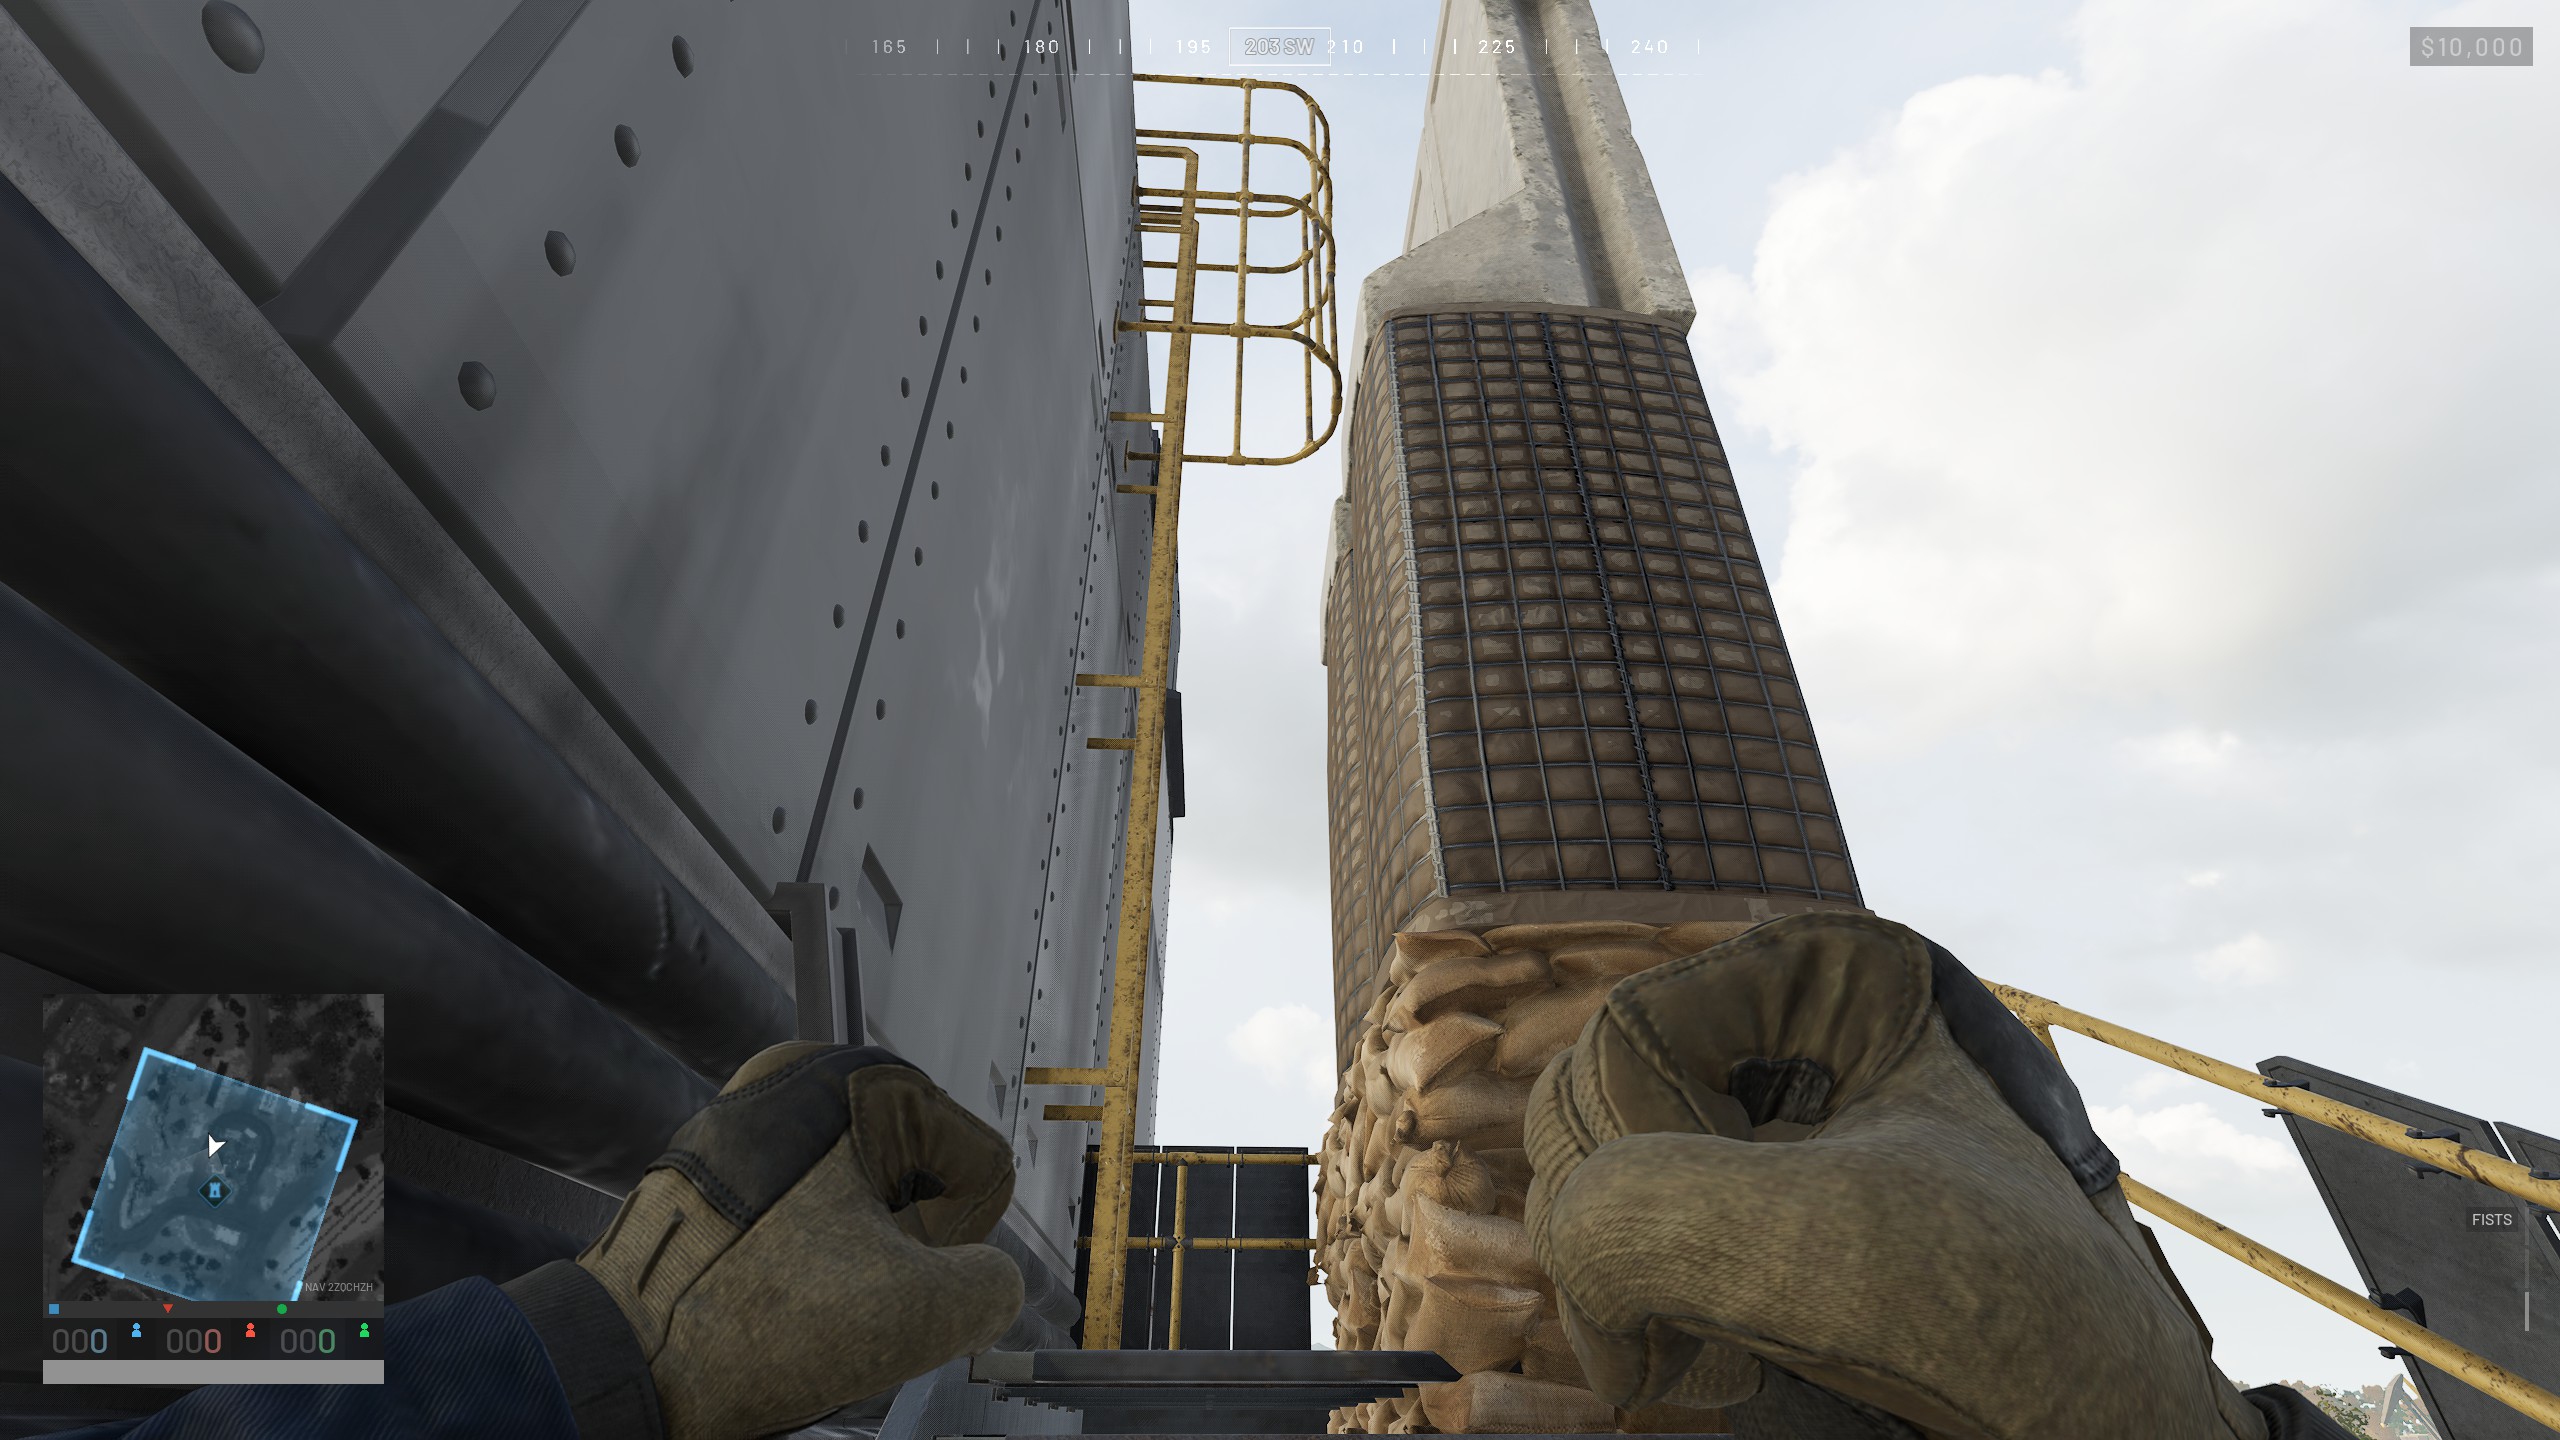
Once you're done putting doors up, I think it's a good idea to put some protection in front of the ladders to the roof too.
I've never seen anyone else do this in the playtest, but you're the most exposed to enemy snipers while on these ladders, so I think putting these up every time should be a no-brainer. Getting the positioning right can be kind of a pain, and it looks like there isn't enough room to climb the ladder, but if you cram it in just right it should work.
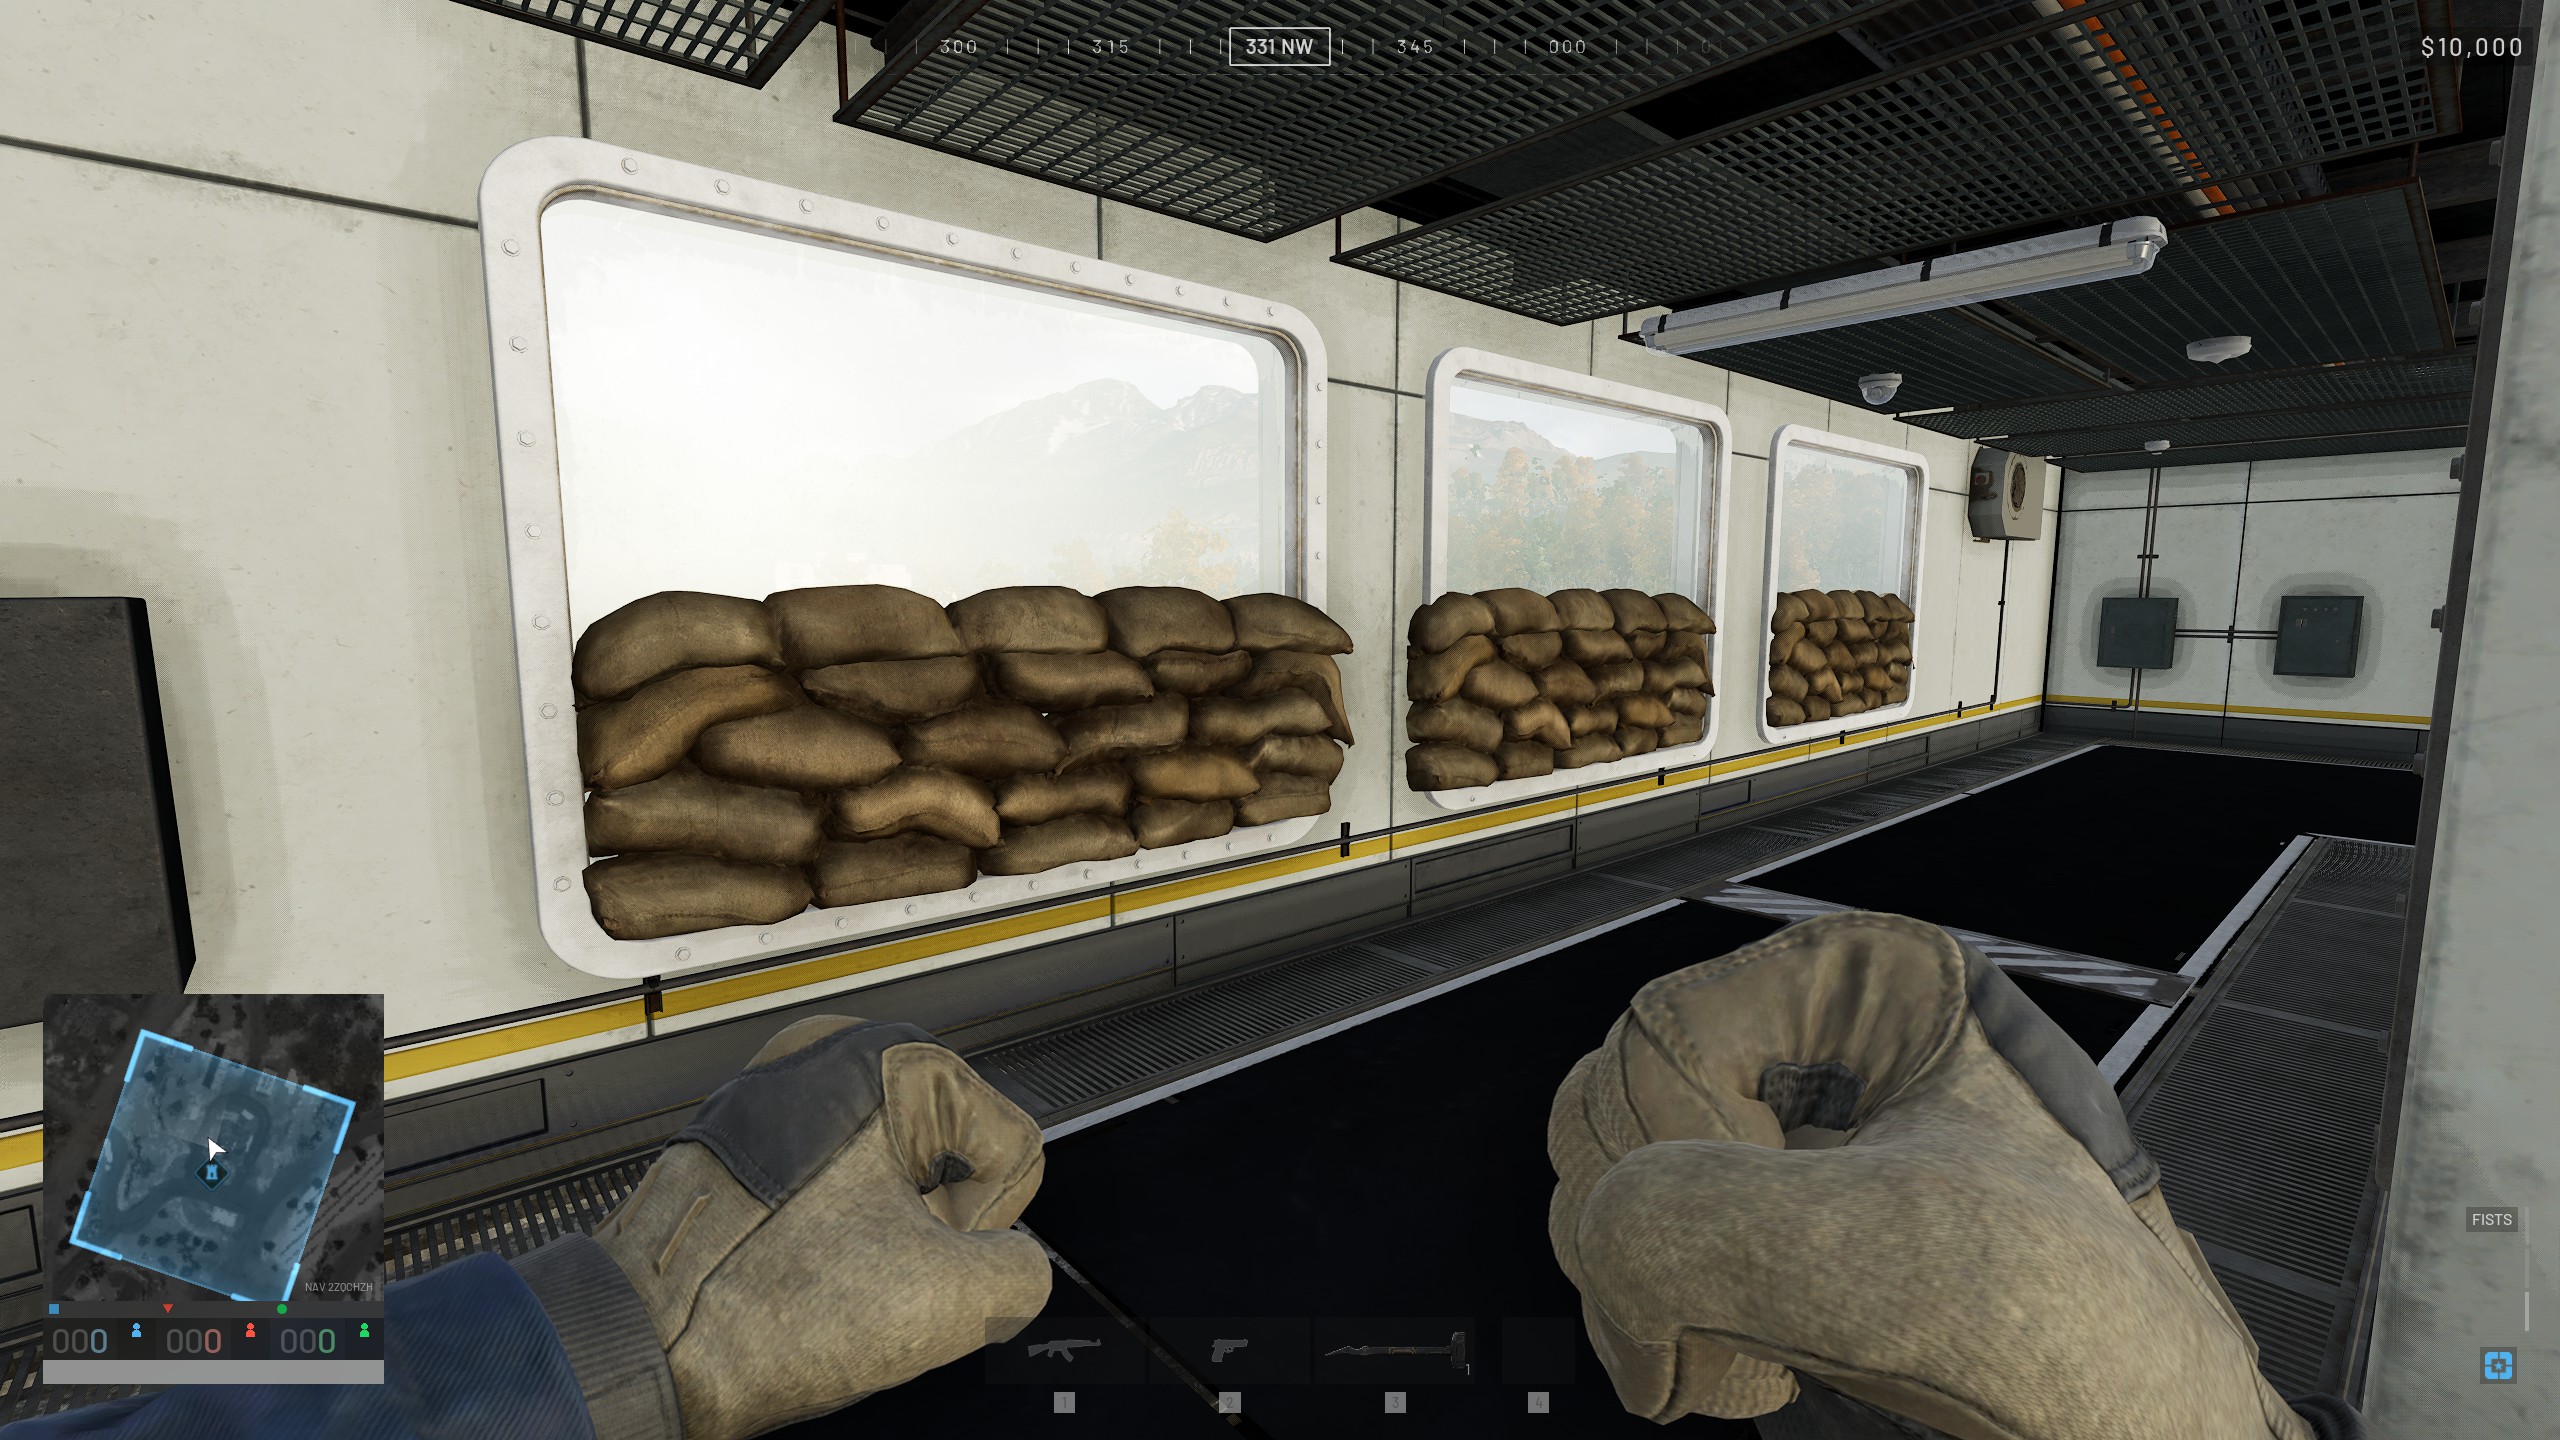
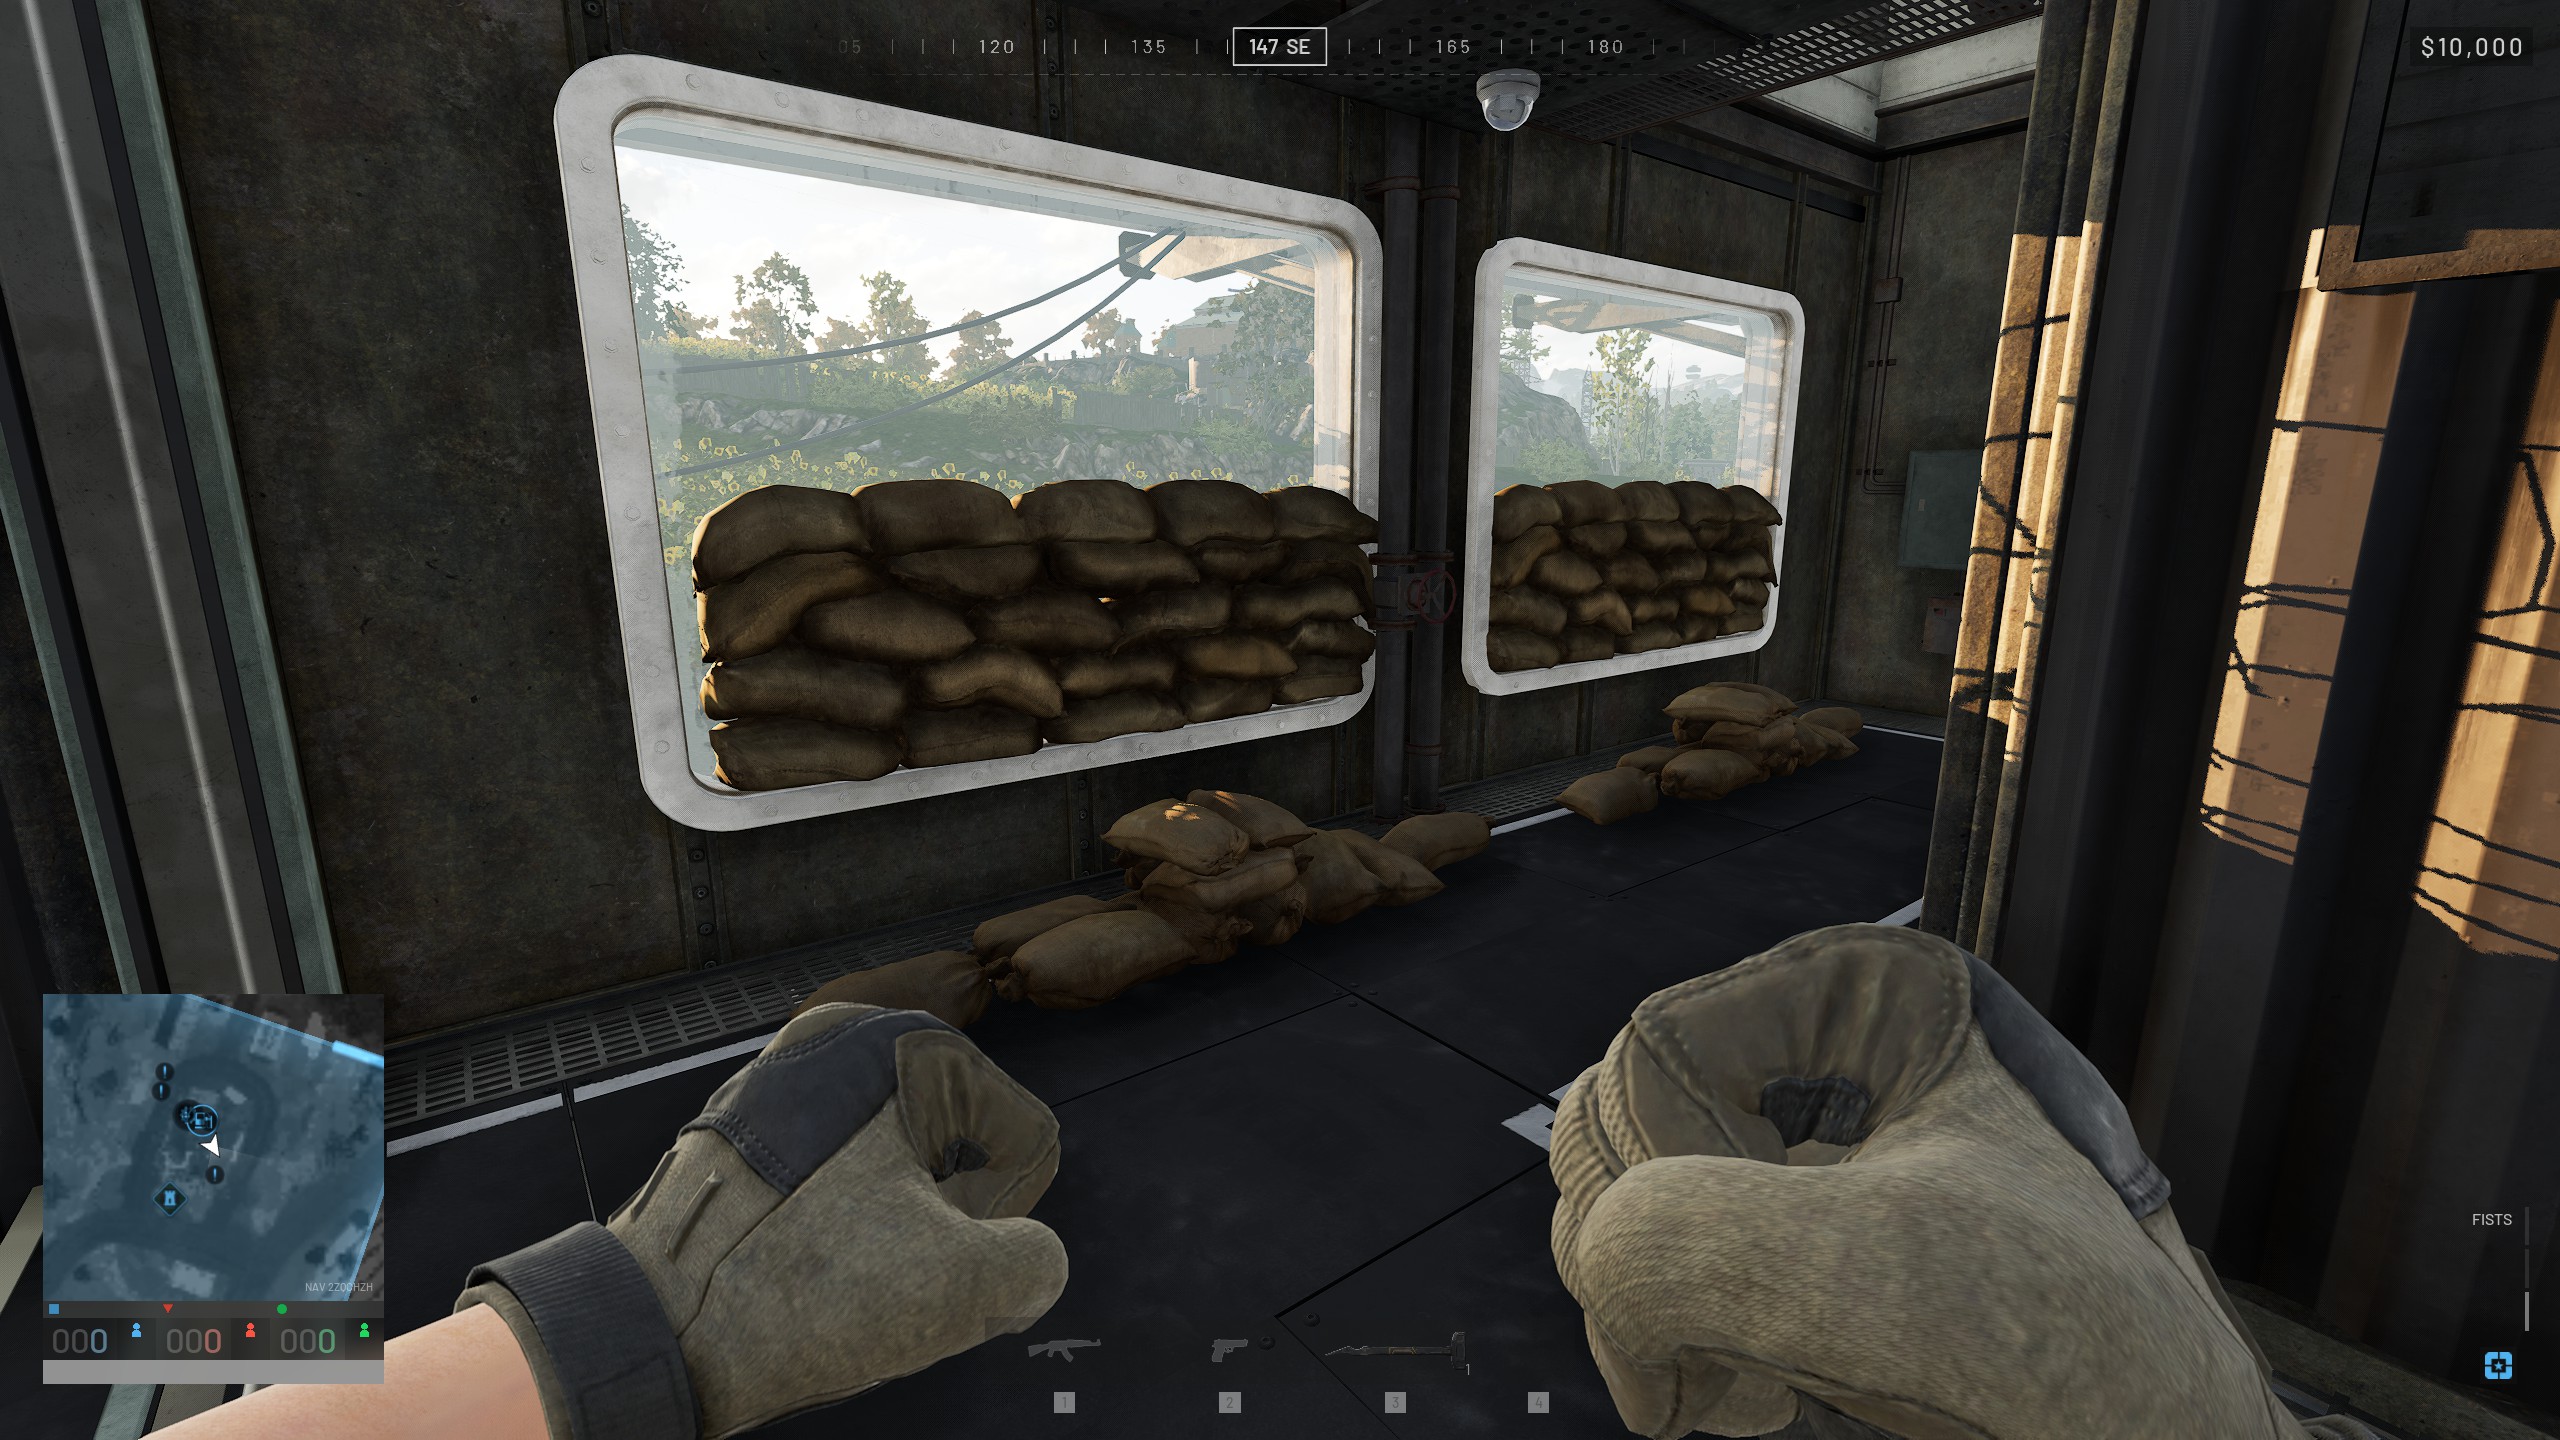
Throwing sandbags in all the windows is pretty common. The windows in the tower are tall and exposed by default, and sandbags shoved in the window frame make it a lot easier to walk by safely while providing more spots for your own snipers to shoot out from. The more spots you have in your tower for friendly snipers to reposition to, the better the odds of them winning their weird little sniper fights. If you place more sandbags below the windows and don't build them, it leaves a handy step-up that makes it a lot easier to use the windows.
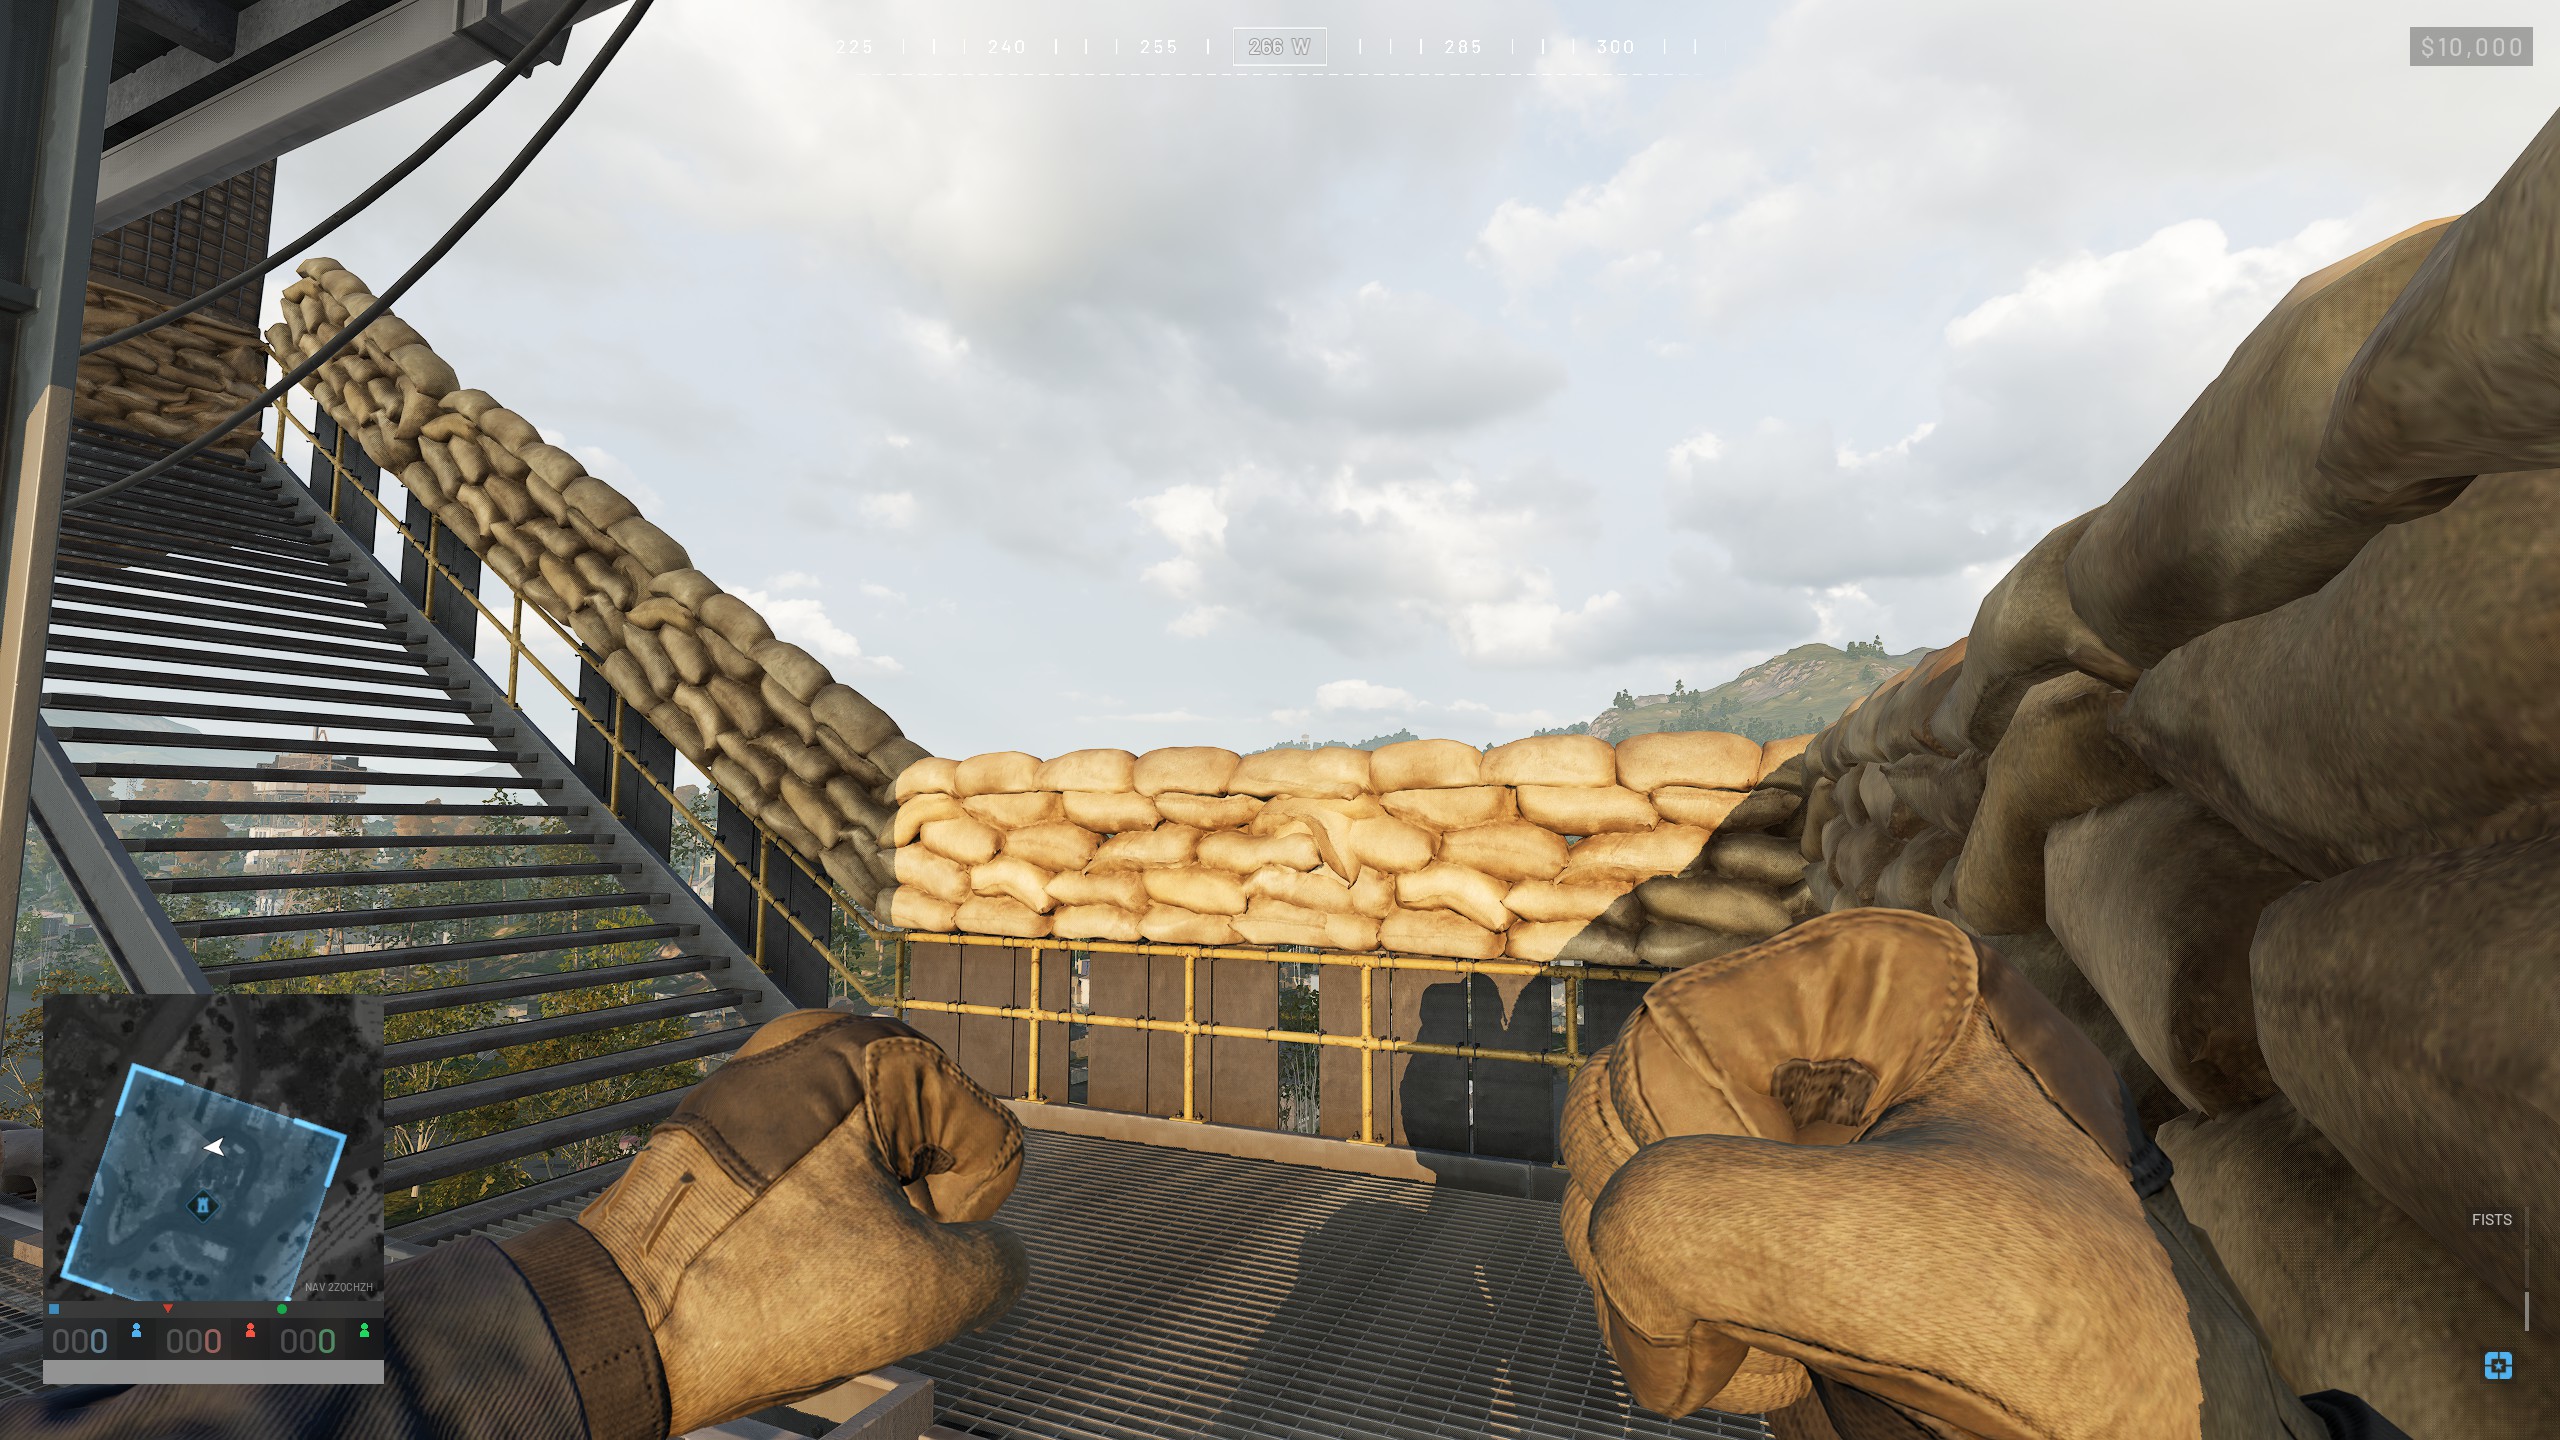
Once you're done with the windows, you can move on to placing sandbags on top of all the railings too. This provides even more protection against enemy snipers, but it's kind of time consuming, and the value it provides to your team depends on how many teammates you have running around in the tower. If there aren't many players there to utilize the extra protection, you can skip this.
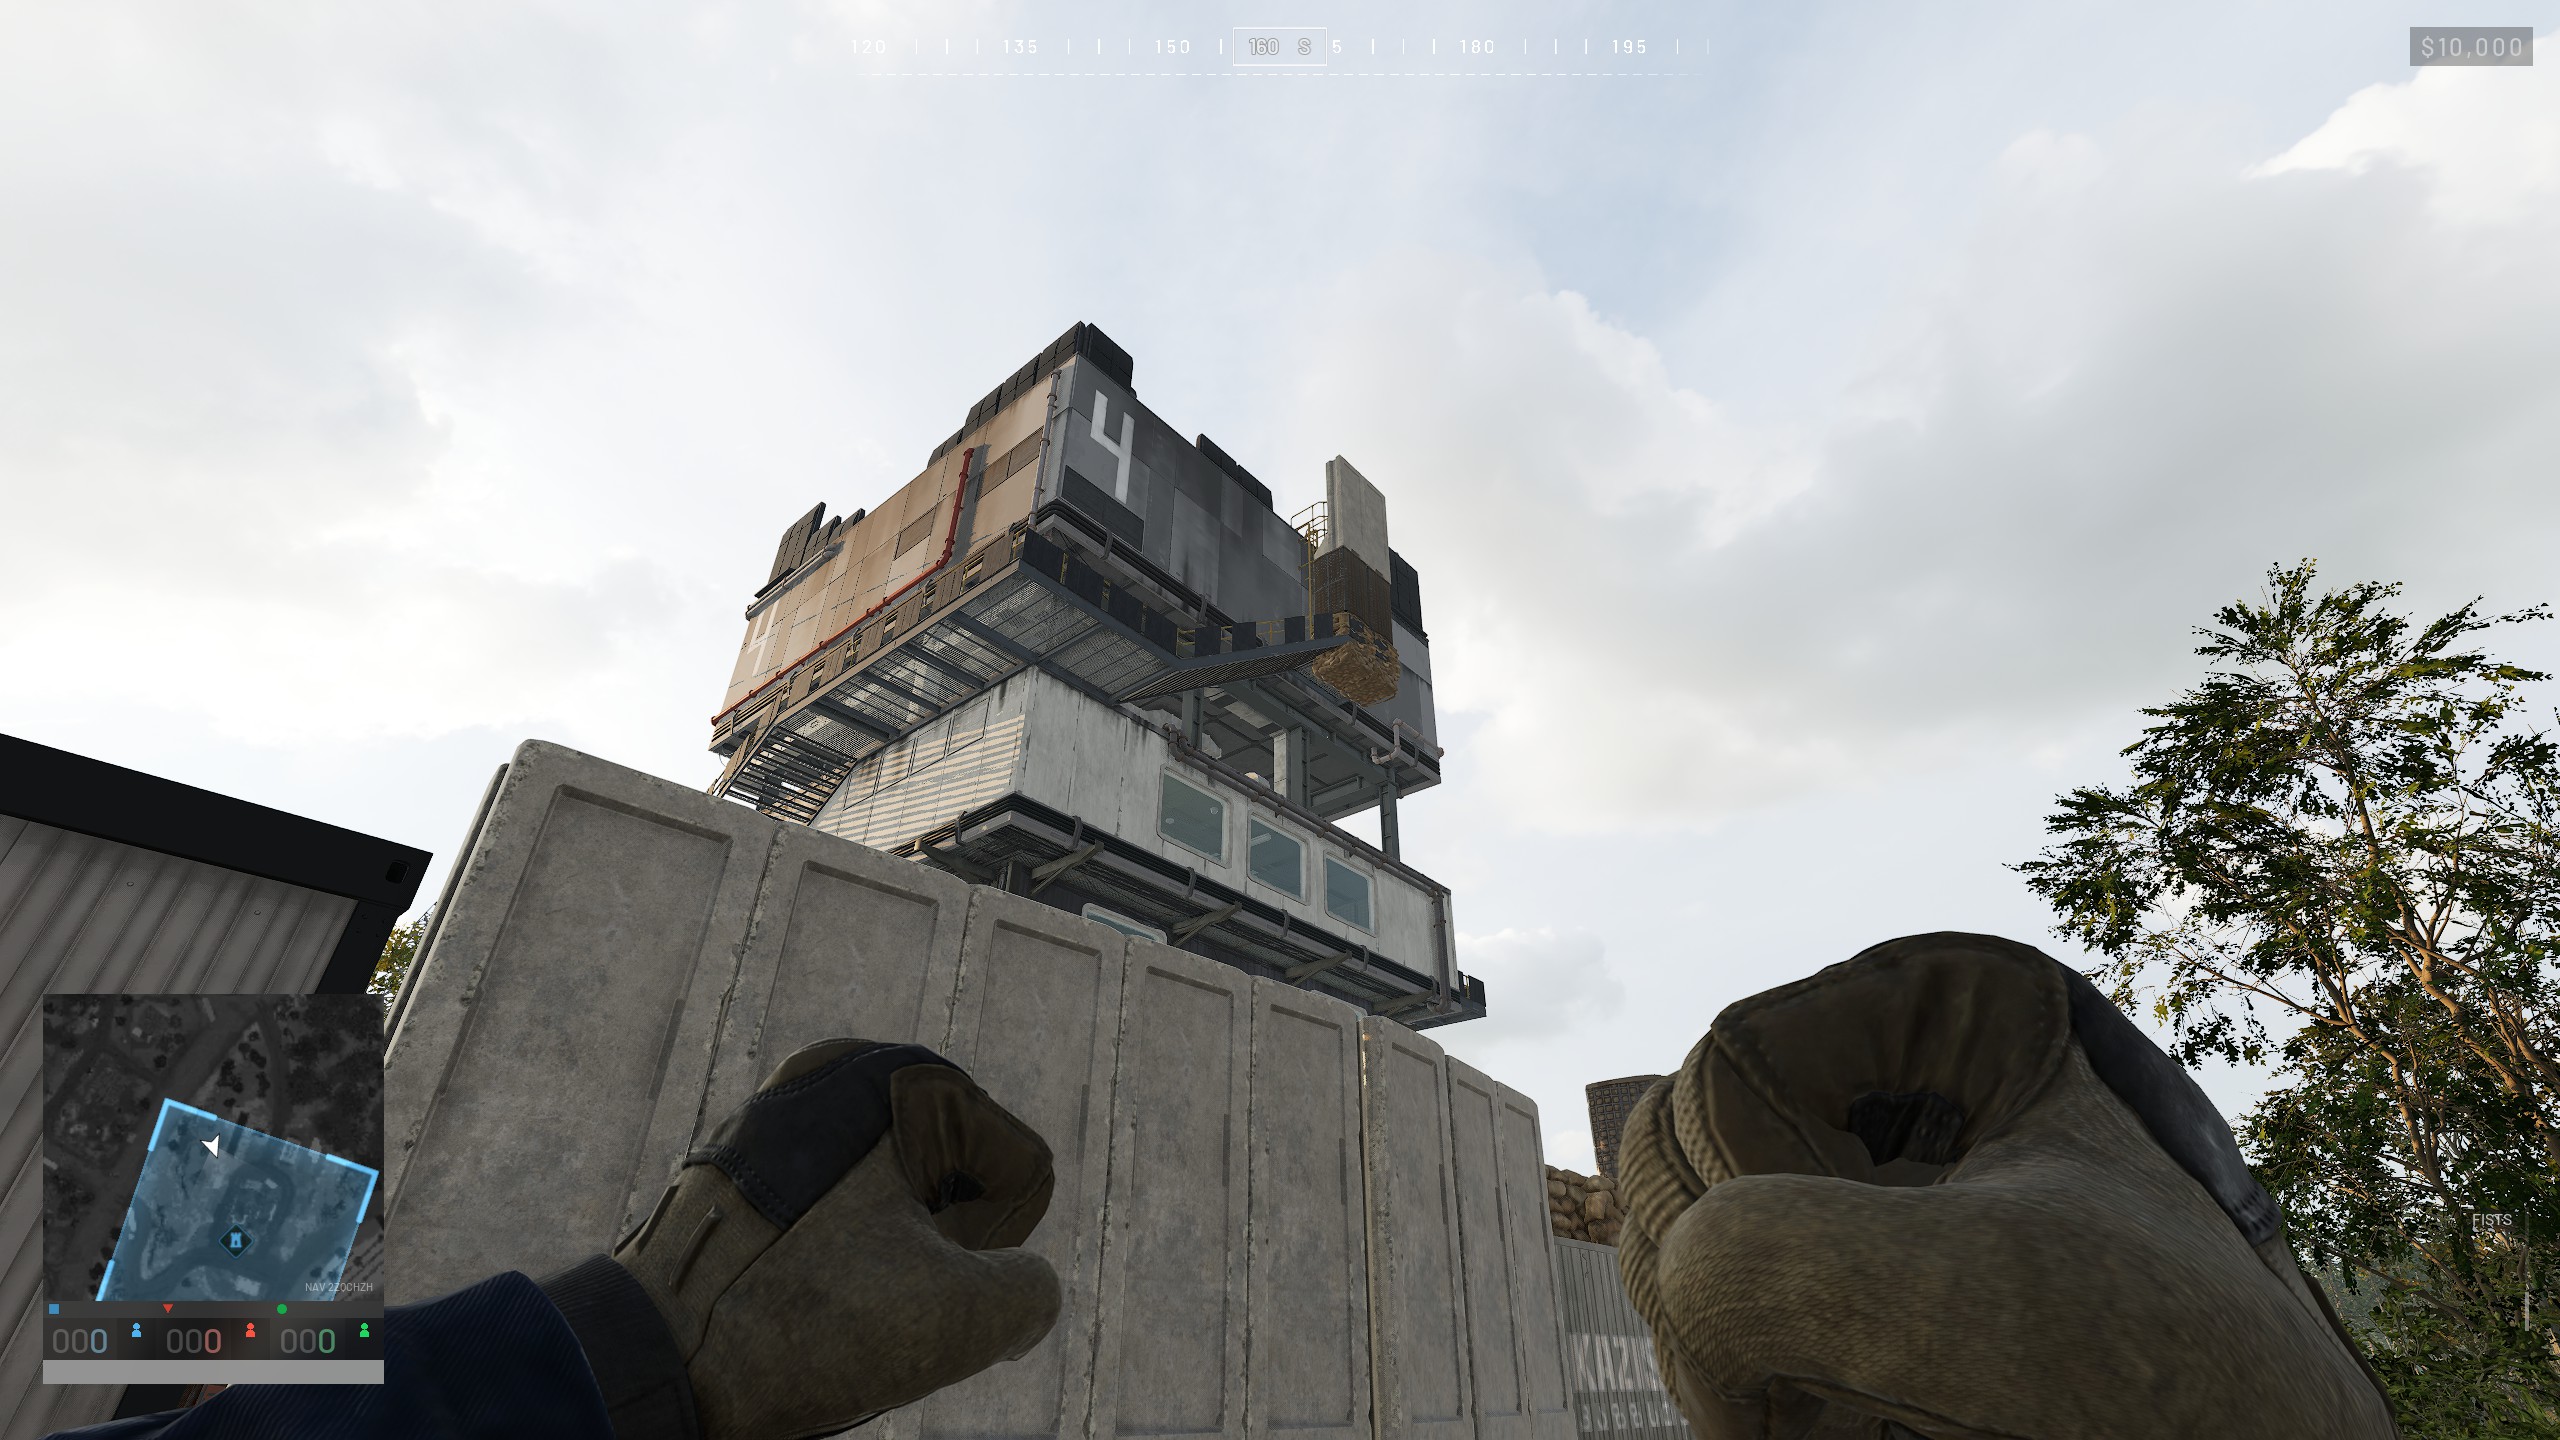
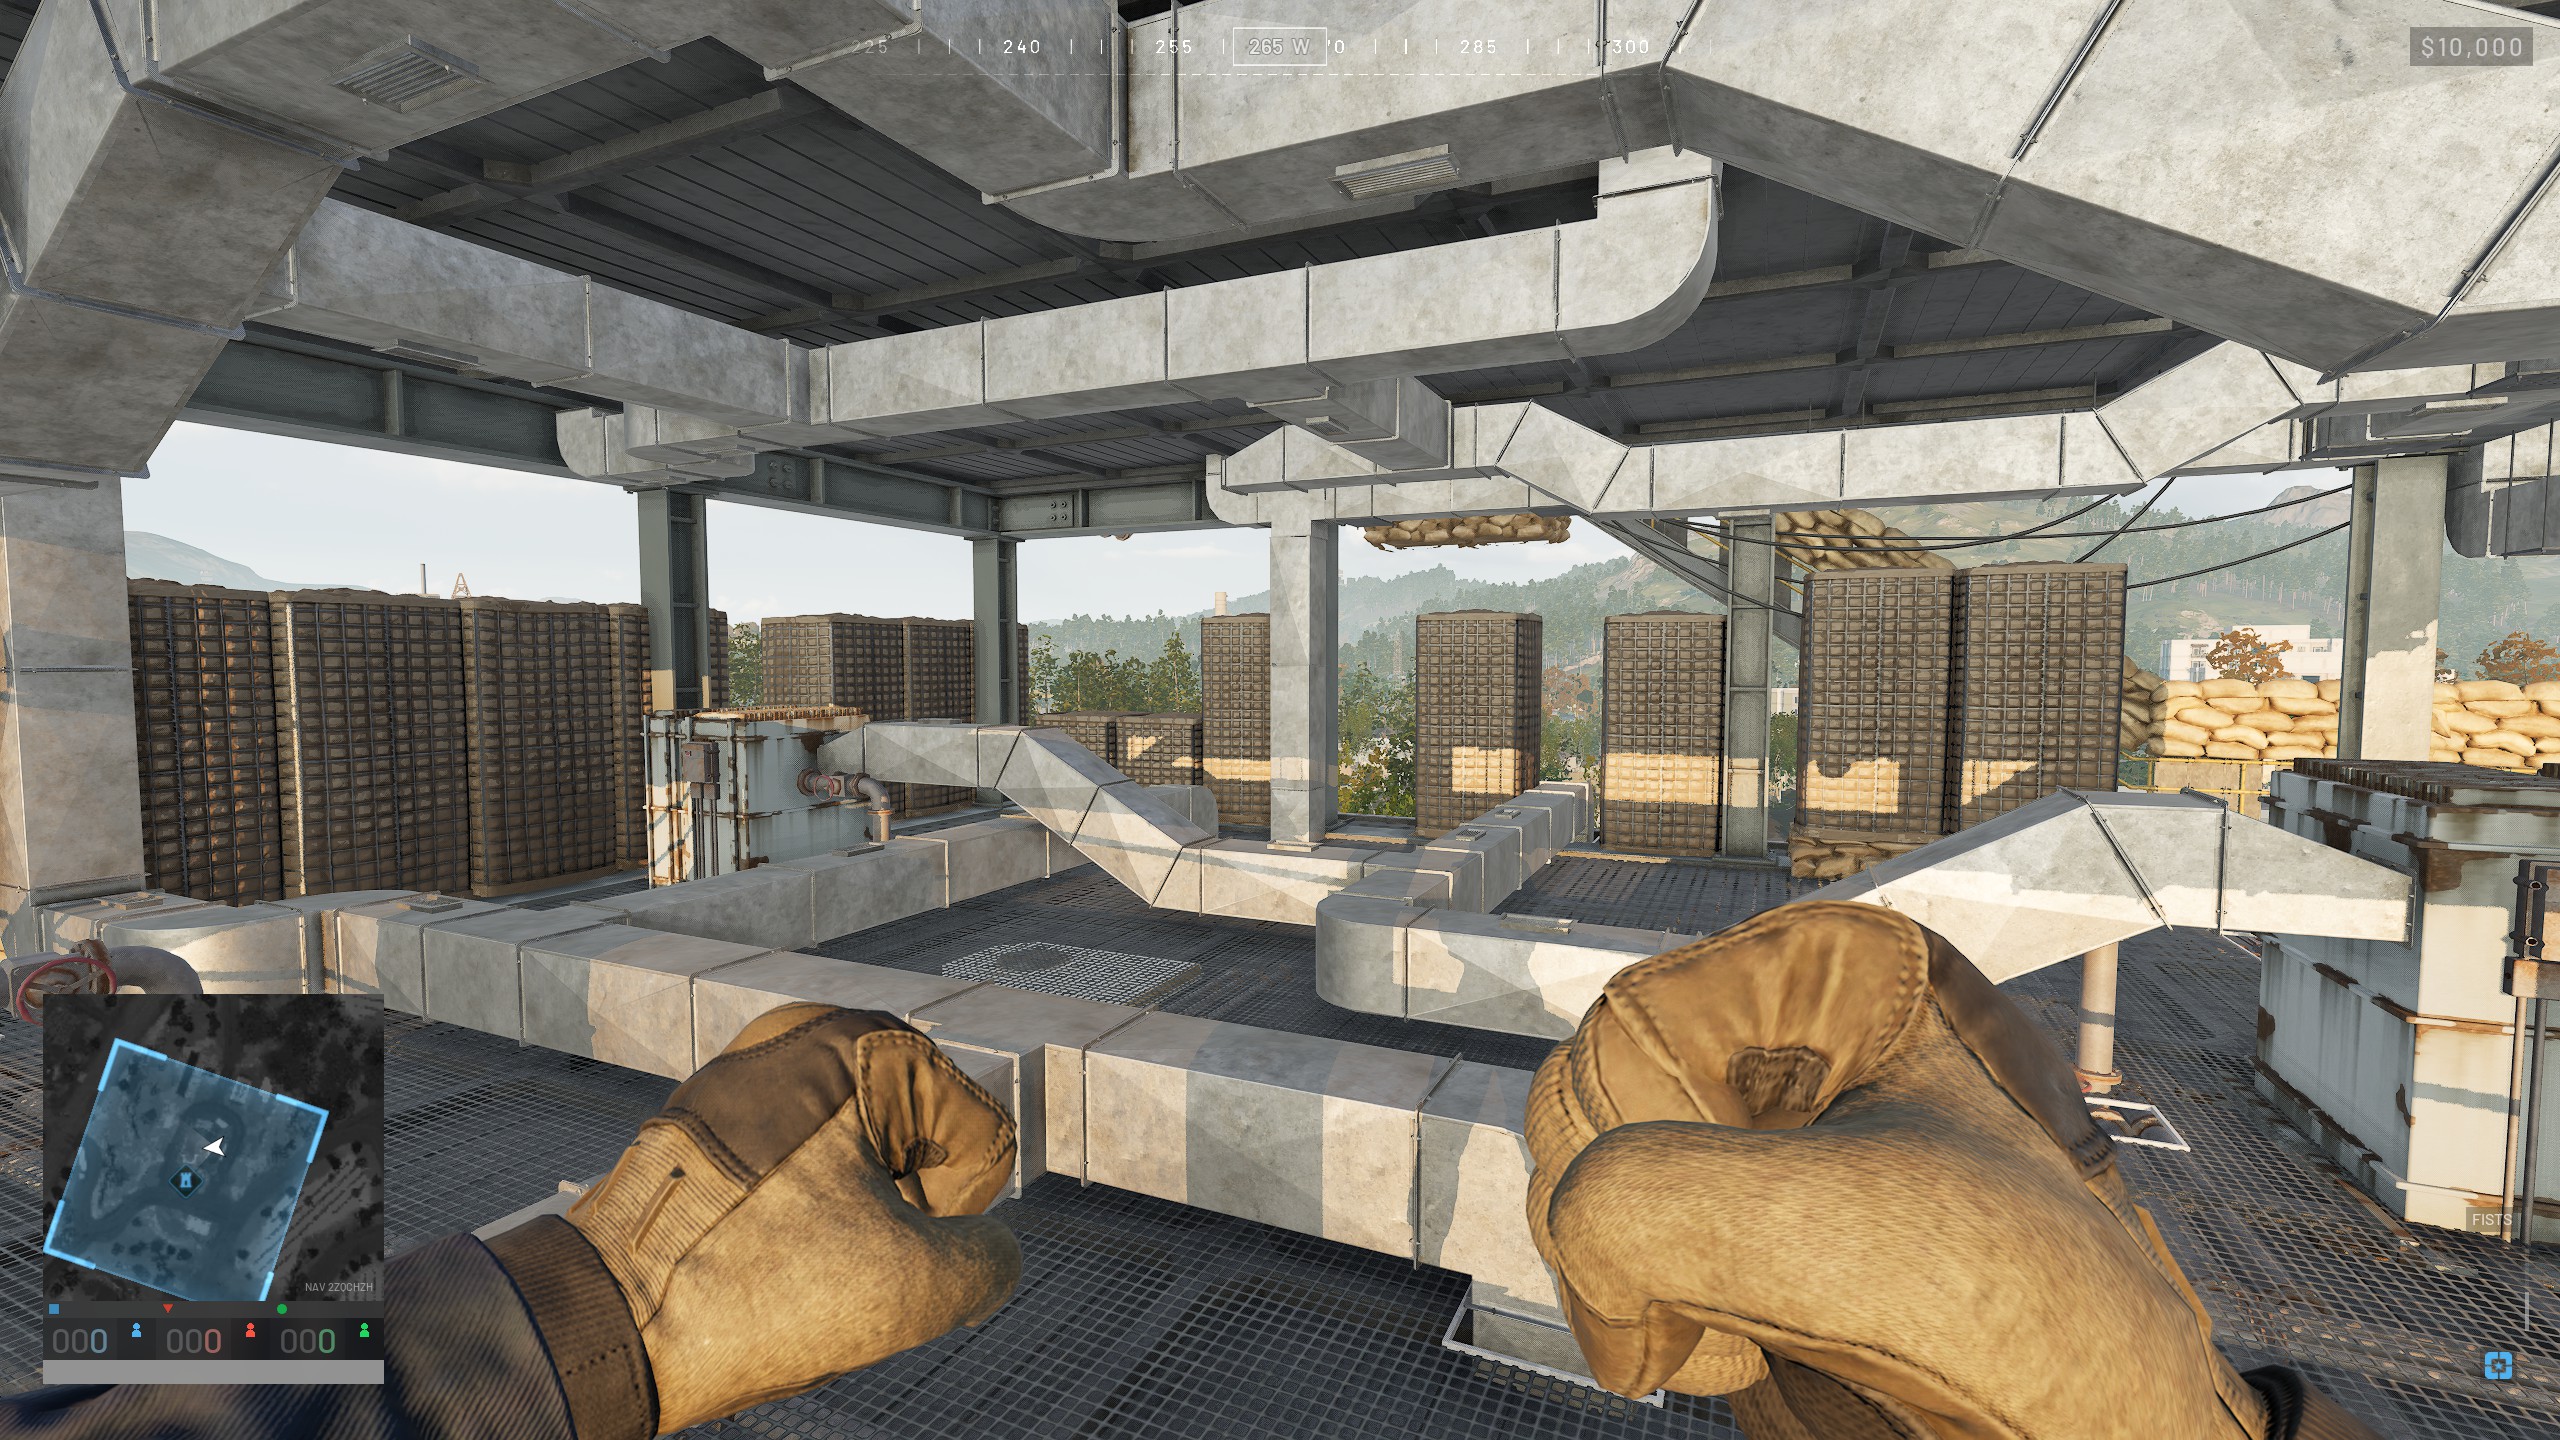
There's also this floor of the tower that's completely open. You can fortify it if you want, but again the usefulness of this is gonna depend on how many allied snipers you have and how much time you wanna spend building. It's pretty common to just fortify the roof instead, and leave this bit open as there isn't much reason to hang around here.
Before you start worrying about walling up every single bit of the tower, you should probably switch your focus to building some weapons. Doors are an important defense for emergencies, but ideally you want to shoot down any enemy helicopters before they even get close.
Equipment and Weapons
Refuel and Repair Stations
At some point while you're building, things should feel secure enough that you want to start making stuff that's actually useful to your team. The vehicle maintenance stations should be put down pretty early, as they're rather cheap and provide some extra utility to your team. Logistics vehicles will usually repair and refuel when they return to spawn to get more materials, but these stations are especially useful for combat vehicles like the Tank or minigun Humvee which will want a safe spot to return to after being damaged in combat.
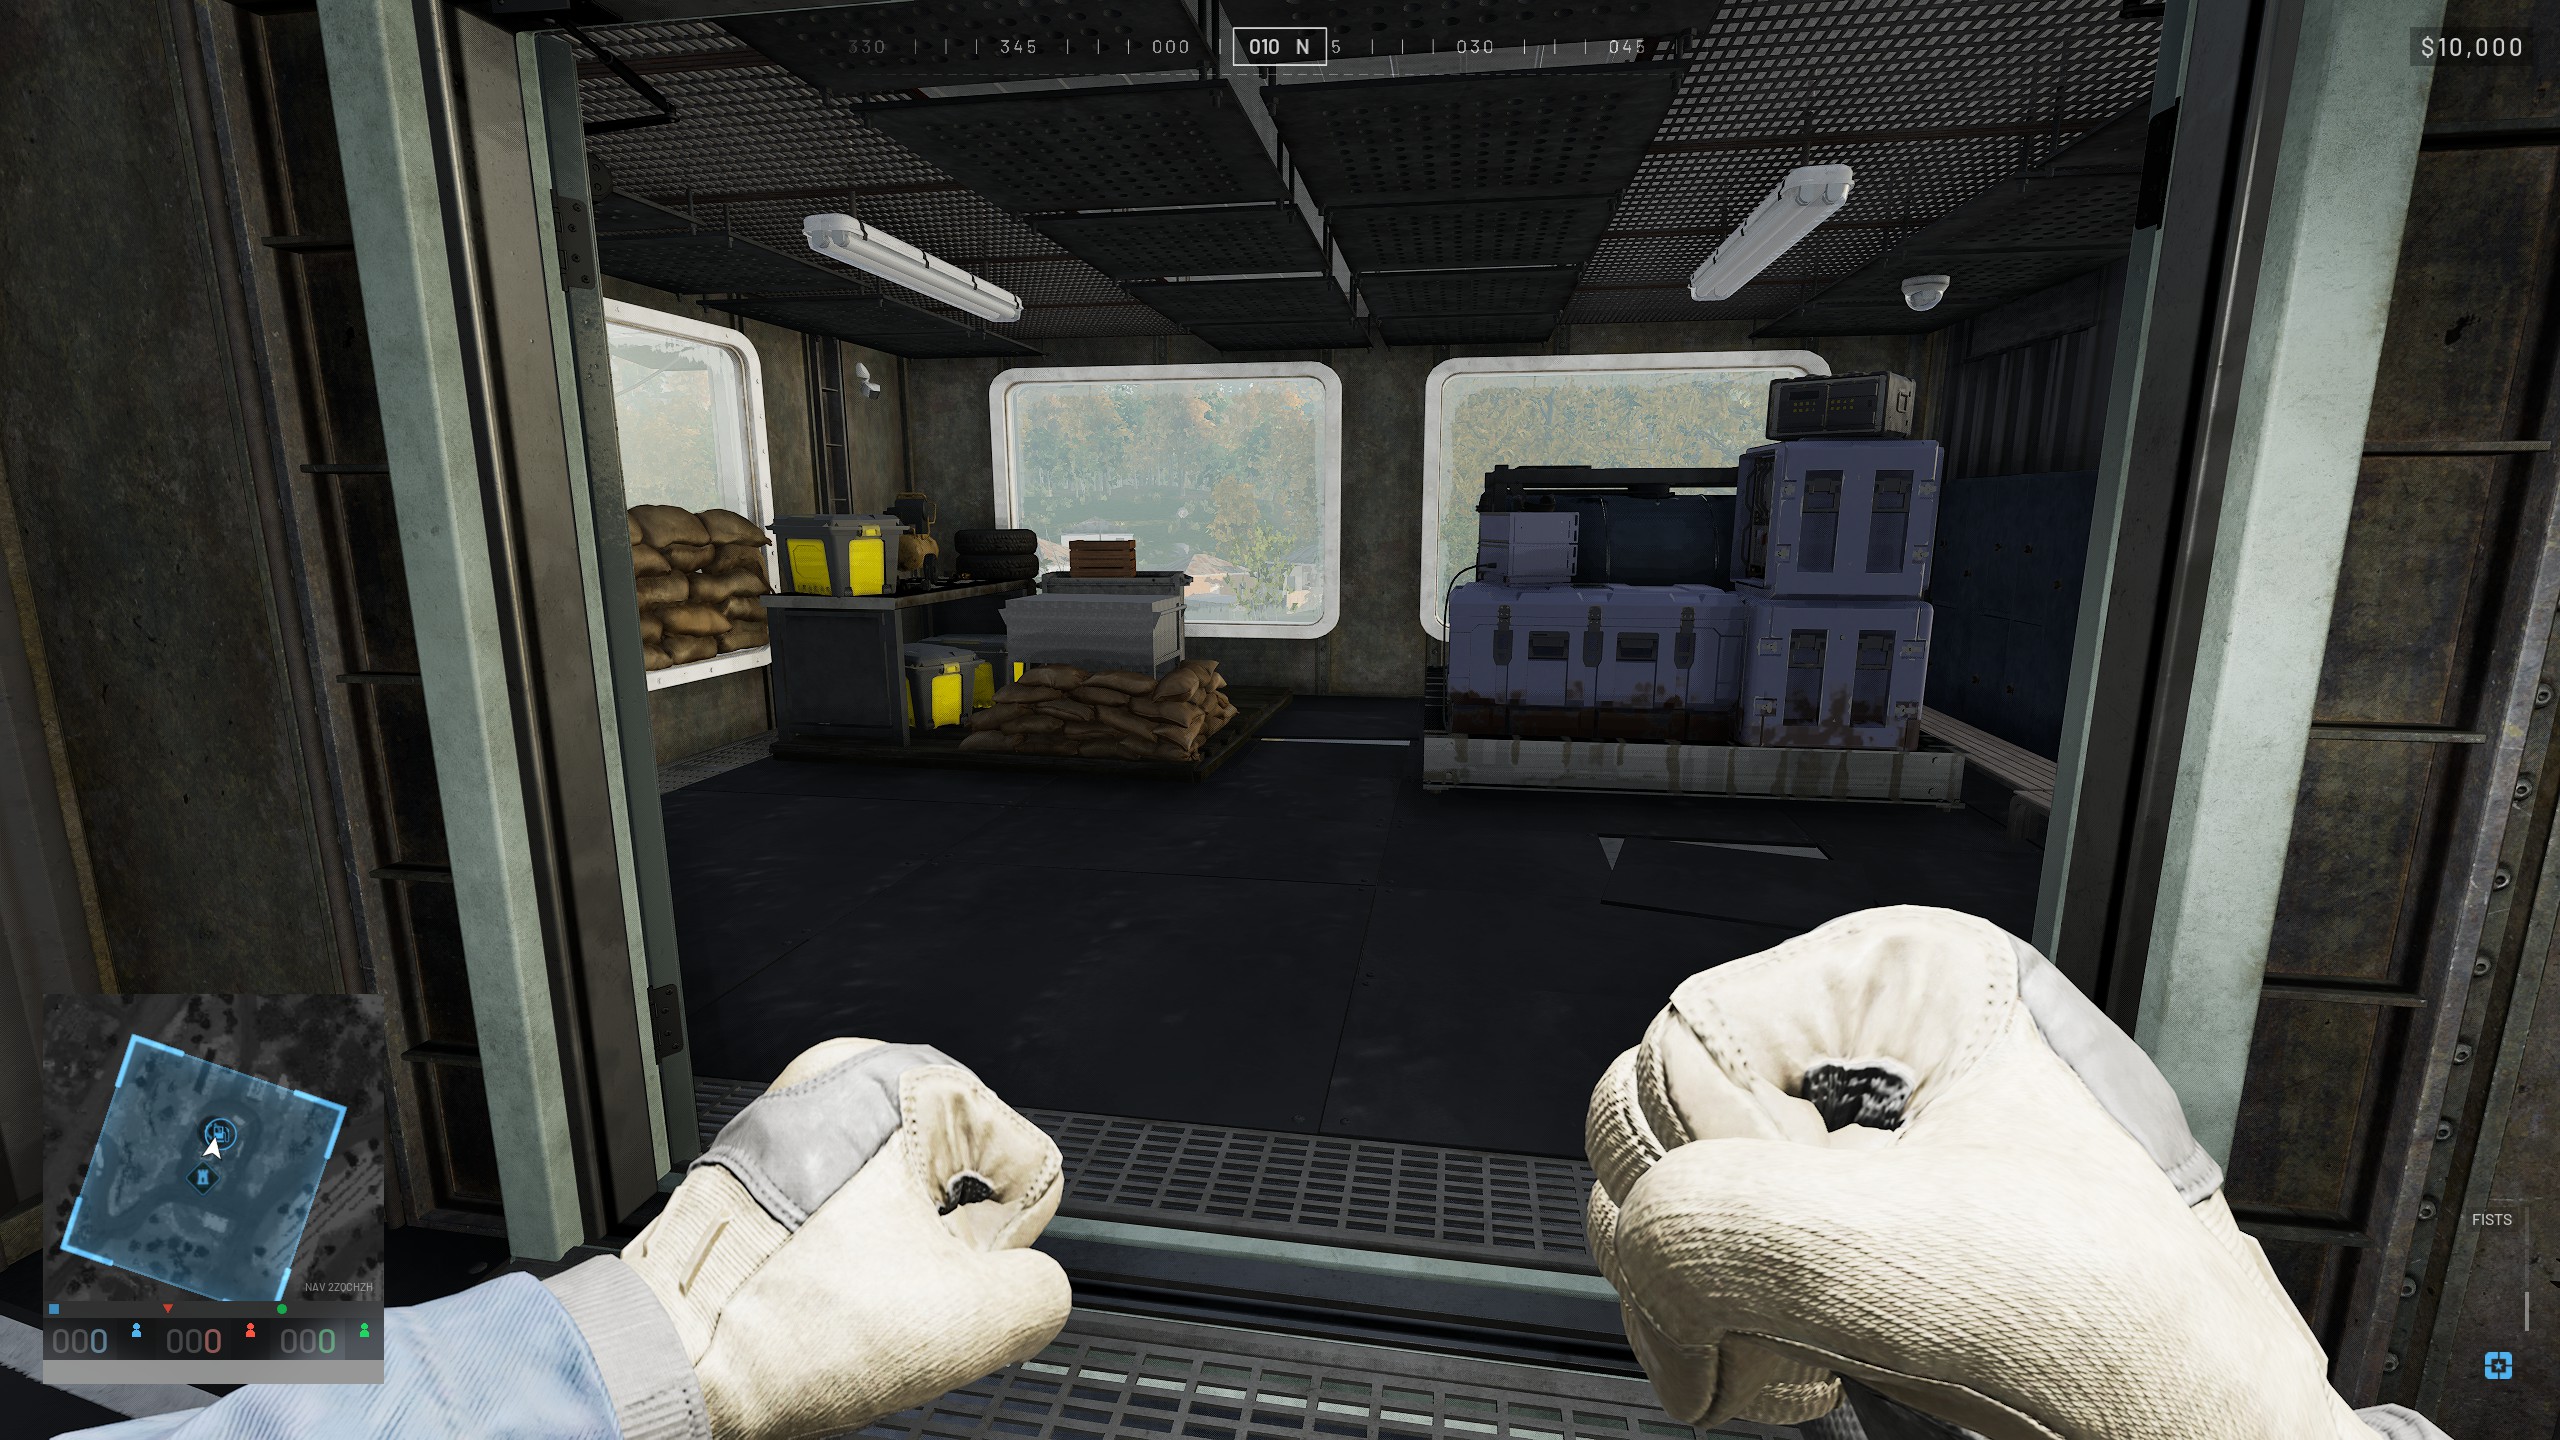
They can be placed anywhere and any vehicle inside the FOB radius will automatically receive the benefits, so I prefer to cram them in these little rooms in the tower. This floor of the tower is otherwise empty and there's no reason to go into these rooms, so it's a nice spot to tuck them out of the way so they aren't taking up valuable floor space on the ground.
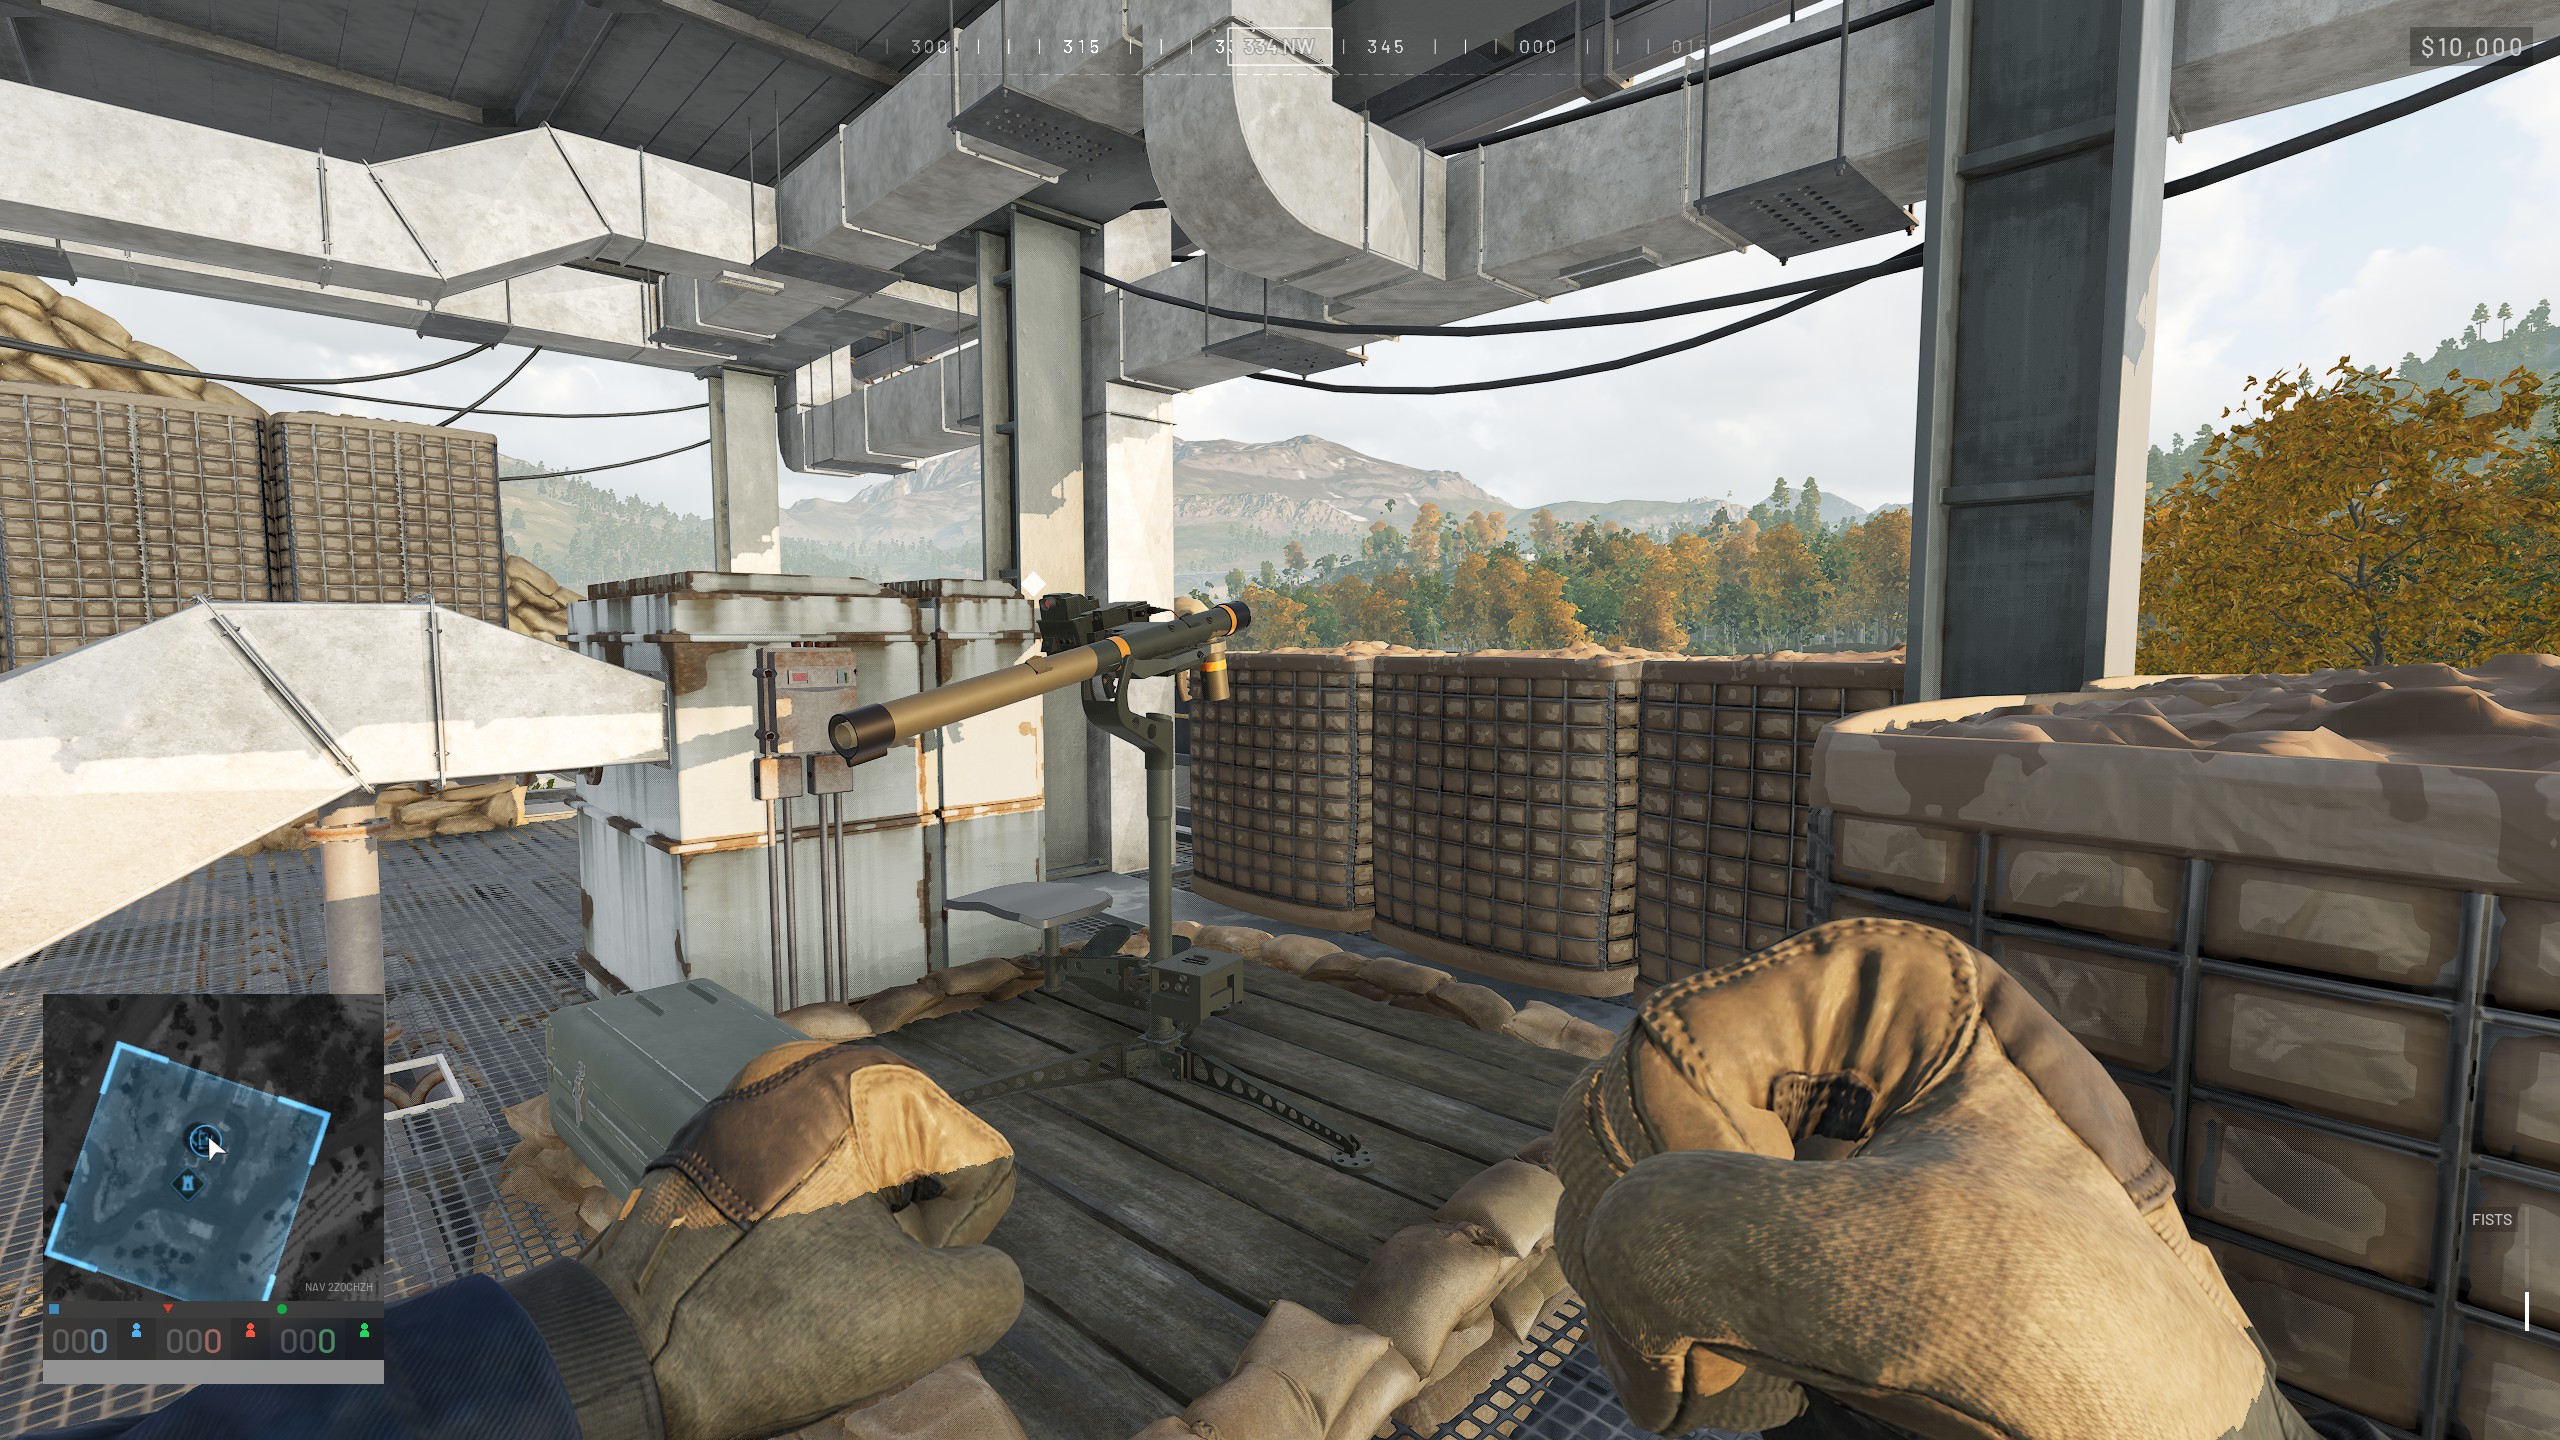
Talon 9-K SAM
The SAM site should usually be the very first weapon you build in your FOB. This thing is vital for fending off enemy choppers that want to come drop a bunch of angry dudes with guns right on top of your head. I personally prefer to place these in an elevated position, surrounded by small Hesco blocks. As an anti-air weapon, you're mostly going to be pointing it at the sky, so visibility below the horizon isn't necessary, and the extra cover makes it a little bit harder for a sniper to blow your brains out while you're trying to shoot down helis.
Try not to abuse this thing too much in early game, or it will piss people off and draw a lot of attention before your fellow builders are ready to fight. Focus on shooting down helis that are actually coming towards you rather than firing at every single enemy helicopter you see unless you have a lot of teammates with you.
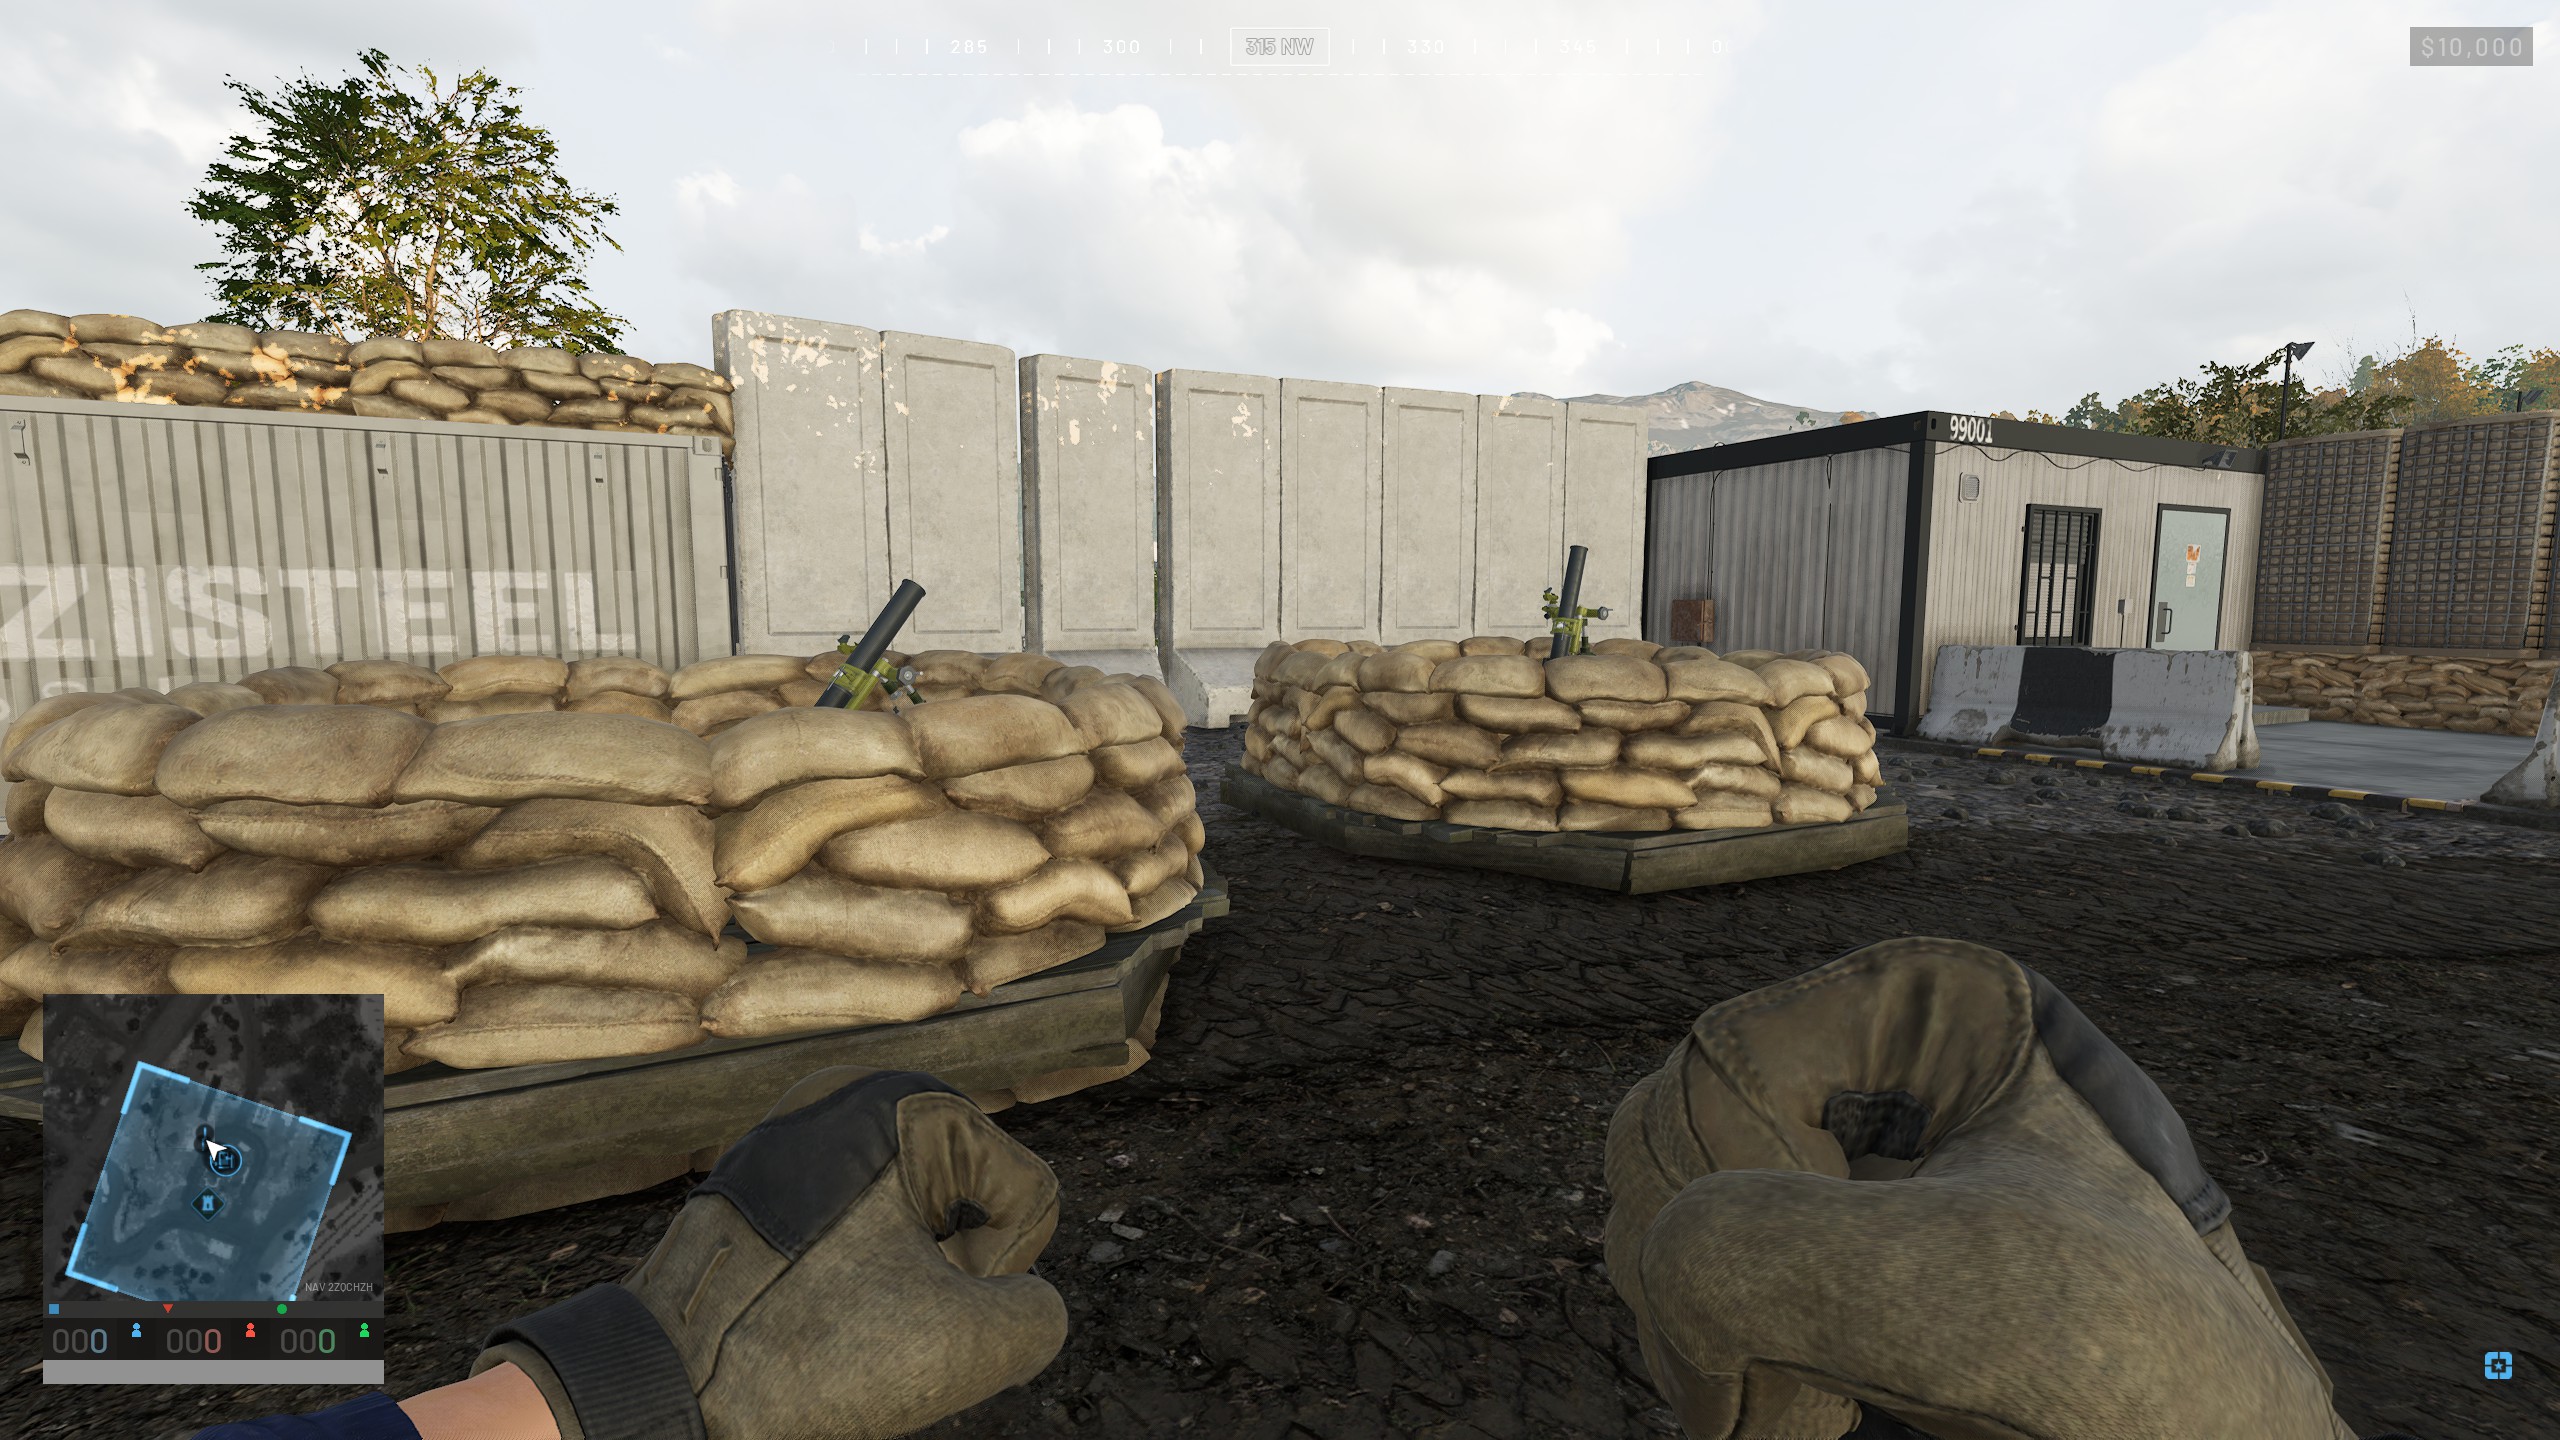
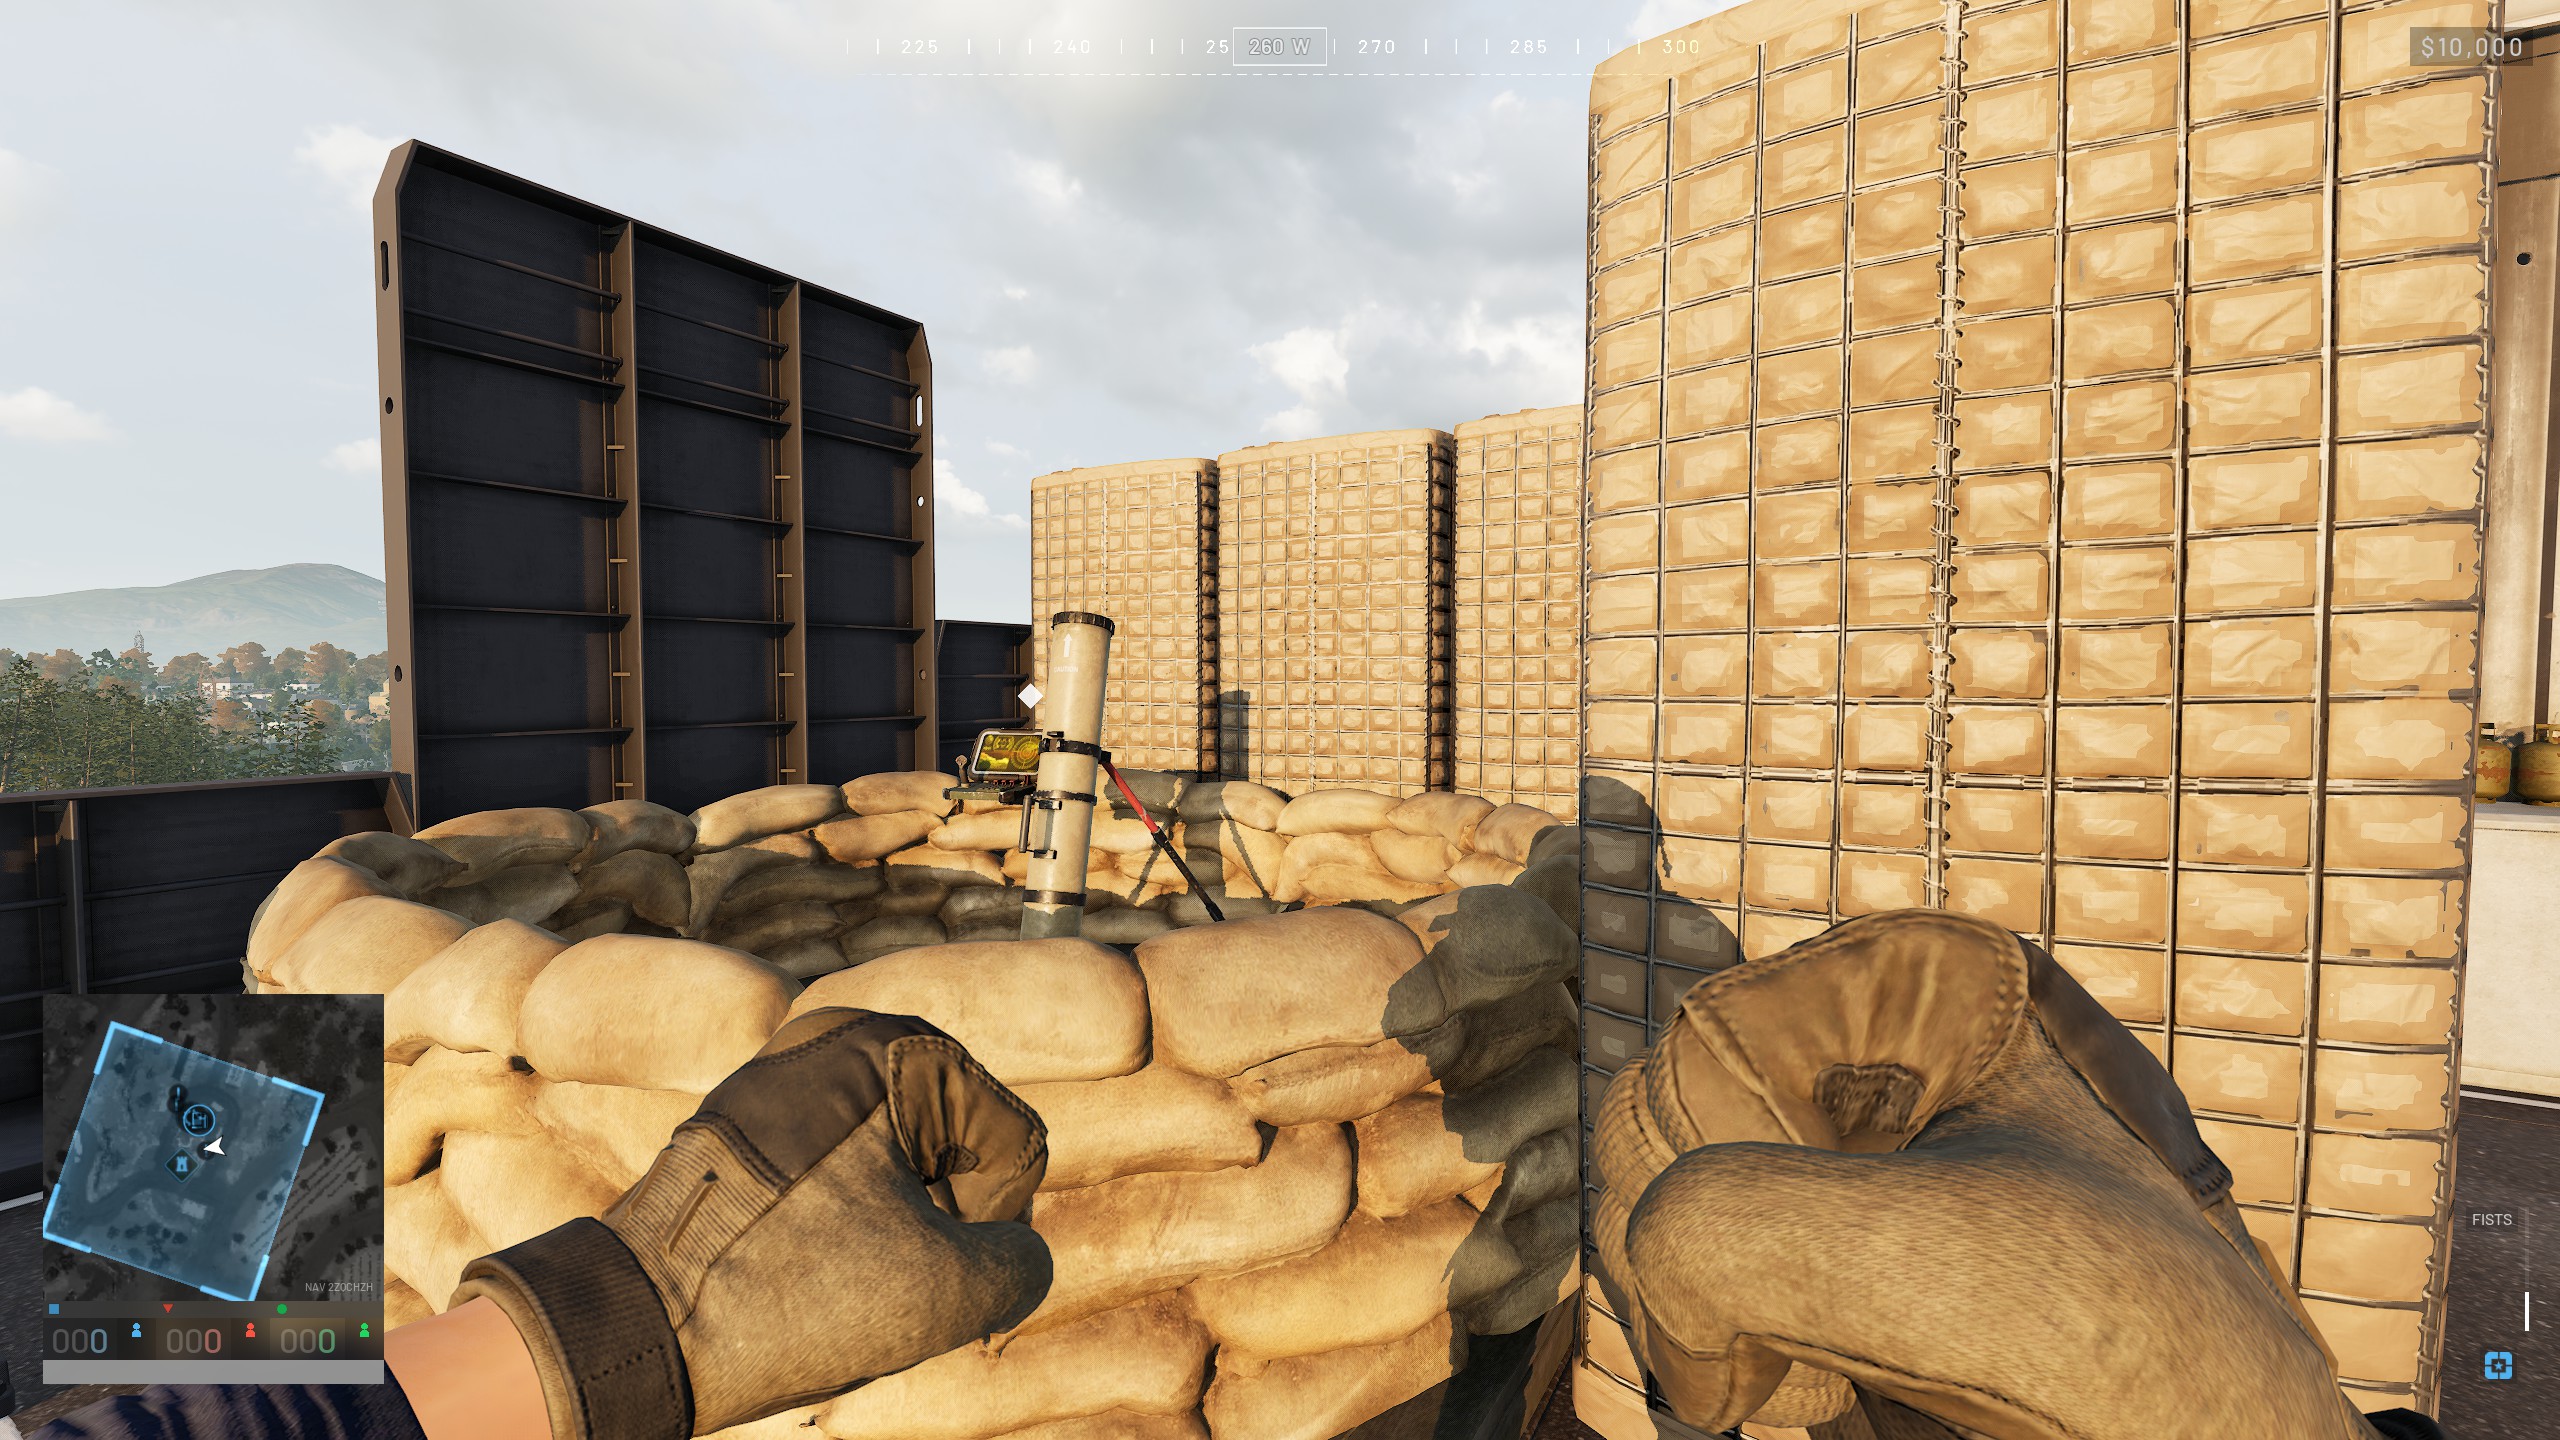
L81 Mortar
The second weapon you usually want to build, or the first one if you don't care about helicopters and just really wanna drop bombs on people. Large Hesco walls placed adjacent to this thing will make it impossible to use, as angled shots will just slam right into the wall. Make sure to clear some space around it.
Visibility doesn't matter, as using the mortar is all about placing pings on the map to determine direction and distance and then using the shell camera to check how accurate you are. It can help to have an elevated position near it for checking distances with a rangefinder, though.
Stingray FPV Drone Launcher
Unlike the mortar, which can have a pretty low angle for long-distance shots, the Stingray always fires straight up, so you can wall it in pretty tightly and it'll still work just fine.
These things can be incredibly potent in the right hands, but they're also incredibly expensive to use, so they're generally a low priority unless there's a lot of enemy armor on the field. $5k is a pretty big cost for a single anti-armor drone that you aren't guaranteed to hit with, but the real cost is in the mechanical components to build each drone. One full pallet of mechanical supplies only gets you two drones, so if you want to use this, be sure to inform your logistics players that you're going to want a constant stream of mechanical components coming in.
The FPV drone is pretty cumbersome, and it's hard to hit a moving target, but if you get used to using it, you can do a lot of damage. It's not nearly as powerful as Tank mains make it out to be, though.
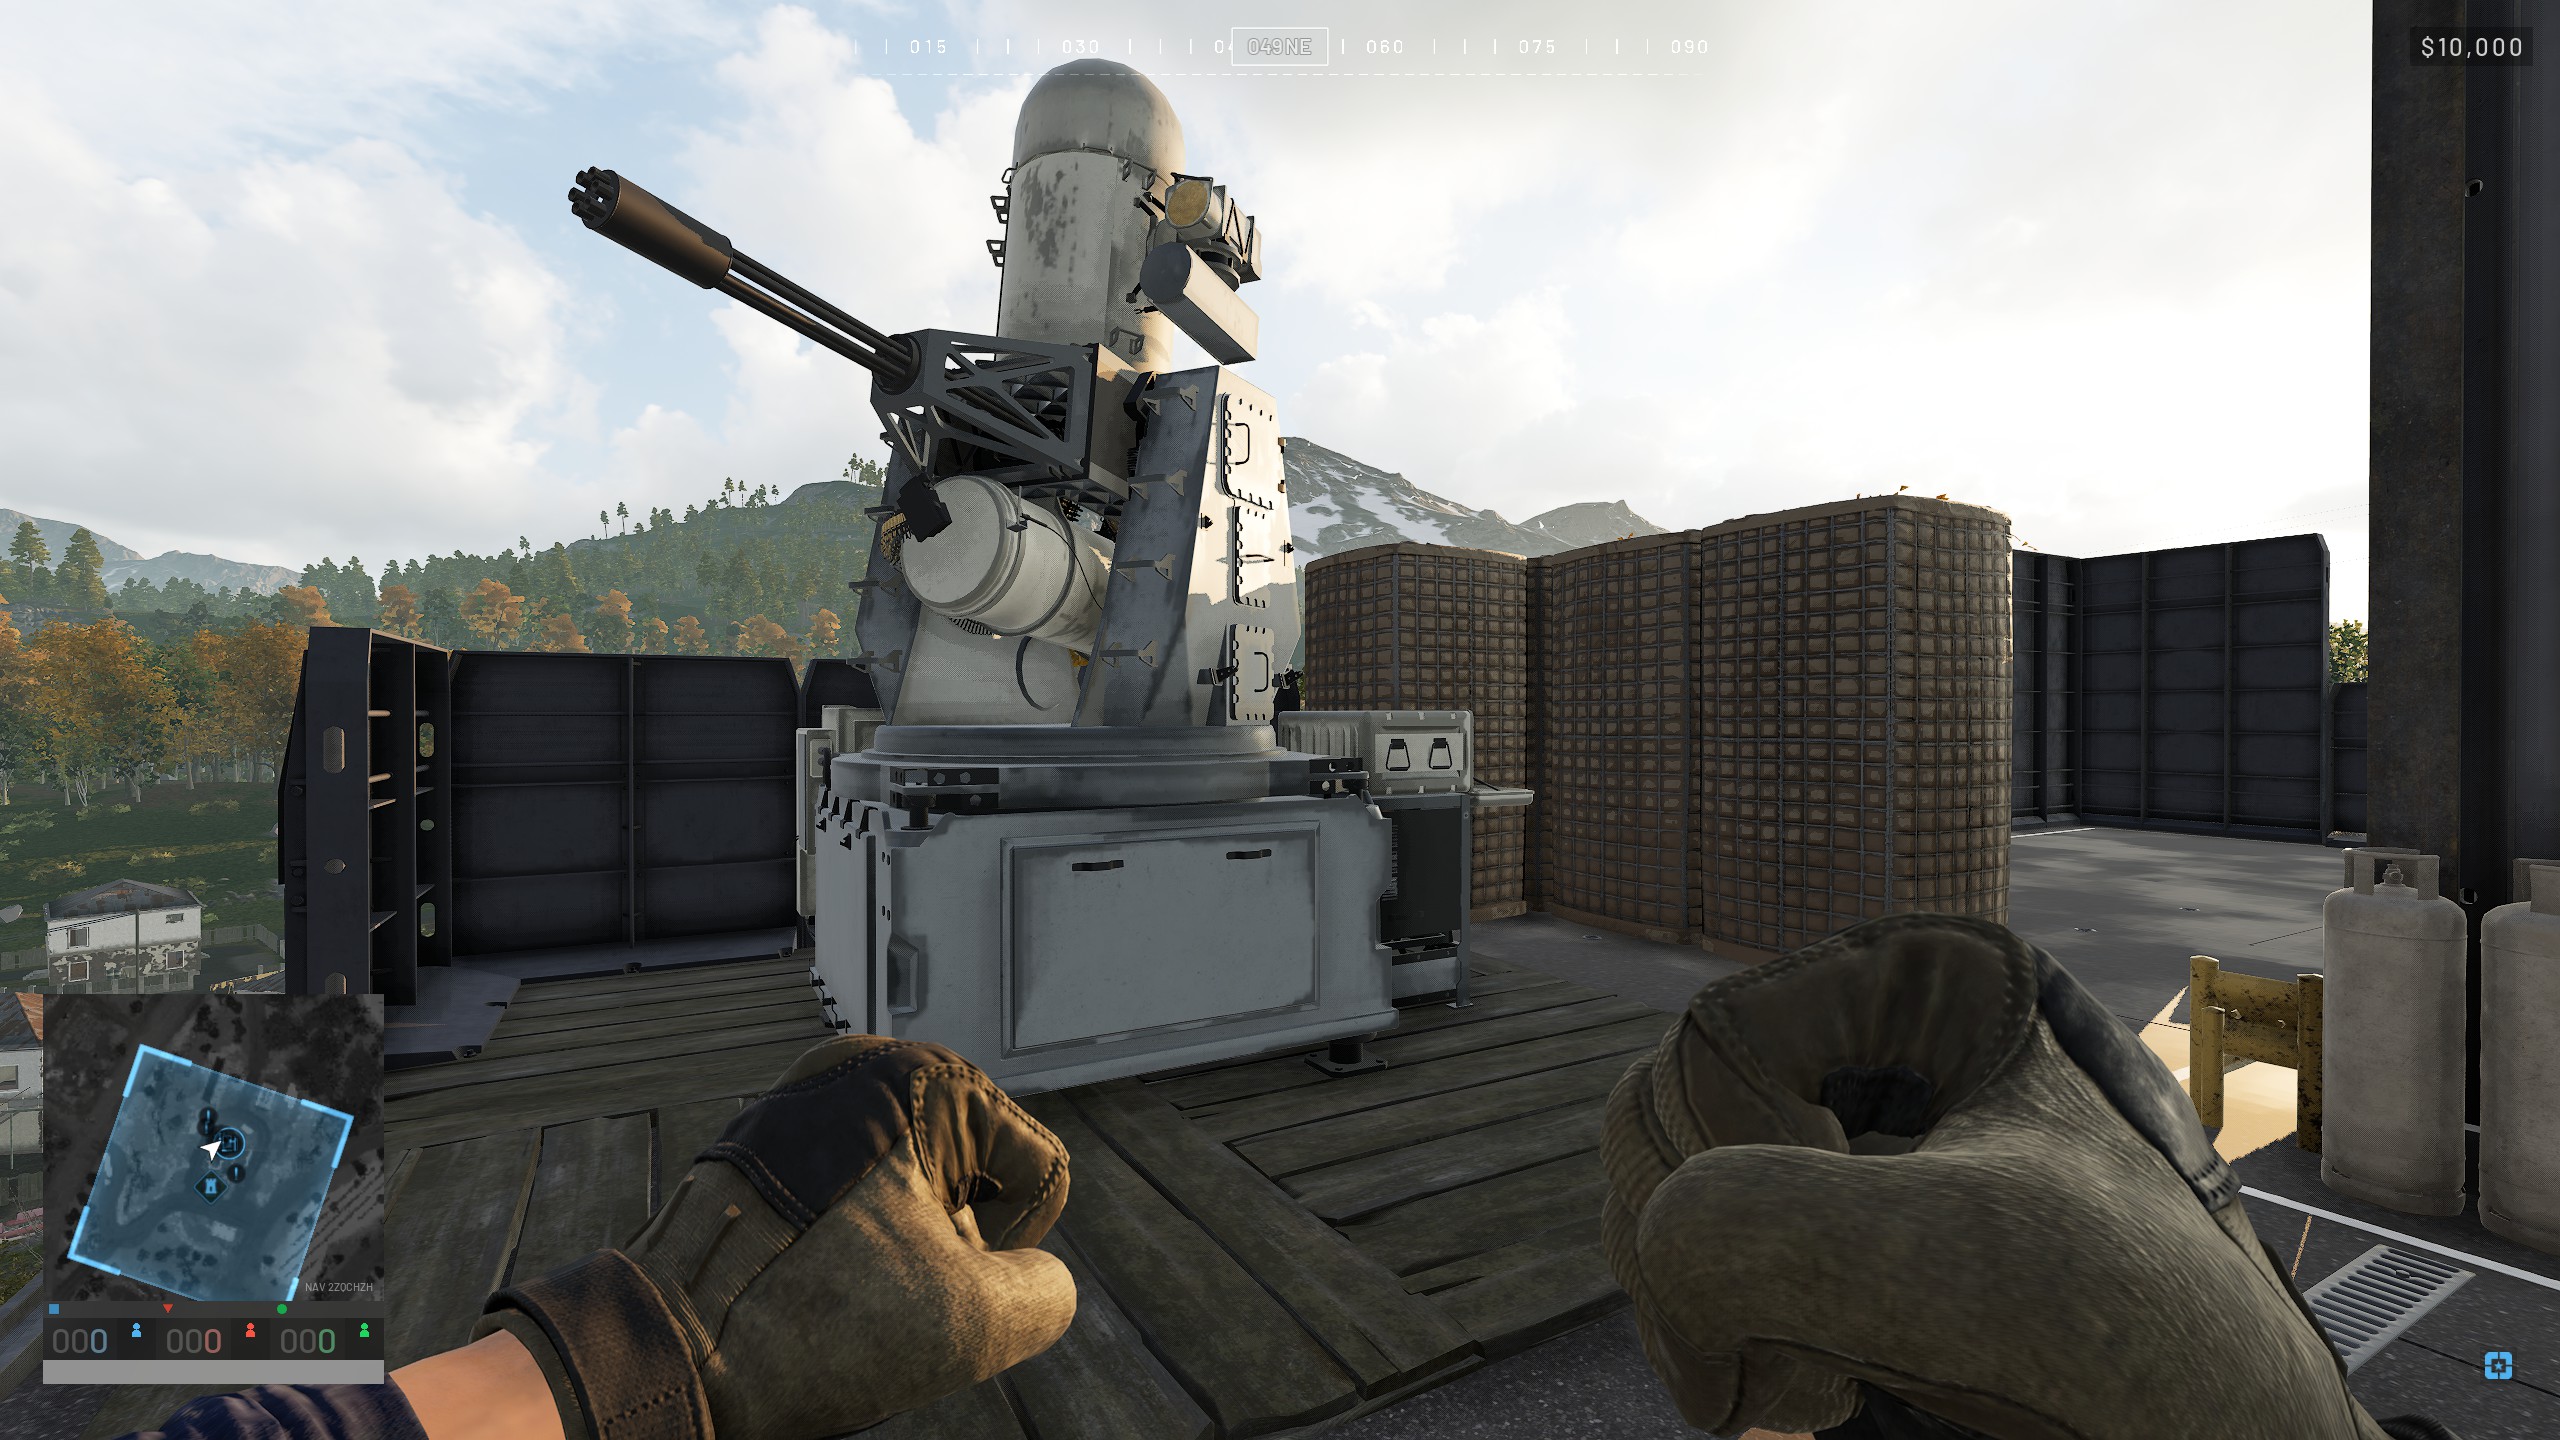
Vanguard CIWS
In real life, CIWS can track targets and fire automatically, which is the whole point of the big radar dome on top of the gun. In Wardogs, though, they're manually operated, so this is basically just a manned rotary cannon made for shooting at helicopters. While it's not as easy to use as the SAM, as you have to actually aim and lead your shots, CIWS does have a powerful advantage in that helicopters can't just spam flares to make bullets go away like they can with missiles. Very useful if you're being harassed by attack helicopters that flare off every missile lock, and not a bad idea to slap one somewhere in your FOB if you've got the materials to spare.
Note that these can also do some pretty hefty damage to ground targets, even able to disable and eventually kill tanks if you fling enough lead at them. The CIWS has very little gun depression, so any sort of elevation makes it impossible to aim at the ground, but with some clever positioning and consideration of sightlines it can become a valuable death-sprayer for FOB defense when enemy players breach the wall.
Make sure when placing these that you rotate it so the control console is protected. The gun has 360 degree coverage so keeping the operator safe is the only consideration when rotating.
Loudspeaker Tower
A tower with loudspeakers. It has a small footprint, so it can be useful for getting some extra height, like making a spotter tower next to a mortar, but there's not much in the way of hard cover so it doesn't make for a very good sniper spot as you'll get counter-sniped easily. Mostly a gimmick building used for shouting at the other builders.