 Day One Fixes
SolvedHow-toUpdated
Absolum: [WIP] Galandra Combat Guide
Short answer
Full In-Depth Galandra Guide (will be updated over time). From Beginner to Advanced. This guide focuses primarily on the combat mechanics so you can improve your fighting skills.
Steam Community guide by Arkhlon-X.
Introduction
Welcome! Here you'll find a detailed breakdown of the combat mechanics of Absolum so you can make pretty much any ritual work and you can have a more satisfying fighting experience. Whether you are just getting started or want to improve your skills, this is the definitive guide for that!
In addition to helping players across a wide range of skill levels, this guide also intends to showcase the game's depth.
Absolum can essentially be approached in two different ways: you can focus on the roguelite elements using your knowledge of builds to break the game apart, or you can focus on the beat 'em up elements and use your knowledge of the mechanics to clear the game regardless of what RNG you're given.
This guide focuses more on the latter: the beat 'em up part. I really hope you enjoy!
1. The Core Mechanics
"A maiden helps the pilgrims. She does not waste her time idly."
These are the fundamental mechanics of the game and are consistent for every character.
Punish
After a clash, deflect, dodge, or any time you hit an enemy after they whiff, it's considered a Punish. The damage is applied to the whole combo, not just the one hit that says Punish.
Repetitive
If you do the same attack over and over, you get a "Repetitive" penalty, reducing damage dealt and preventing you from doing longer more damaging combos
Overpressure
This prevents you from doing infinite combos, but this state can be reset by using your Ultimate (L2 + R2). The hit that triggers Overpressure is always Critical on top of Overpressure itself doing more damage. A flash happens just before Overpressure kicks in and the enemy is staggered for a long time.
Tech Hit and OTG
This is when you hit enemies who are knocked down. In fighting game terminology this is often referred to as "OTG" as in "Off/On The Ground". In Absolum, there is an important difference between a Tech Hit and an OTG: enemies can only recover (land on their feet) from Tech Hits.
All of Galandra's Arcanas can hit OTG. Meaning they can hit downed enemies and yet they do not count as "Tech Hits", so you can repeatedly hit them with your Arcana and they won't be able to recover.
Wallbounce
Some moves will cause wallbounce and if you know about it you can use it for combo extensions. The most important thing about wallbounces is they are unlimited and each does a little bit of damage that is not building any extra pressure so ideally you want use as many wallbounces in combo as you can.
The force of the wallbounce depends on the move. Some wallbounces push the enemy very far away while others don't.
Ground Bounce
Some attacks can make an enemy bounce off the ground. The force with which the opponent is launched upwards after hitting the floor is determined by the strength of the move as well as the height. So, hitting an enemy with Air Skill after Draconic Ascent will cause them to bounce noticeably higher than if you just did Skill -> Dash Jump -> Air Skill.
Ground Bounces do not seem to be "stored" in this game like in SOR4 so in order for the ground bounce to trigger, you cannot juggle the enemy before they touch the floor. For example: Air Skill has a Ground Bounce, but if you combo Air Skill into Strike Combo, when the enemy falls on the floor, they won't bounce.
Impact Hit
Otherwise known as collision damage, this refer to when enemies collide with one another or when they collide with terrain such as a wall (the edges of the screen) or even the ground.
Clash
When your Skill or Arcana collides with an enemy's attack it causes a Clash, staggering your foe for an extended period of time. Against certain armored enemies, if you Clash them while they are in the air, it puts them in a vulnerable state mid-air you'll be able to juggle combo them as if they did not have armor.
2. Learning the basics
"Beyond the waves, and under the moons, a Sun King must die."
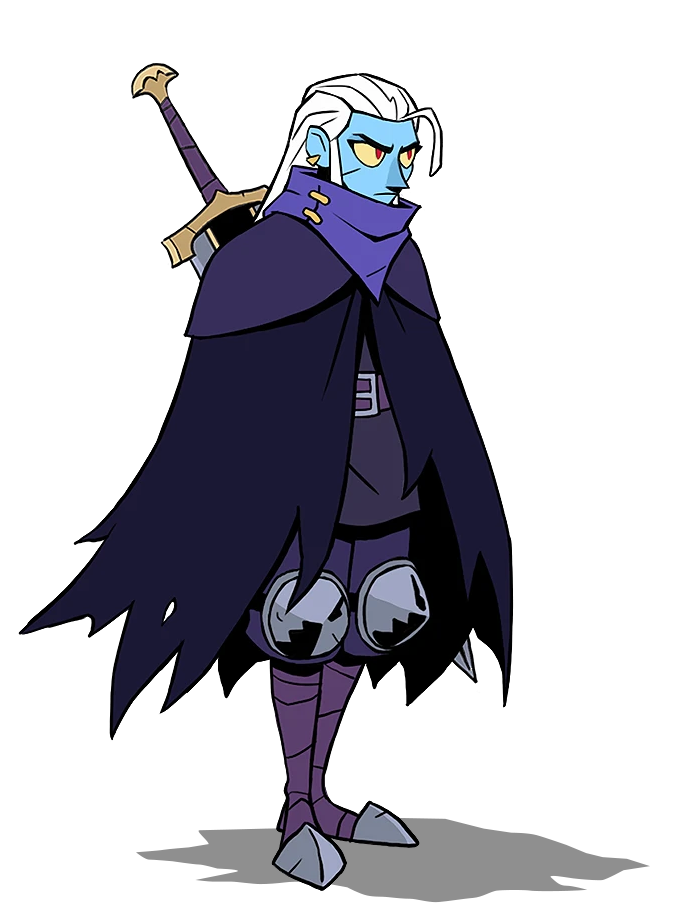
Now that we know the mechanics that are core to the game as a whole, we should take a closer look at Galandra's moveset and how we can best utilise it.
By default, you won't have all of your moves unlocked, you're meant to unlock them mid run. Still, it is very important that you know your basics very well. So, let's quickly go over them.
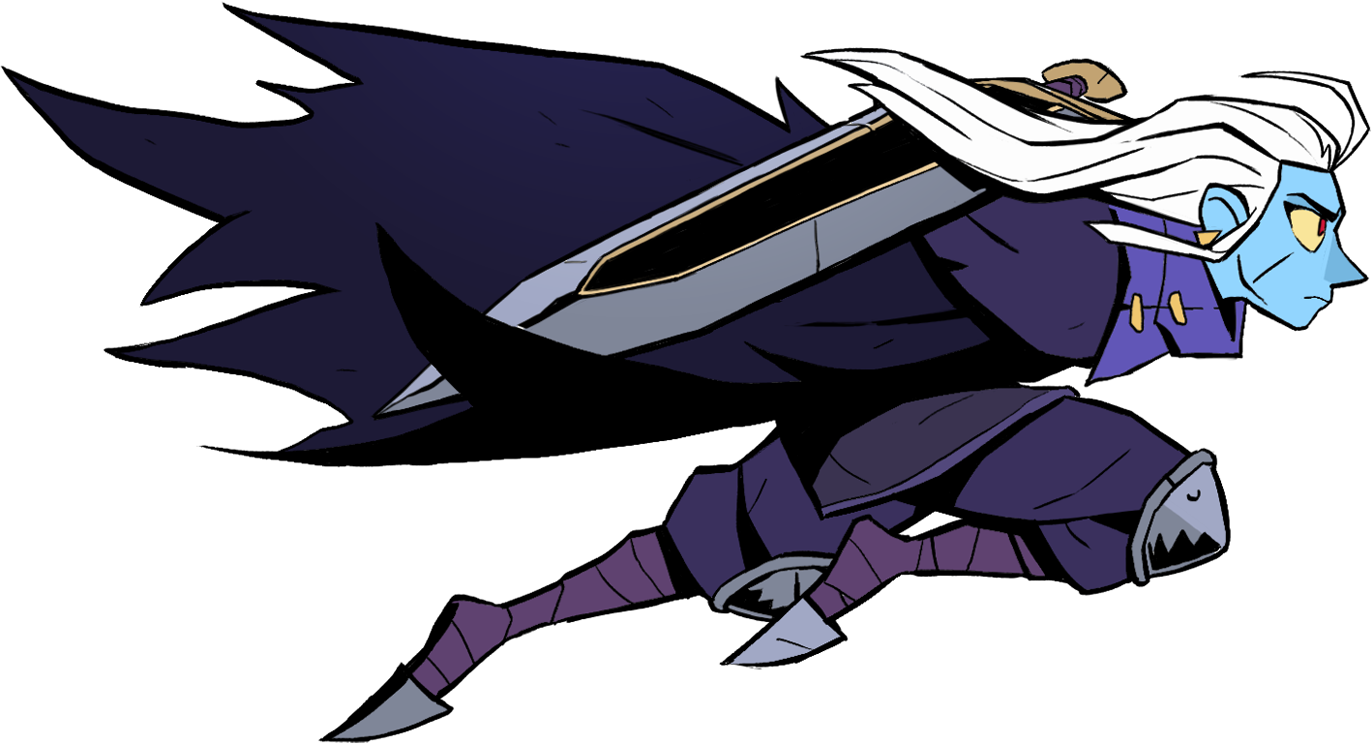
Strike Combo
3rd Hit (elbow)
- Has inertia (most noticeable on whiff)
- Can be cancelled into Skill while preserving the momentum
-- Can be done in reverse too - Does slightly more hitstun
- Can auto-target enemies diagonally
4th hit (kick) - Has wall bounce
Skill
- Launcher
- Naturally sets up farther wall bounce with auto-combo
- Tech Hit (can hit downed enemies, but they're able to recover)
- Wall bounce
Jump Attacks
1st hit
- Can hit downed enemies even though it doesn't technically count as a "Tech Hit" in the game. Only usable against a few enemies
- Can be used to fall fast after Draconic Ascent and Phantom Impale
2nd hit - Has inertia
- Allows you to slightly control Air Skill momentum
- Has wall bounce
Air Skill

- Wall bounce (still keeps the ground bounce property)
- The most damaging original move, so it's the most optimal combo ender when enemy is right about to get overpressured
- You can do it almost instantly right after a jump (low jump Skill attack), you don't need to be at jump's peak to perfom it
- Low jump Skill attack is the fastest way to clash, but it doesn't have such wide range as the standing Skill Attack.
Running Attack (→→ + Strike)
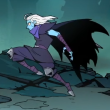
- Has collision damage
- Can be cancelled into air Skill Attack
- Allows better combo follow-up
- Good for extending the travel distance of the move
- Kara Cancel into Reverse Skill Attack for quick side-switch at jab range
- Sets up re-stand reset after a throw
- Can be used diagonally
- This in turn means Skill Attack can also be used diagonally
- Tech Hit (can hit a downed enemy, but they're able to recover)
- You can jump over some projectiles with this
Grappling
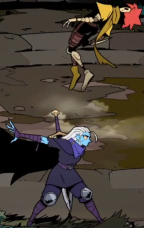
- Forward Throw pushes the enemy farther away than Back Throw
- All throws do damage ONLY if you let enemy fall on the ground naturally without any additional hits in between.
- Up throw launches the enemy upwards setting up a combo and a side-switch
Throws have iframes, but you cannot iframe through an enemy's grab.
3. Choosing your Arcana
"It's a long journey to Asterios"
You can only choose one Arcana at the start of your run. Much like in the previous chapter. Knowing the capabilities of your chosen Arcana is very important.
Galandra doesn't have any bad Arcanas, some may be stronger than others sure, but nothing is terrible, so pick whatever you feel like suits your playstyle better.
By default, you gain mana by attacking enemies with either Strike or Skill. For more ways to build mana check Ritual Synergies.
Reaper Cyclone
- Soft wallbounce making it very good in the corner
- Highest damage arcana with wall bounce
- When done in the air it has less recovery
- Very good for clashing
- Benefits from movement speed increase
Draconic Ascent
- Wallbounce
- The best way to initiate Air Combos with Galandra
- You can use a regular attack in the air to fall faster and set up better follow-ups
- Aerial version has a lot of corner carry which makes it useful for setuping corner combos from midscreen.
- Can be performed pretty much immediately after jumping, allowing you to stay close to the ground; a good option to avoid the danger of getting anti-aired
Revenge Claw
- Strong knockback and wallbounce that enables follow-ups
- Aerial version has Ground Bounce
- Counter does not trigger on projectiles. Only melee attacks. Though it will still throw the projectile back at the enemy.
- You don't need to be facing the enemy to clash with this and you can redirect the claw attack.
- Highest damage Arcana with a single-hit (not counting wall bounce)
- Fully invincible except against certain grabs and environmental hazards (such as wrecking balls).
- This allows Revenge Claw to successfully clash certain attacks that would otherwise stun Galandra like the Lizard King's belly attack.
- Recovery can be cancelled into anything
Necrotic Wave

- Excellent wave clear and crowd control for most fights.
- The main weakness is it's not particularly good against bosses.
- Has less range when done in the air
- The wave itself can clash
Phantom Impale
- Bonus damage and better combo setup if you impale the enemy on the wall
- When done close to the enemy, it effectively acts as a grab, and it works on armored enemies too.
- Good for clashing as well
- Hitbox can be inconsistent especially on heavyweight enemies
Dark Helix
- Very good but low damage compared to some of the others
- Has good synergy with Fatal Flow
- Good built-in mobility. Useful for escaping tricky situations.
4. Performing combos
"Death itself may fear you, but I do not."
Knowing how to combo can still be incredibly useful, especially early game.
Think of these combos as drills. Do not expect to replicate them exactly in a real run. But doing these can still help you improve your execution, spacial awareness, and setups.
You can regenerate mana by freely comboing dead bodies. This means even if you got unlucky with mana regen trinkets and rituals, you can still skillfully manage your mana.
Here are some important mechanics and terminology to keep in mind when trying to combo:
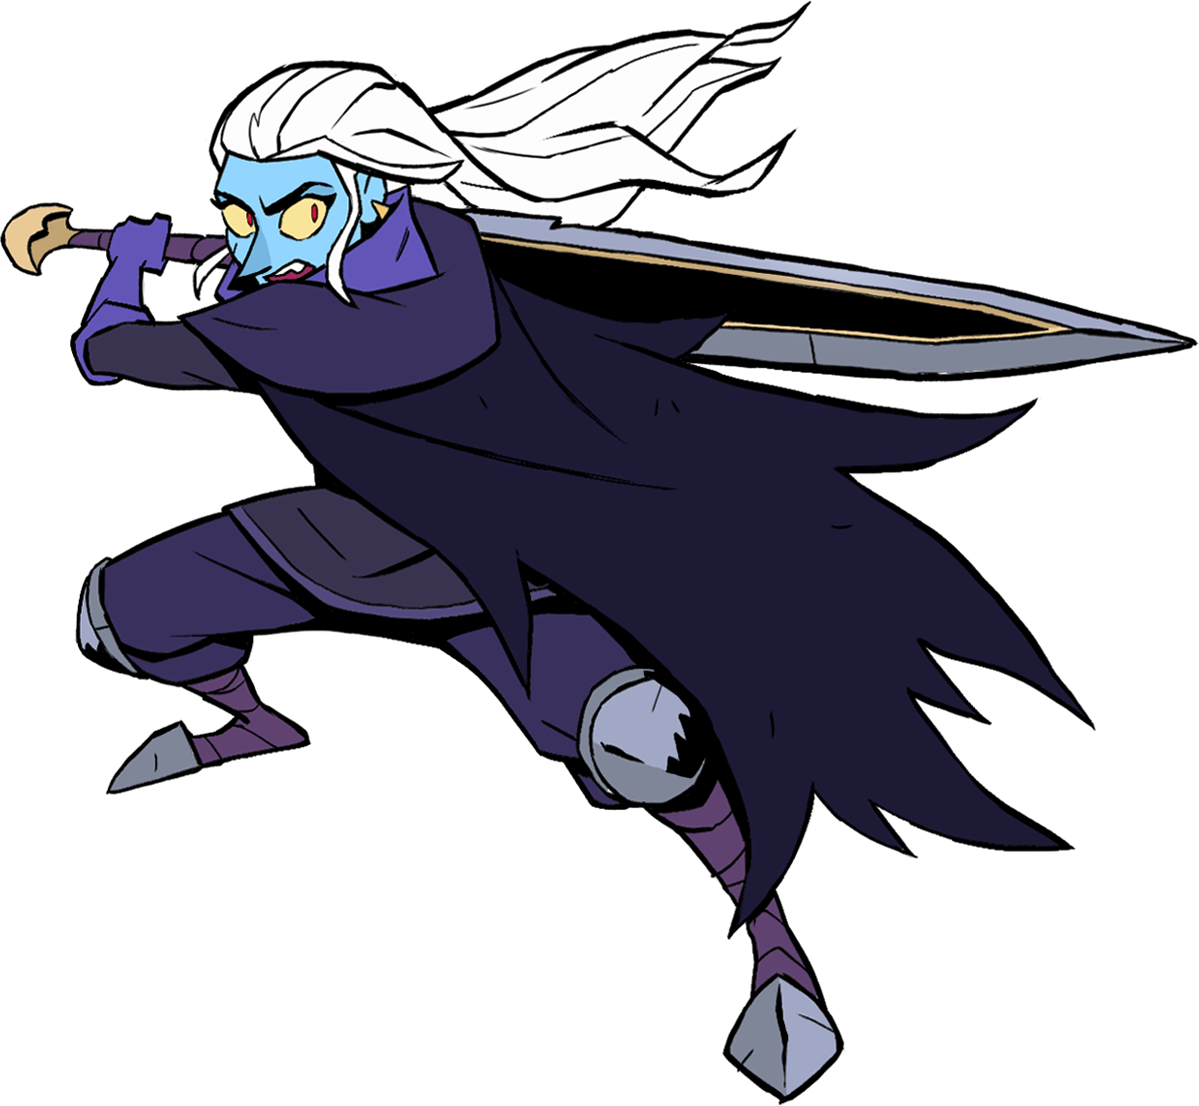
Combo Tech
Dash Cancelling
Most attacks are cancelable on-hit into Dash or Run. We're going to use this a lot. Both the forward dash as well as the vertical dodges work. Also keep in mind that, after a vertical dodge, you can manually adjust the follow-up punch.
Dash Jump
Because you can cancel a forward dash immediately into a jump we can essentially create a jump cancel for moves that don't normally have this ability. You can also use it strategically by dodging in and jumping away from an enemy to set up an air clash.
Reset
This means allowing the enemy's state to reset so as to get around the Overpressure mechanic. There are a few ways of doing this:
- Simply stop attacking the enemy and let them recover from the hitstun. Good for beginners who aren't yet comfortable doing combos
- Let the enemy wake up after you knock them down.
- Hit the enemy with an OTG/Tech Hit and let them recover. They'll land on their feet and, if set up correctly, you'll be in position to combo them again.
Charge Finisher
Hold the Strike button and do a forward dash while keeping the button held. When Galandra finishes the dash animation, she will instantly do her finisher (can be redirected). Allows you to chain dashes more rapidly.
Some BnB combos
Running Attack -> Air XX (after wall bounce or after enemy collides with another, so pay attention when you use this against a group of enemies)
Side-Switch Setups
(Any Cancelable String) -> Running Jump
Skill -> 123 -> Dash = Cross Under
123 -> Skill -> Dash Jump -> 1 -> Skill -> Dash -> 1234
Clash -> Strike Combo -> Running Attack -> Skill -> Air Arcana
With Dive Kick:
Strike (3rd hit) -> Running Attack -> Dive Kick -> Air Strike -> Strike (3rd hit) [Loop]
Strike (3rd hit) -> Skill -> Dash Jump -> Air Combo -> Dive Kick -> Air 1 -> 1234
5. Using Inspirations in Combat
"No secret escapes a maiden of the Silver Queen."
Inspirations can change your gameplay quite drastically. Please keep in mind that some of these do have conflicting inputs unfortunately.
Most of Galandra's Inspirations change or add something to her default moveset, only two are about stats.
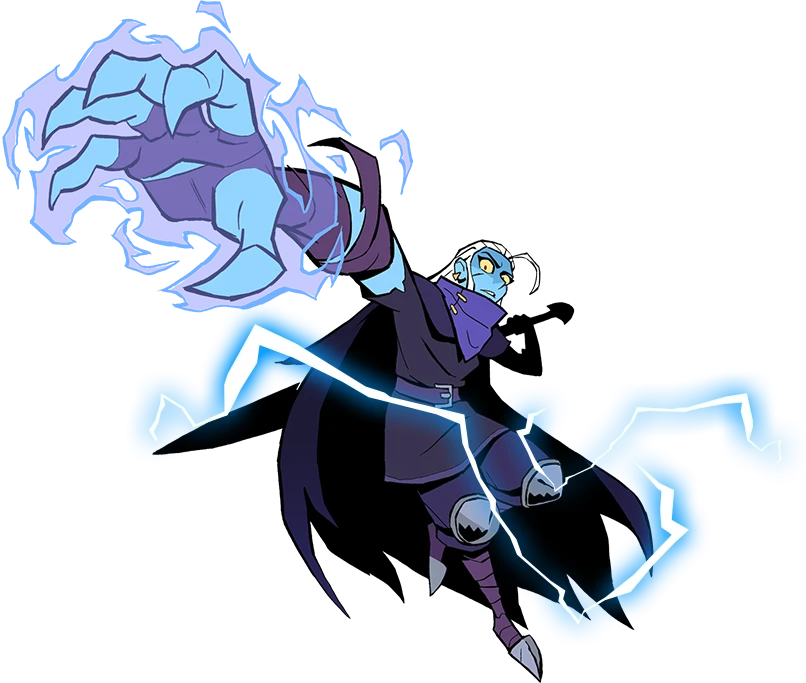
Charged Sword
- Does 300% more damage to guard (armor) which makes it extremely useful for breaking guard of elite enemies and bosses allowing you to perform combo on them more quickly.
- The most optimal punish/combo starter/combo ender (not counting some arcanas) is full charged sword. The thing does 36 damage alone (while jab damage does 4, not full charge sword does 24). Very hard to use this move in combos without wallbounces.
- Allows to time the hit more precise which makes it good for clashing
- Can be followed up with the 2nd hit of Sword Flurry if you have it. The follow-up can be delayed.
- Fully Charged Sword gets significantly bigger AoE
- You can dash cancel out of it when the charge is near the end (right before Galandra turns red)
- Tech Hit
Sword Flurry
2nd Hit
- 2nd hit is cancelable like the first, has a ground bounce, can knock back standing enemies.
- Tech Hit
3rd Hit - Not dodge cancelable. It can only be cancelled if you have Charged Sword, cast an Arcana, or use a throwable weapon.Particularly good if have some buff applied to your Skill. Also good for clashing, particularly for those times you miss the first hit
Blade Spin
- Multi-hit -> each hit benefits from Rituals.
- Galandra's movement can be controlled even when the move whiffs
- Changes the timing on the Air Skill slightly
- Tech Hit
- Ground Bounce
Burial Smash
- Has an AoE that knocks down nearby enemies and hits OTG. Good crowd control.
- Does not benefit from Rituals that buff your regular grab
- Though not every enemy can be grabbed, this Inspiration does allow you to grab enemies that would normally break out of your grab instantly like Goblin Champions.
- You can redirect the grab. Meaning, you can knee one enemy on the right and grab another on the left for example. You can also control Galandra's movement briefly while she's in the air.
- Enemies get up very quickly after being hit by this move.
- Loops quite well into itself and sets up resets.
Claw Finisher
(Ground)
- Multi-hit with each hit benefiting from Finisher buffs
- Jump cancelable
(Air) - Cancelable into Dive Kick
Arcana Mastery
- Reaper Cyclone: Lasts longer and becomes unstoppable. Be careful when facing Elites because they can tank the cyclone and damage you.
- Draconic Ascent: Larger hitbox and extra hits
- Revenge Claw hits twice. The second has a larger hitbox, cannot be redirected, and it is possible to cancel it before it even comes out.
- Necrotic Wave: Creates 2 additional waves on either side of the main one
- Phantom Impale: More hits mid-screen. Increased travel distance.
- Dark Helix: The move is automatically used twice and you can control its trajectory
Dive Kick
- Cancallabe from blitz (-> -> X) and air combo's second hit only (A -> XX)
- Very useful move for combo extensions, gives good mobility, especially when combined with blitz.
- Can be used for staying in air for quite some time when combined with air combo. Especially considering it hits OTG.
- Has decent damage (same damage as combo finisher) and it also counts as a finisher and benefits from Finisher rituals
- Double tap the attack button to get this move to come out when you have Burial Smash or Claw Finisher.
Dark Grip
I don't think this one is very good despite the mana gain being quite substantial (1 chunk and a half). It's single-target damage only on enemies that you can grab and you leave yourself exposed. Some of the most dangerous enemies cannot be grabbed anyway. It's okay early game when you naturally have to play a bit more conservatively, but it doesn't get much use later.
Ghost Blade
This is actually a very powerful Inspiration when playing casually or just trying to be as destructive as you possibly can. The Ghost Blade can potentially enable combos with its launcher, but it can just as often mess up your combos so just keep that in mind. I don't recommend it for those who like to have as much control over their combos as possible.
Duelist
This is mainly to boost your damage against bosses. Generally speaking you'll want to group enemies just like in any beat 'em up. I'd say pick it only if you aren't comfortable with the other options that expand Galandra's moveset.
Blood Harvest
Quite strong if you've already got some good damage buffs to begin with. The movement speed can make the character a bit difficult to control. It's a strong option, but it's primarily for those aiming to create the most destructive builds. I personally prefer picking something that expands her moveset.
6. Notable Ritual Synergies
"The power of life itself!"
This won't go too in-depth with builds as this isn't the focus of the guide but I'll just point out some of the rituals that can noticeably make gameplay more expressive without making things too chaotic.
Also, it's important to know how some of these rituals affect your moveset.
Mana Bounce
One of the most powerful Mana Regen rituals.
Fire Ring
Lets you juggle enemies more freely
Chrono Lock
Rituals that have this property on Clash give you more chances to punish
Mana Flow
Grants mana according to combo counter
Gale/Tornado
Launches enemies and keeps them in the air for an extended period of time, enabling more combos.
Tornado Jump
Can Jump Cancel Running Attack after it hits
Jump cancel air Skill
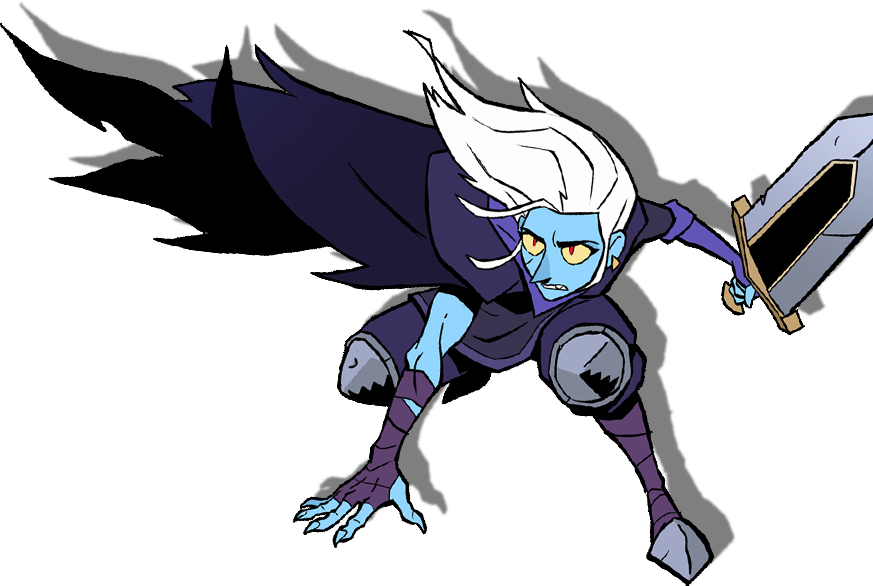
7. Useful Trinkets
Most trinkets increase your damage output in some form or another, but here are the trinkets that change the gameplay more significantly. These are what I typically like to go for when I wish to experience the game more like a traditional beat 'em up:
Common
- Ring of Magic
- Lucky Charm
- Boots
Rares
- Orb of Potency (Gain 1 Mana Chunk)
- Claw Charm (more damage to armored enemies)
- Kinetic Armor (mana chunk on deflect)
Epic
- Mobius Band (no Repetitive penalty)
- Winged Boots (infinite dash for 5s after arcana)
- Mynasthar Flask (free star if it kills 5)
- Swashbuckler's Medal
- Even though it says "first hit after clash is critical", the crit is actually applied to multiple attacks in the Punish combo string
8. Damage Values
Default Set
Auto-combo (XXXX): 4 + 8 + 8 + 14 = 34
Skill (Y): 12
Blitz (-> -> X): 10
Dodge follow up (down + B into X): 4
Air attack (AX): 8
Air attack combo (AXX): 14
Air Skill (AY): 16
Inspirations
Sword Flurry (YY after Skill): 12 + 12 = 24
Charged Sword (Hold Y then release): 24
Full Charged Sword (Hold Y until it releases automatically): 36
Dive Kick (A down + X): 14
Blade Spin (AY): 16 + 4 + 4 + 12 = 36
Claw finisher: 4 + 4 +