 Day One Fixes
SolvedHow-toUpdated
Call of Duty: Black Ops 6 Campaign 100% Guide
Short answer
Hey everyone, in this guide I'll be doing everything I can to show and provide the best explanations for each of the Calling Cards in the Black Ops 6 Campaign, including Dark Ops. This guide serves as what I hope to be the most efficient way to completely finish the Campaign, and if not, then…
Steam Community guide by Masadaeus.
Mastery Cards
Mortal Maestro
Complete all Imaginative Killer Challenges

Sleuth Supreme
Complete all Thorough Investigator Challenges

The Truth Lies
Complete all Career Challenges in Campaign

Bishop Takes Rook
**

RCXD-Angerous
** Kill 3 enemies with an RC-XD in Bishop Takes Rook
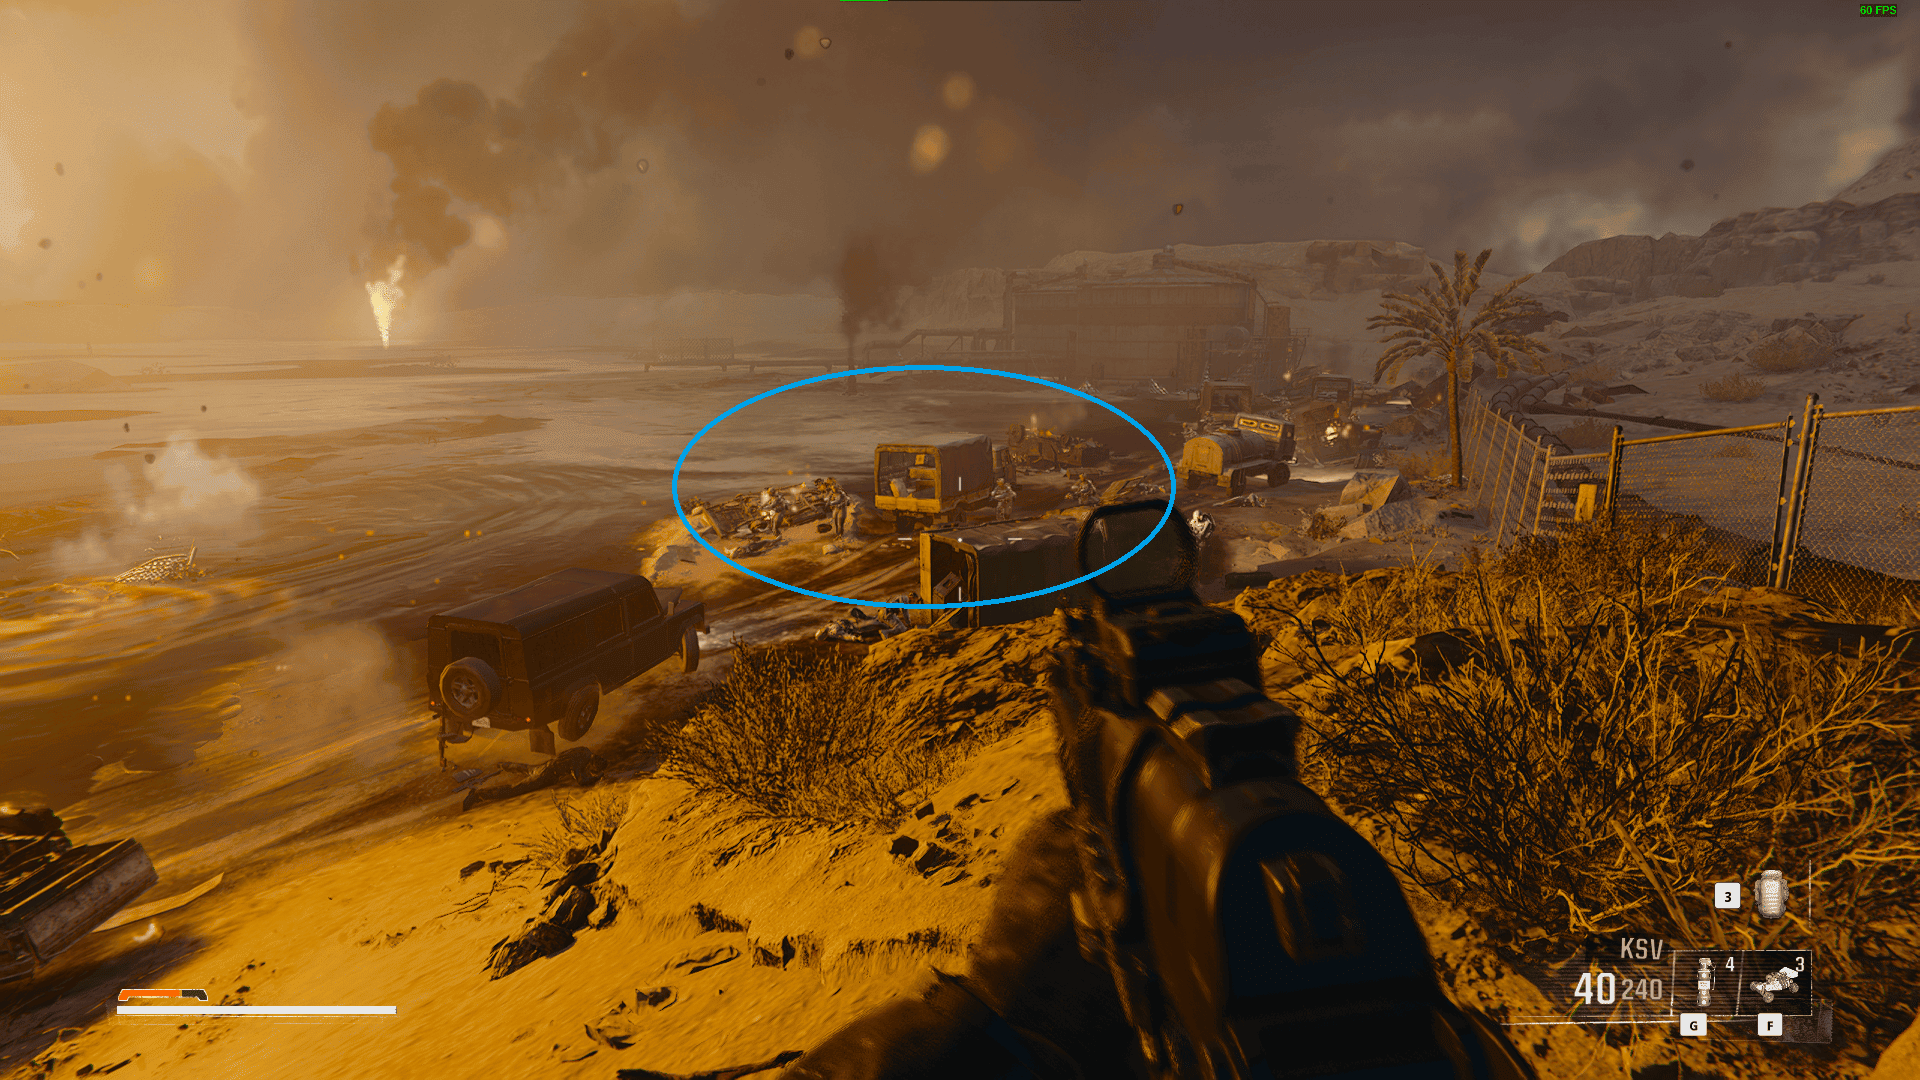
After the second cutscene of the mission, you have the opportunity to use the equipment wheel. Select the RC-XD and look to the right, where there are multiple enemies coming out of the truck. Send the RC-XD that way and aim for the middle enemy and detonate in range of the three. Look at the image below for a better understanding.
Blood Feud

Stick Around
Kill an assassination target with a Throwing Knife in Blood Feud
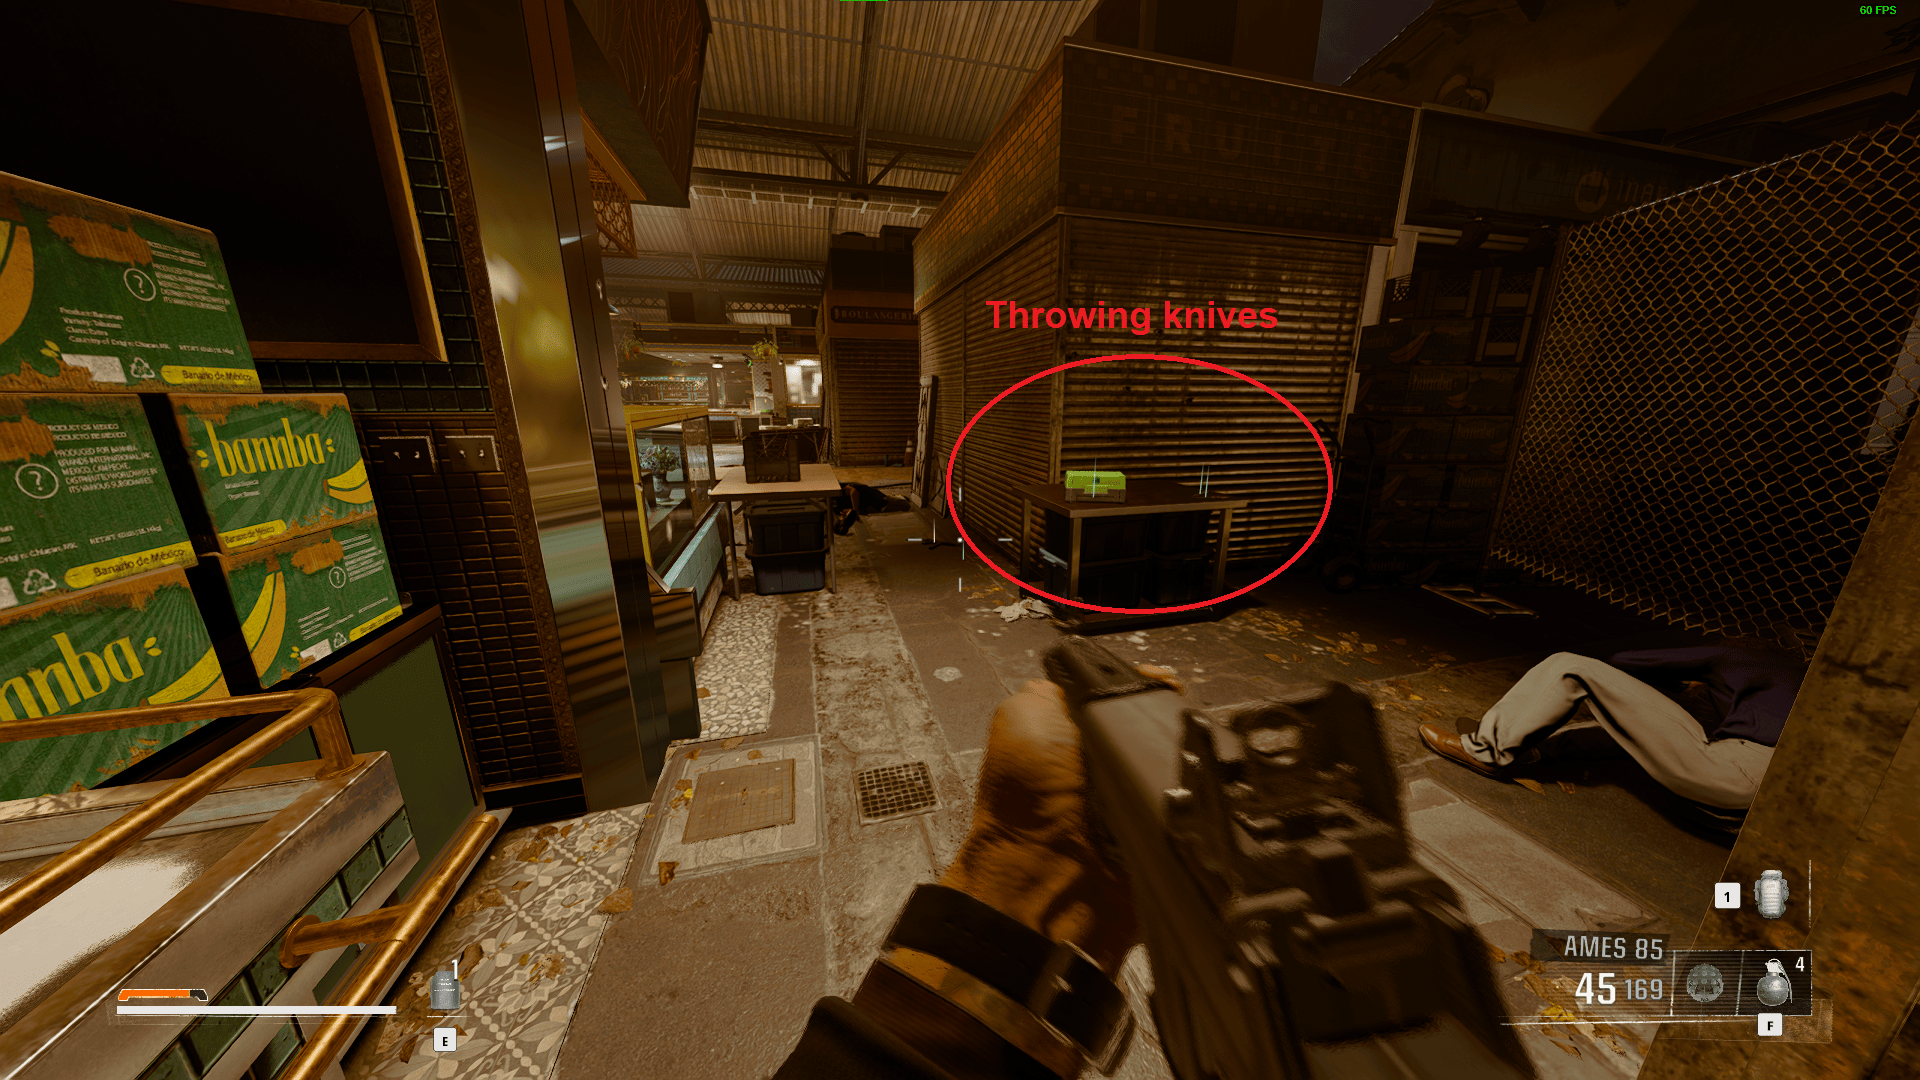
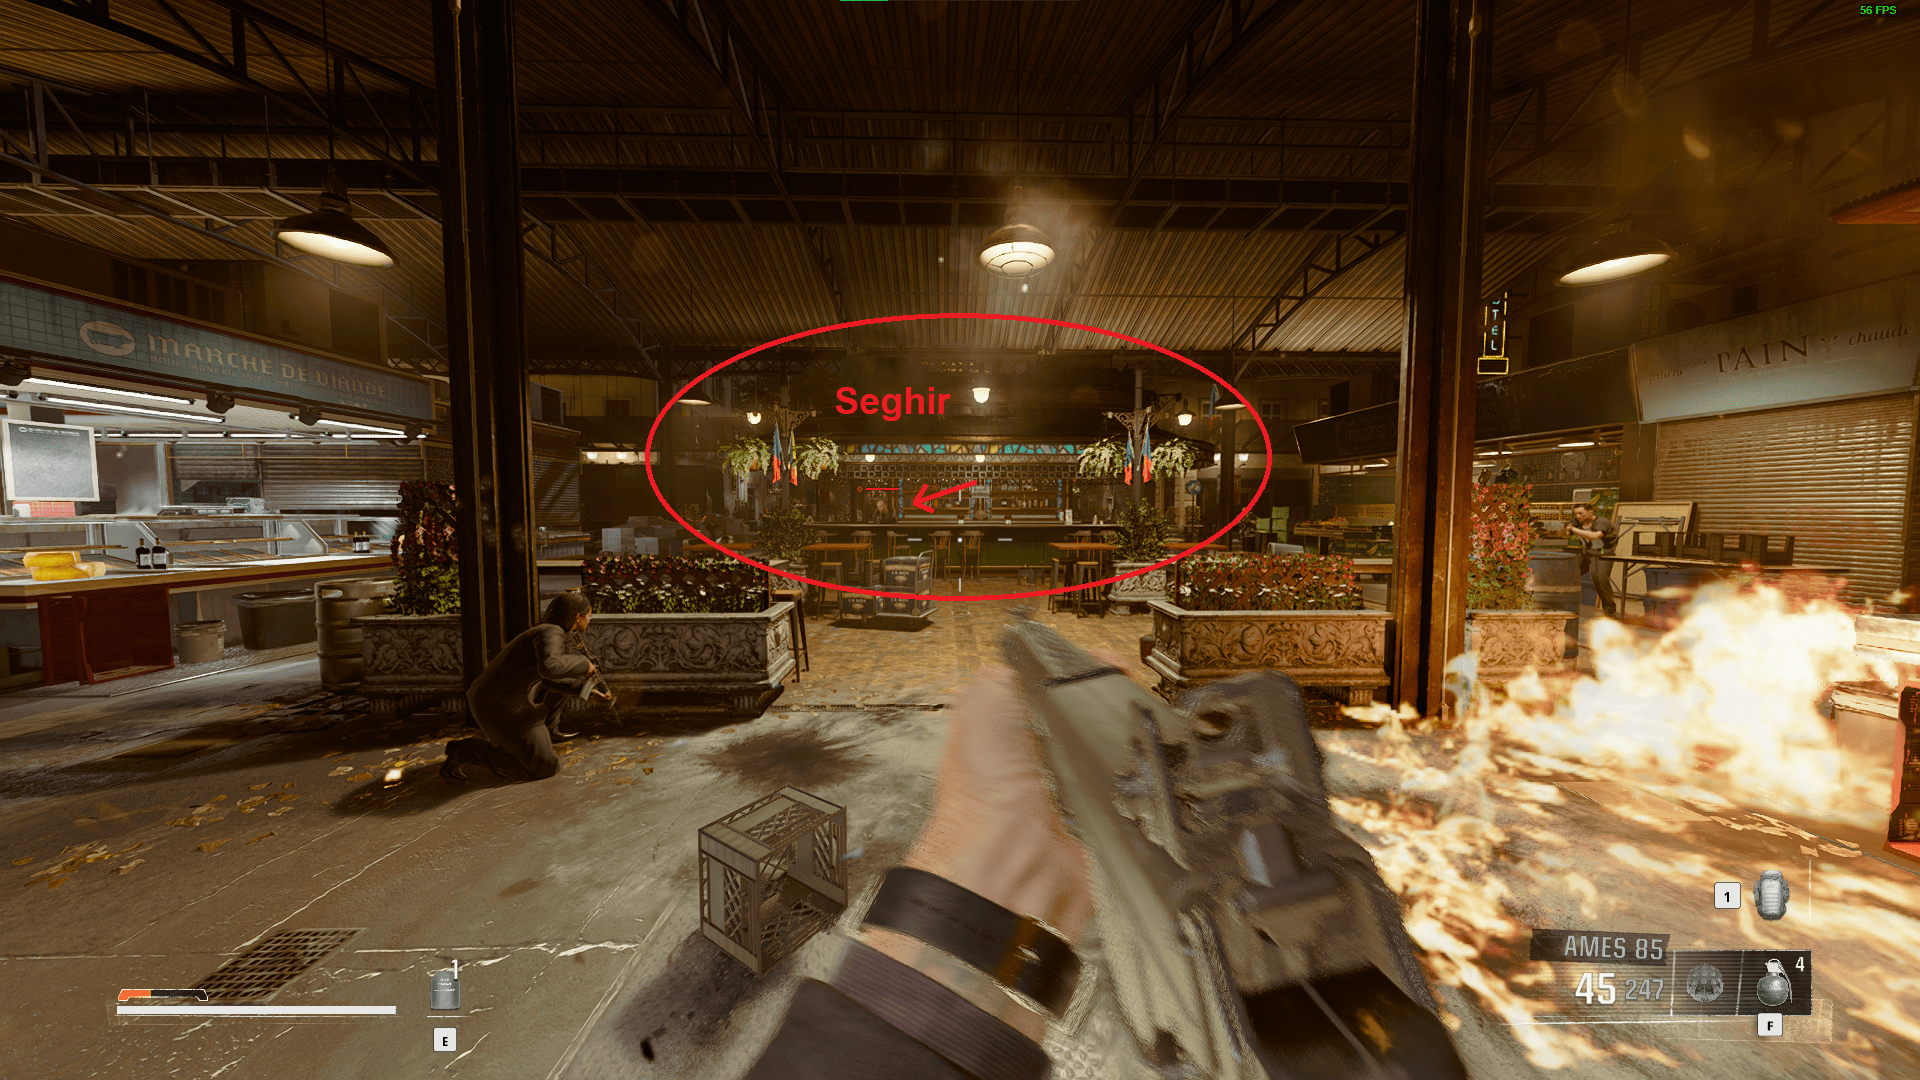
During the 'Chase Essaidi and Seghir' objective, you will run into a marketplace. Keep to your right and you will find throwing knives next to an ammo crate on the right side of the market. Keep progressing through the marketplace until you encounter a mini-bar. Seghir will be behind the bar, tending to you. Simply whittle down his health until it's just under 1 bar, then throw the knife at him.
Most Wanted

Retina Ready
Acquire the Senator's Retinal Scan three different ways in Most Wanted
**HIghest Bidder - **Talk to Armato near main stage. Then go to the right of main stage, through the curtains. Takedown the guard by the computer and hack it (Answer is McKenna). Go east to the auction room and go to the very back and photograph clock. Get behind the curtain by going to the left side of the big curtains and avoiding the guard then search the clock. Decrypt the password using black light and head back to Armato. Go to the northwest curtains and carefully enter the West Wing pub. Take McKenna's eyeprint.
**Mystery Man - **Head into the coat racks via the curtain on the west side of it. The coat is all the way down to attendee then left and behind you. Go to auction dance floor, Grisham is northeast of the room, left of the right side stage. Take a picture of Grisham then go through the right side of main stage curtains, following the route to the stairs. Instead, go to the double doors below the stairs and eavesdrop. Take down Grisham and pick up his pager. Head to the West Hall and follow the right side to the kitchen. Follow the doors and take McKennas eyeprint.
**Covert Affair - **Head to the bar southeast and talk to McKenna's wife. Go to the Auction Hall and talk to Sev. Follow the camera microphone over the pair then go back to the bar and pickpocket the man from behind the rope (there is a loose rope to his right). Go outside to the valet man and go to the mans car. Evade the C.I.A and go back to McKenna's wife at the bar. Then go to the Auction Hall and confront the senators aide. Take McKenna's eyeprint.

Phantom Presence - DARK OPS
Sneak through the black site intel centre without being detected in Most Wanted
I personally took the right hand side and slowly made my way across taking down any enemy that was in my way.
This shouldn't be too hard if you still have a suppressed weapon. I'll detail a better walkthrough once I have completed the mission on Veteran.
Hunting Season

Insight Advancement
Discover all 4 audio logs in Hunting Season
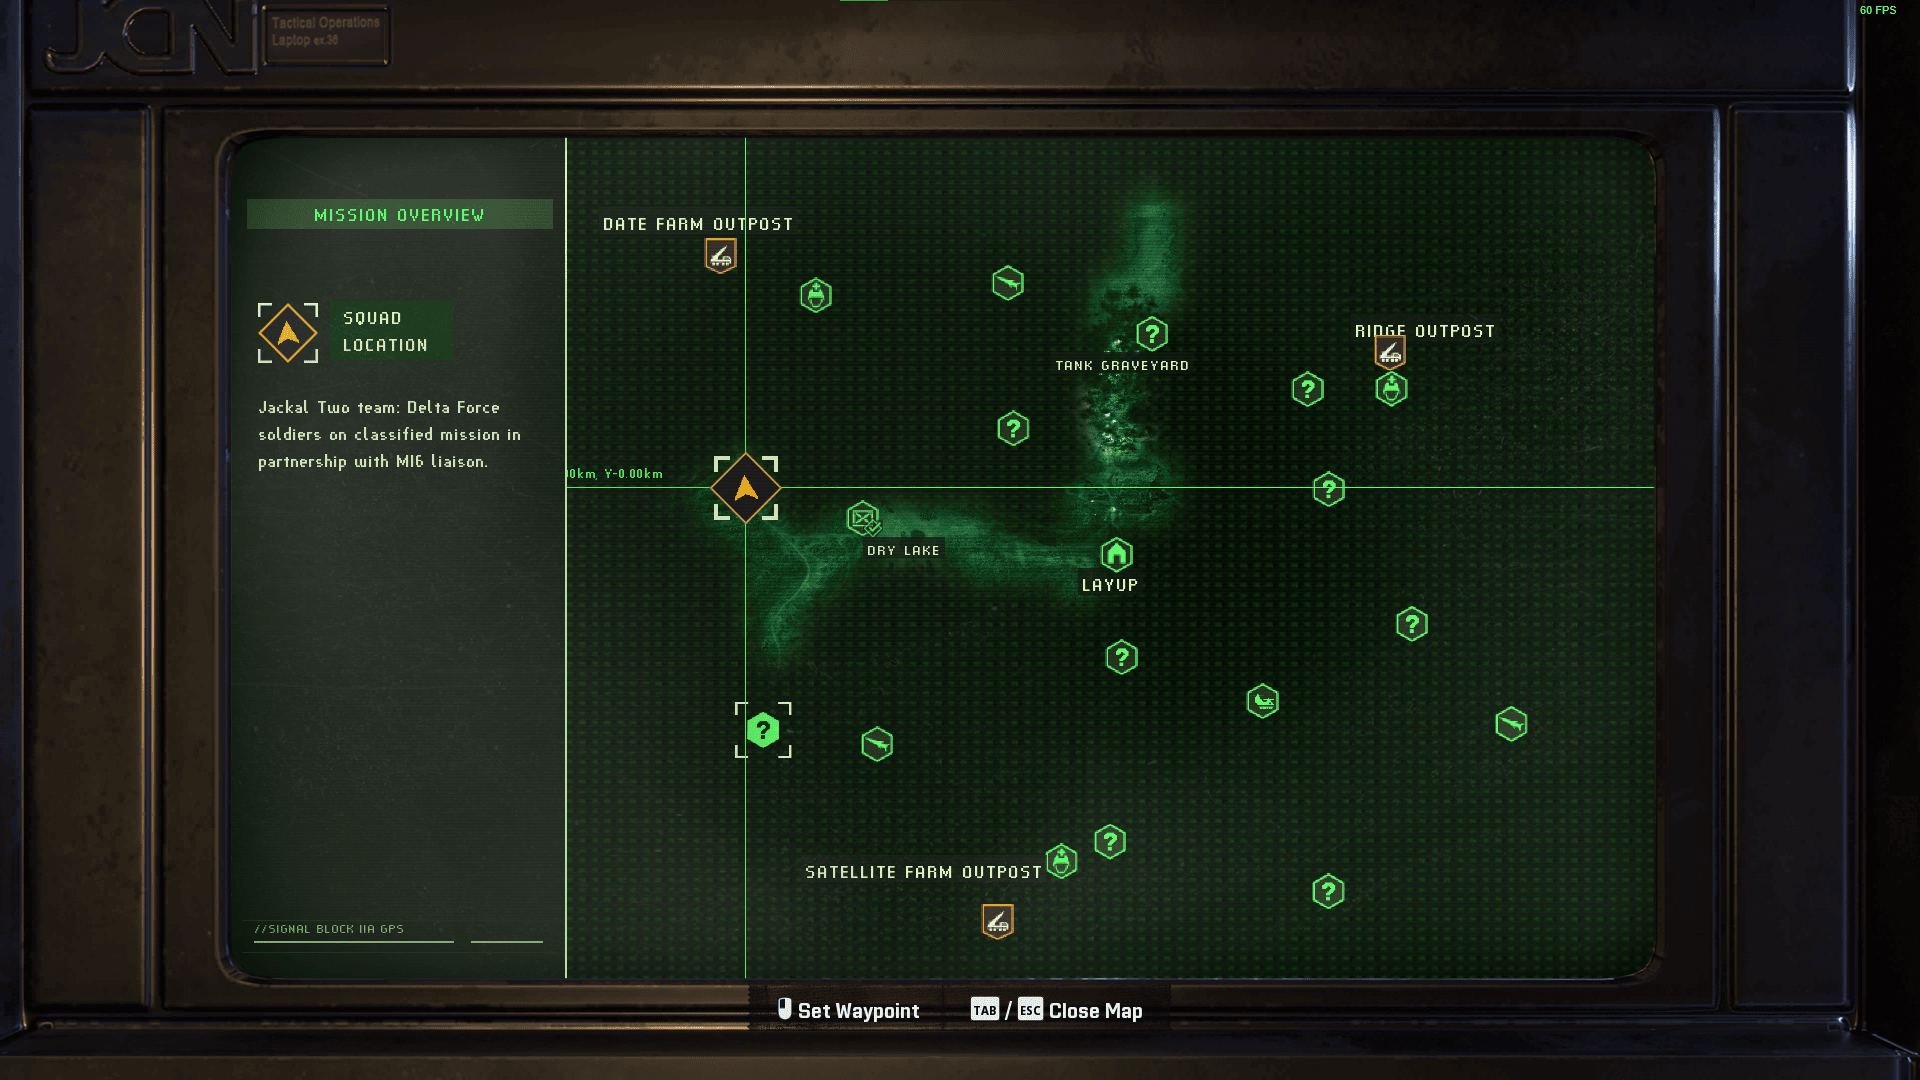
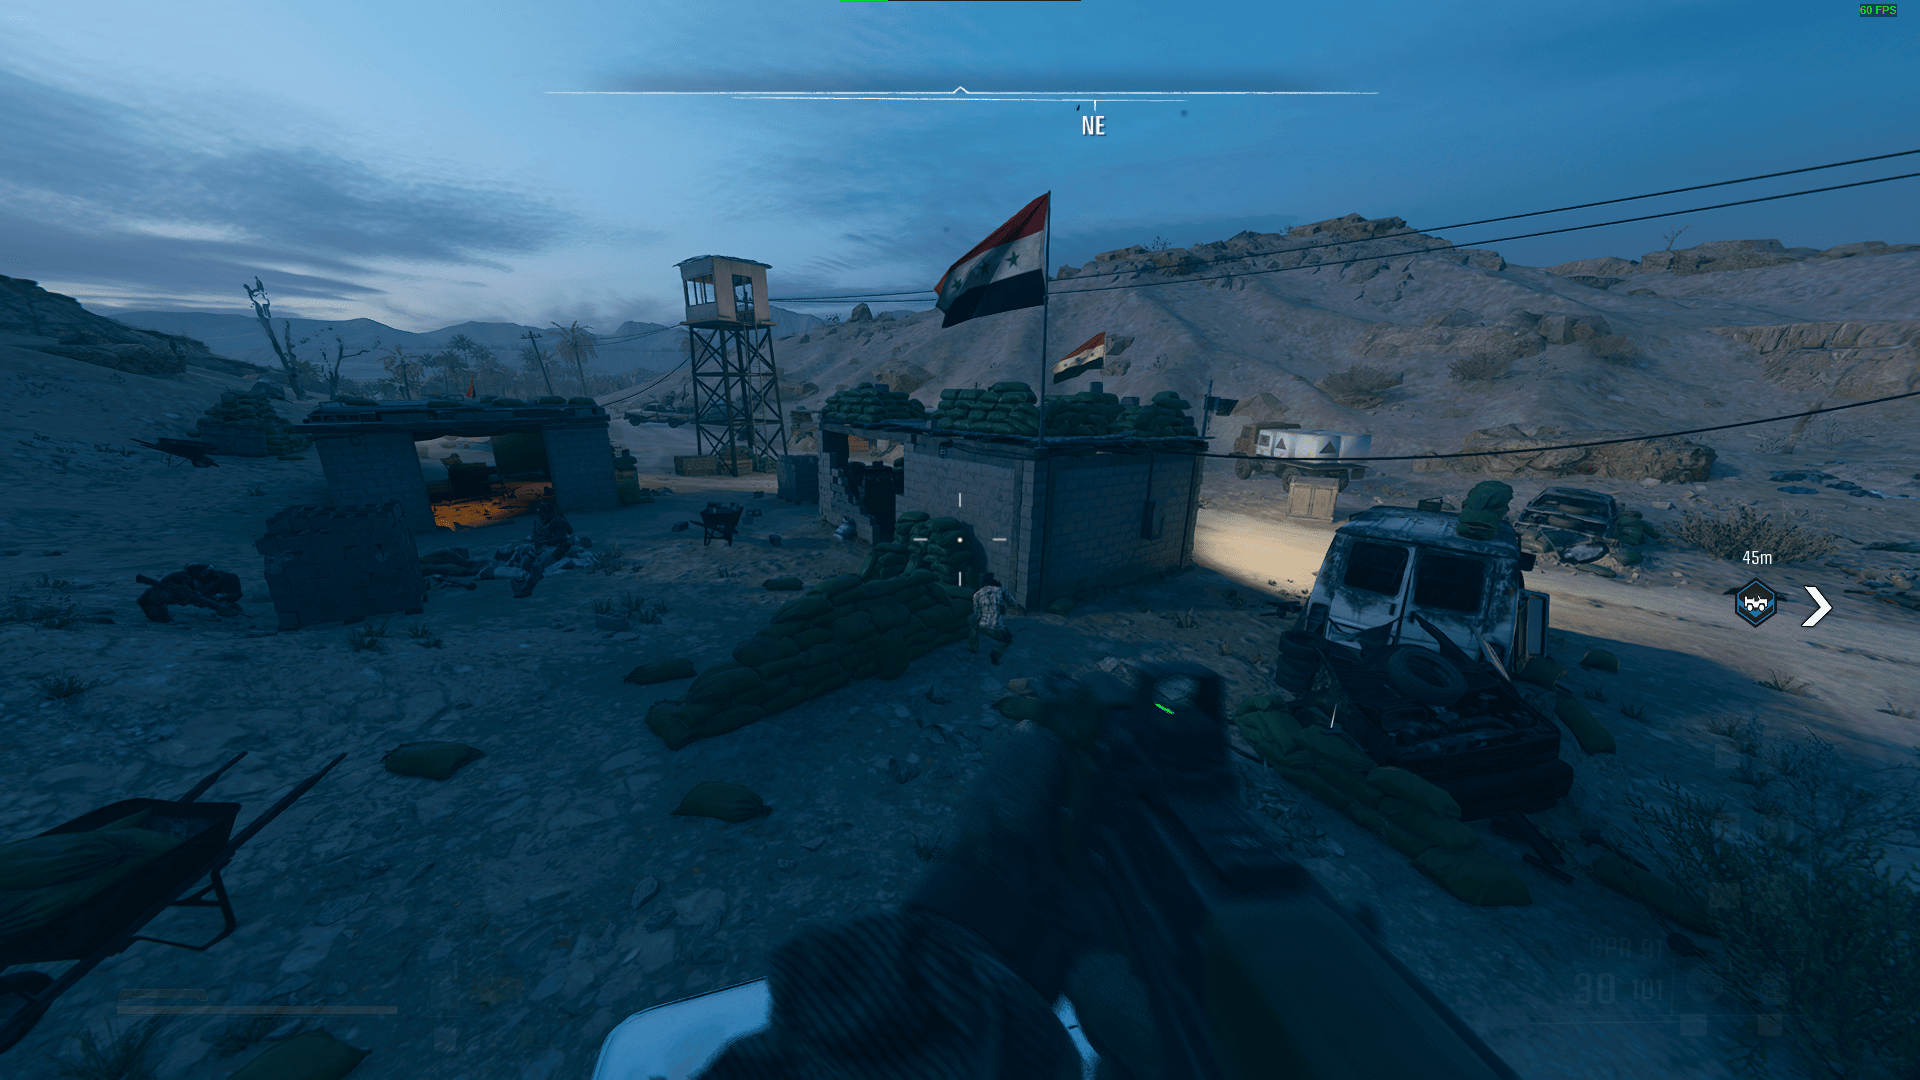
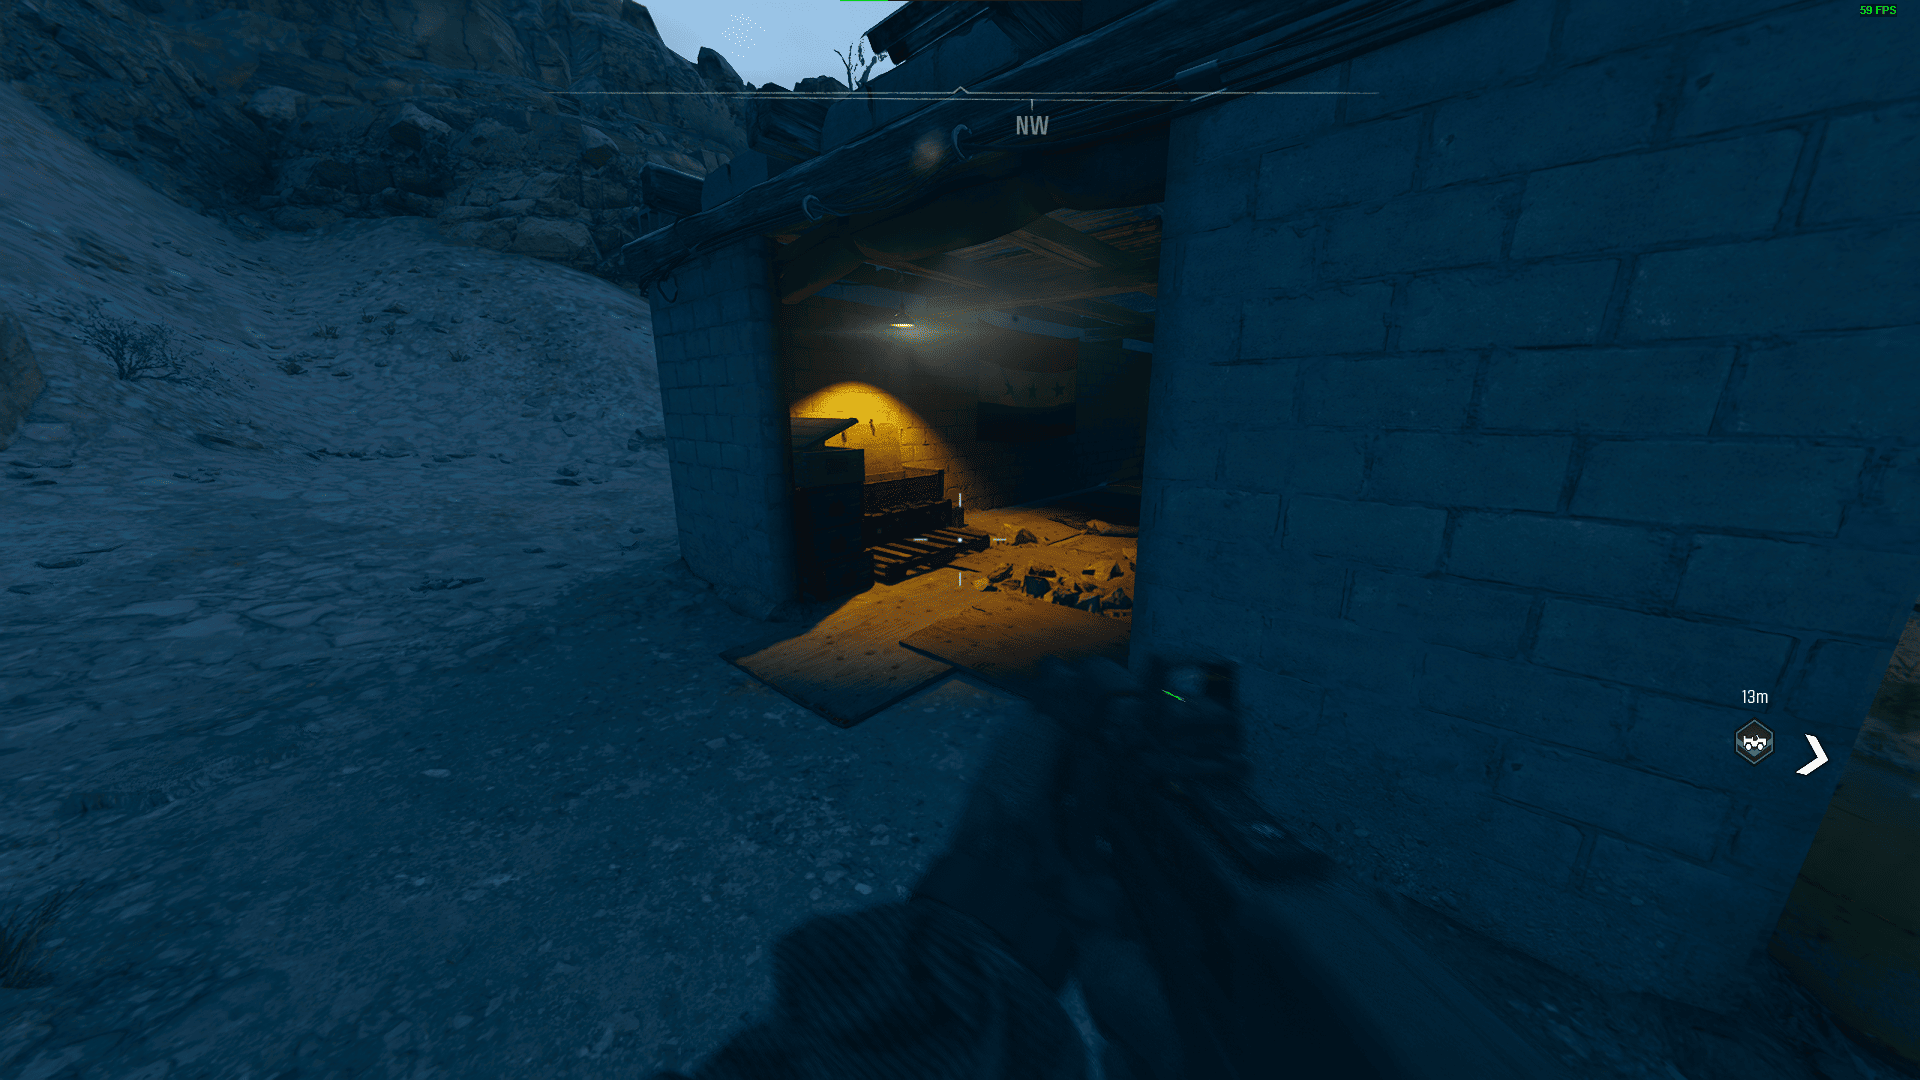
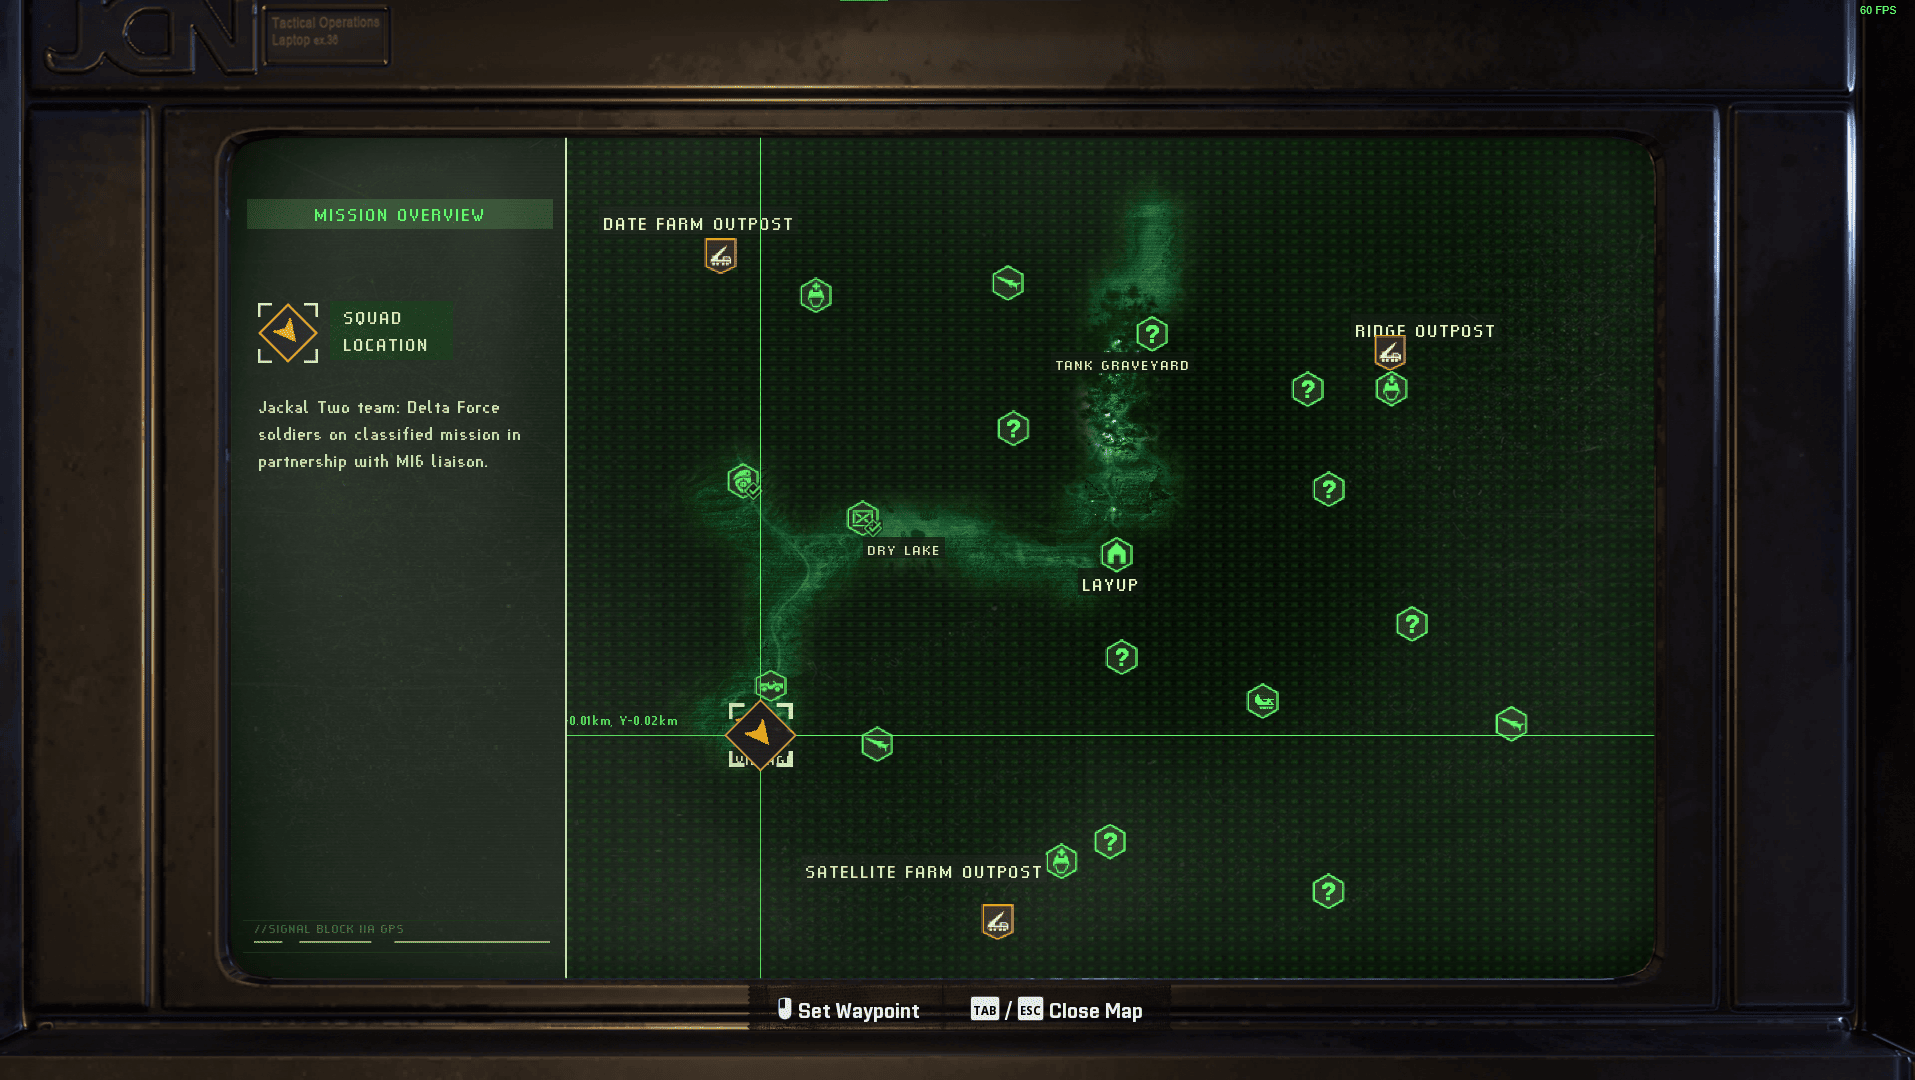
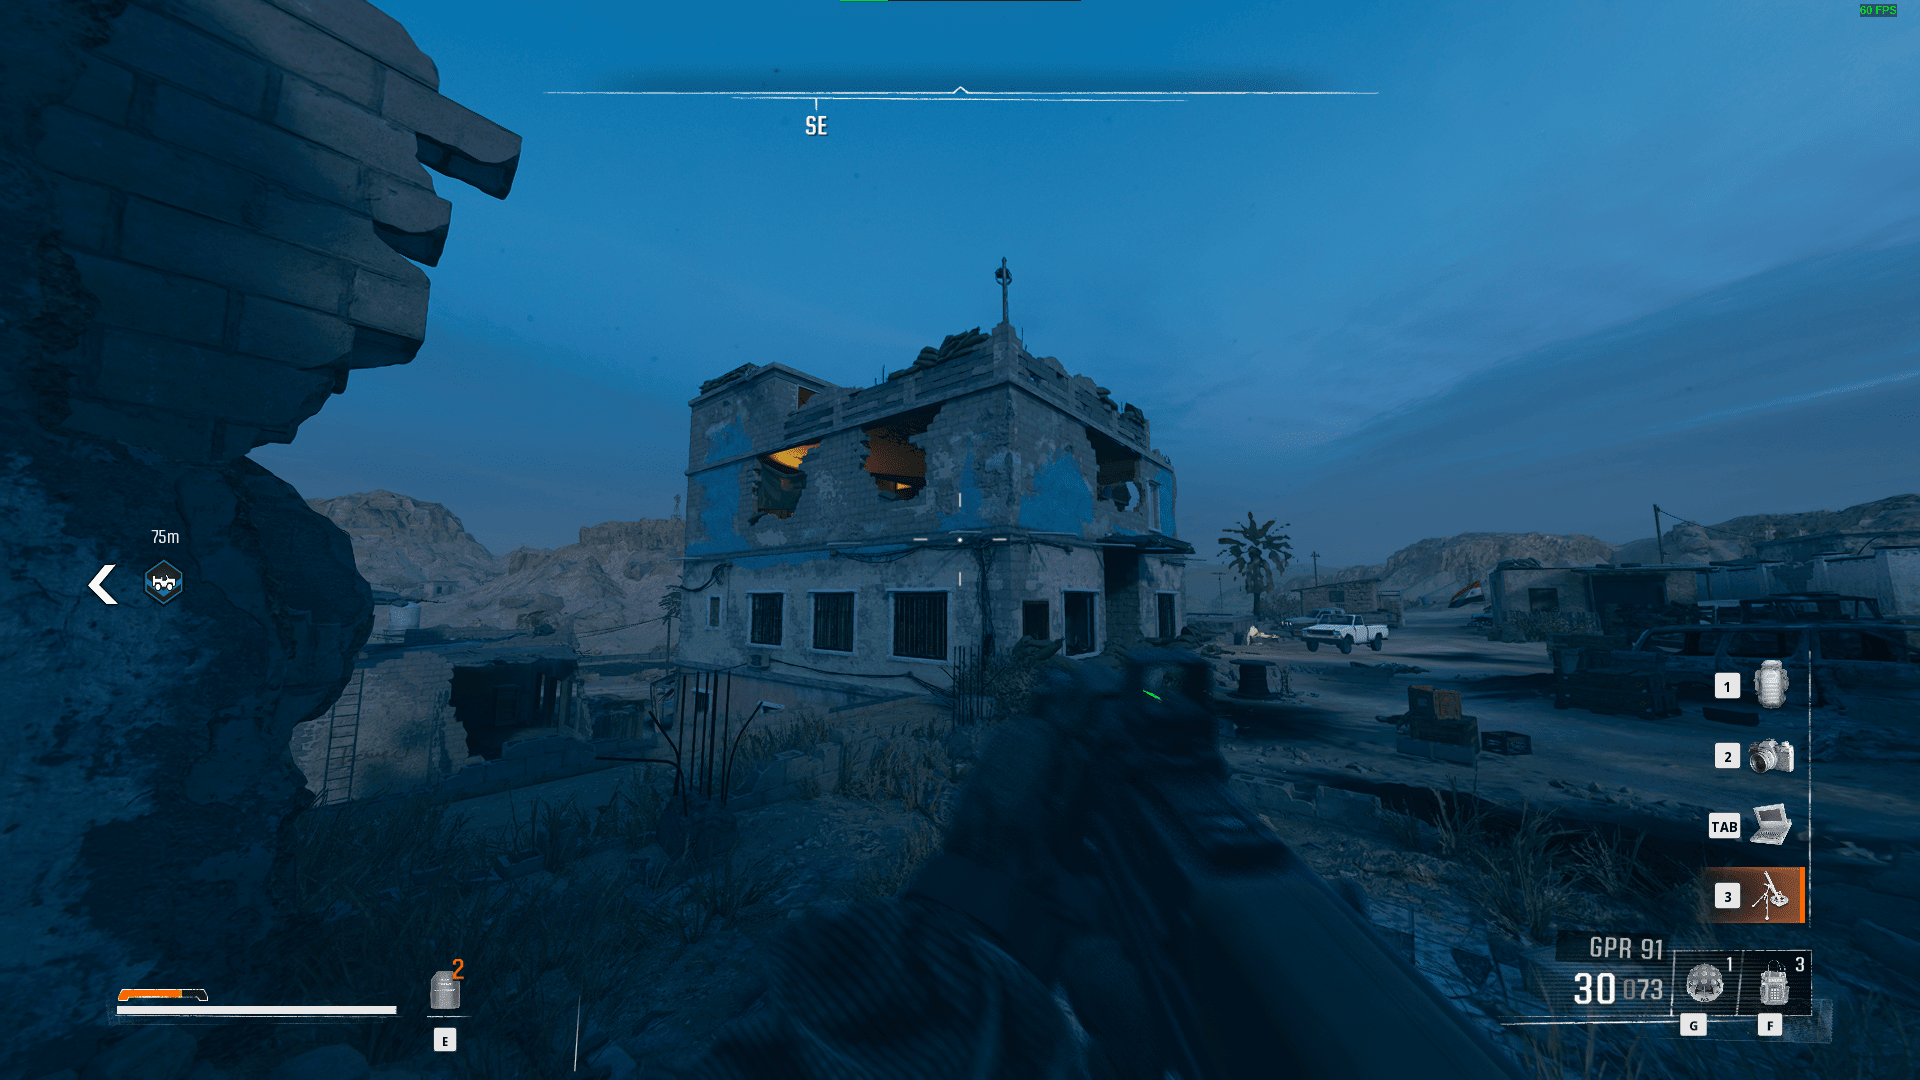
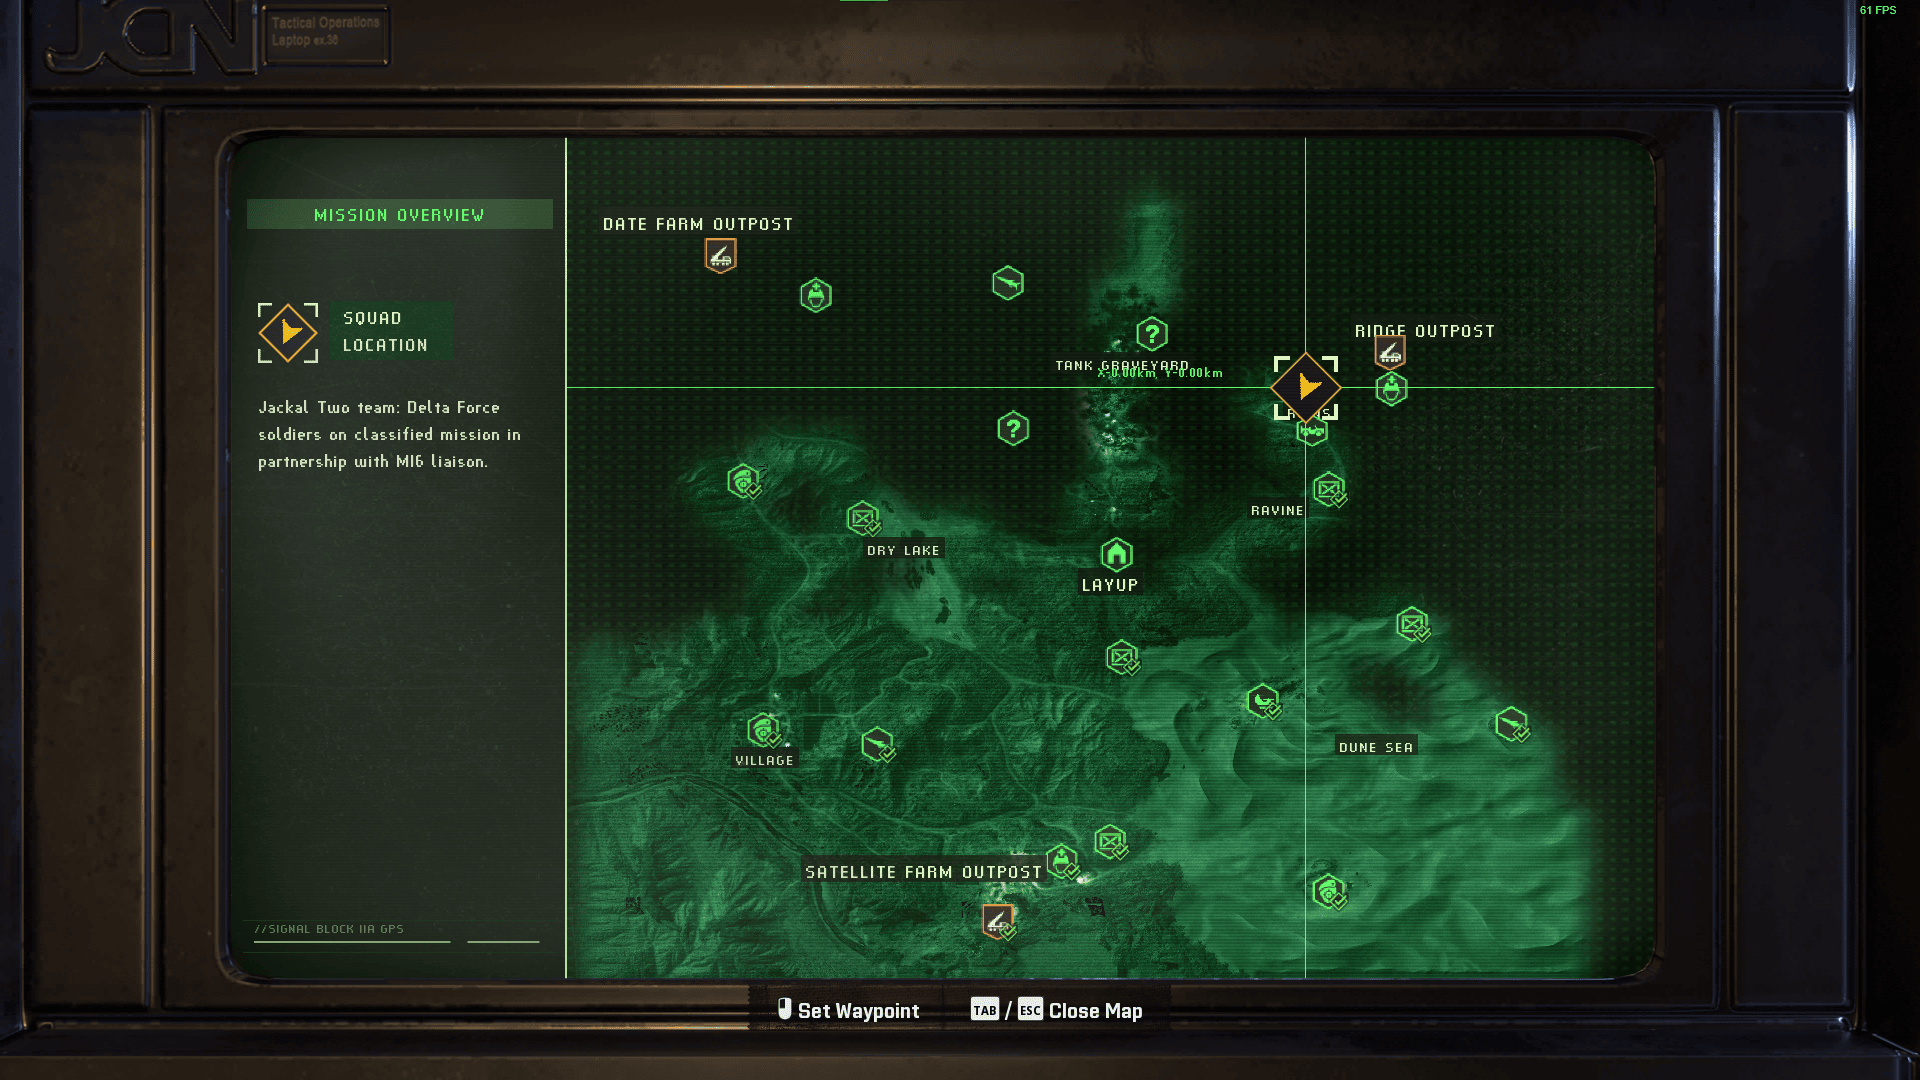
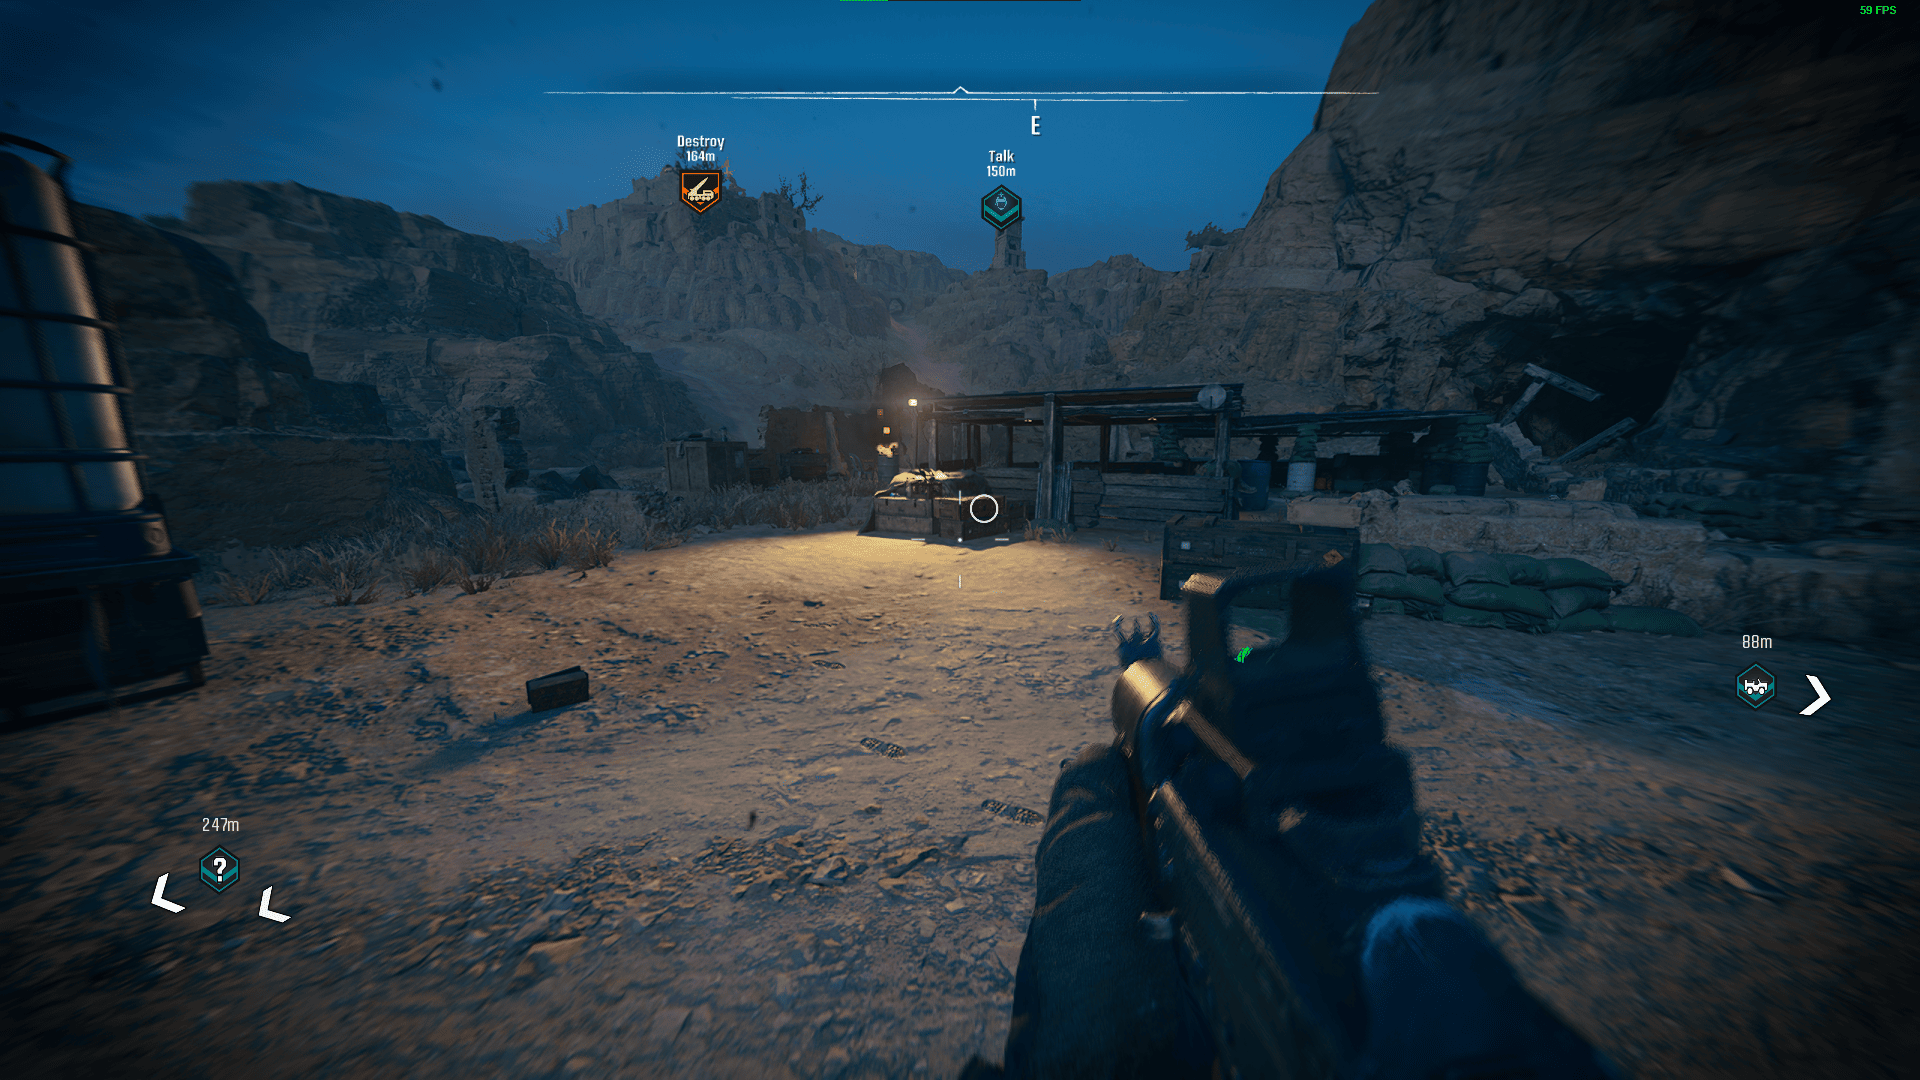
During the start of the mission you'll acquire a Tac-Map. Using this Tac-Map, there are 4 enemy encampments that you need to go to and search to find 4 different audio logs. They're all relatively straightforward so I'll only provide the images unless text is needed to specify.
Audio Log 1
Audio Log 2
At the very top of the main building.
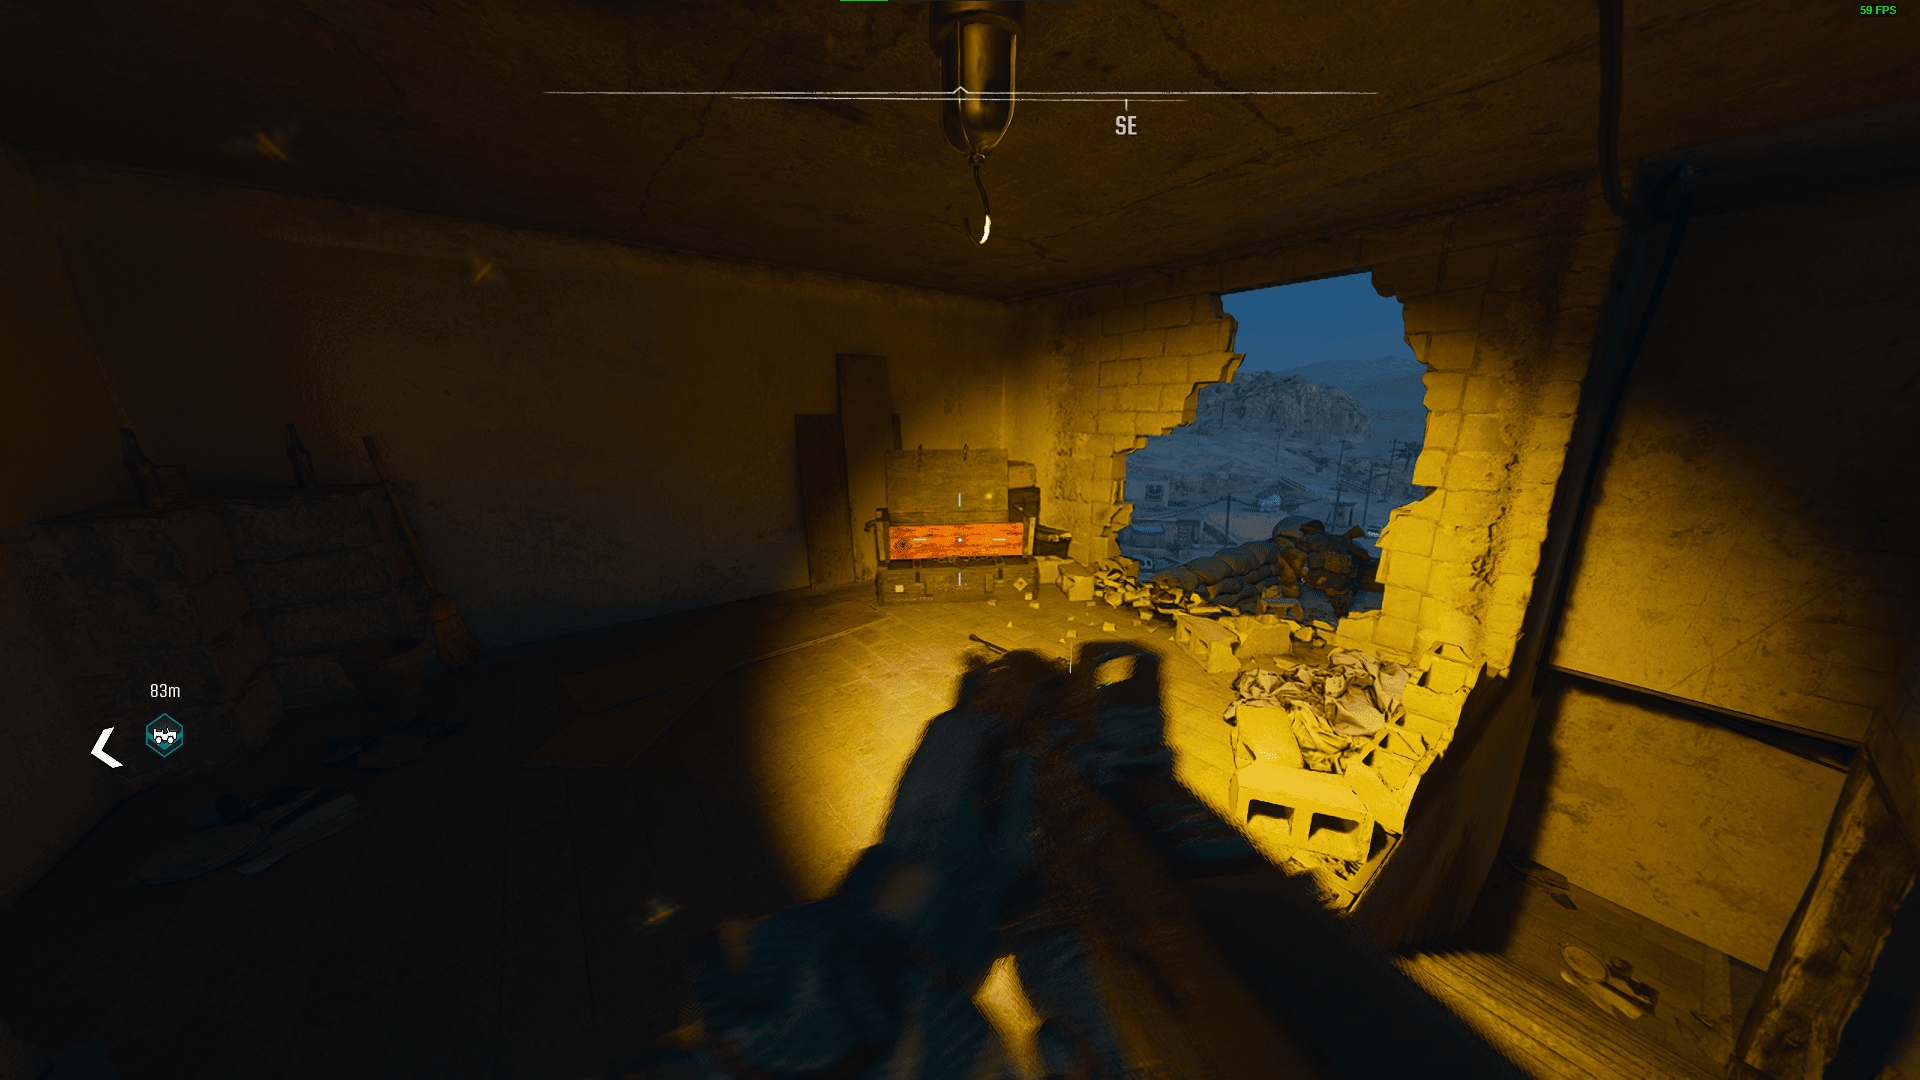
Audio Log 3
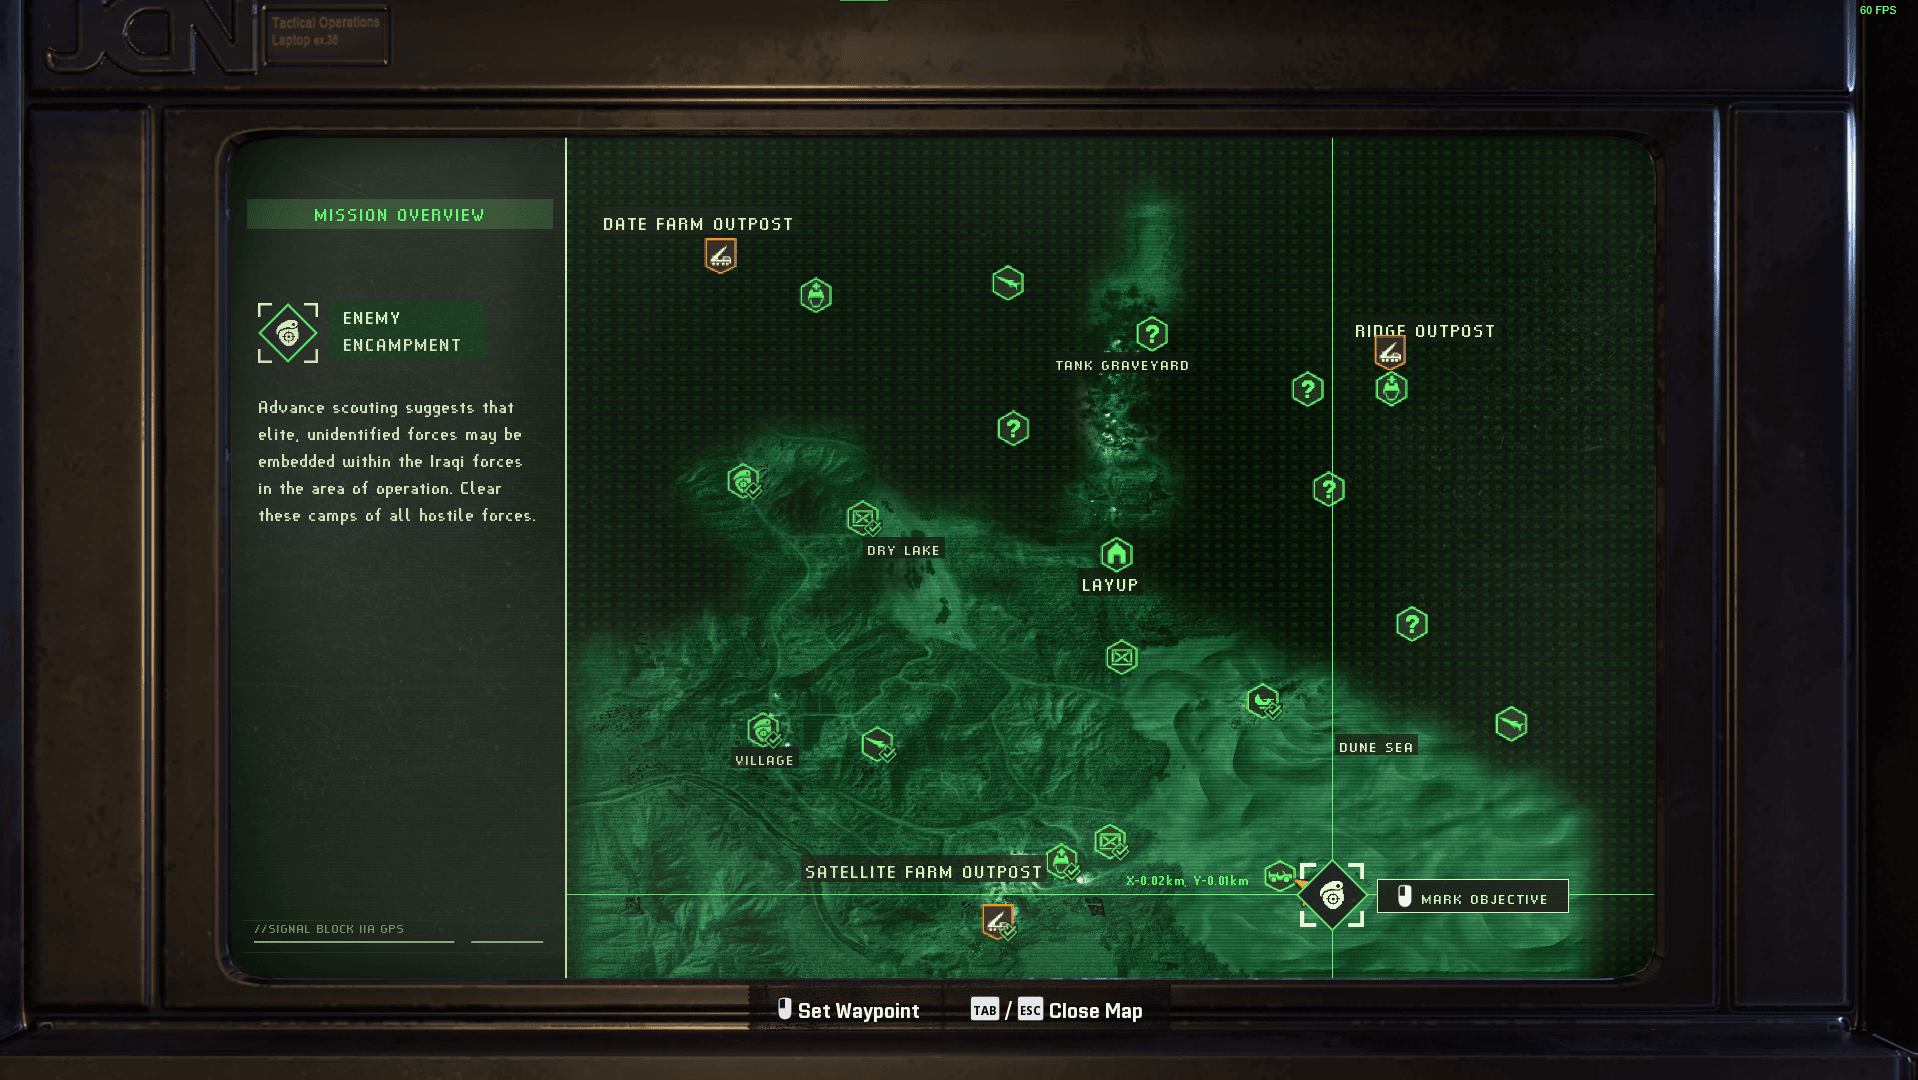
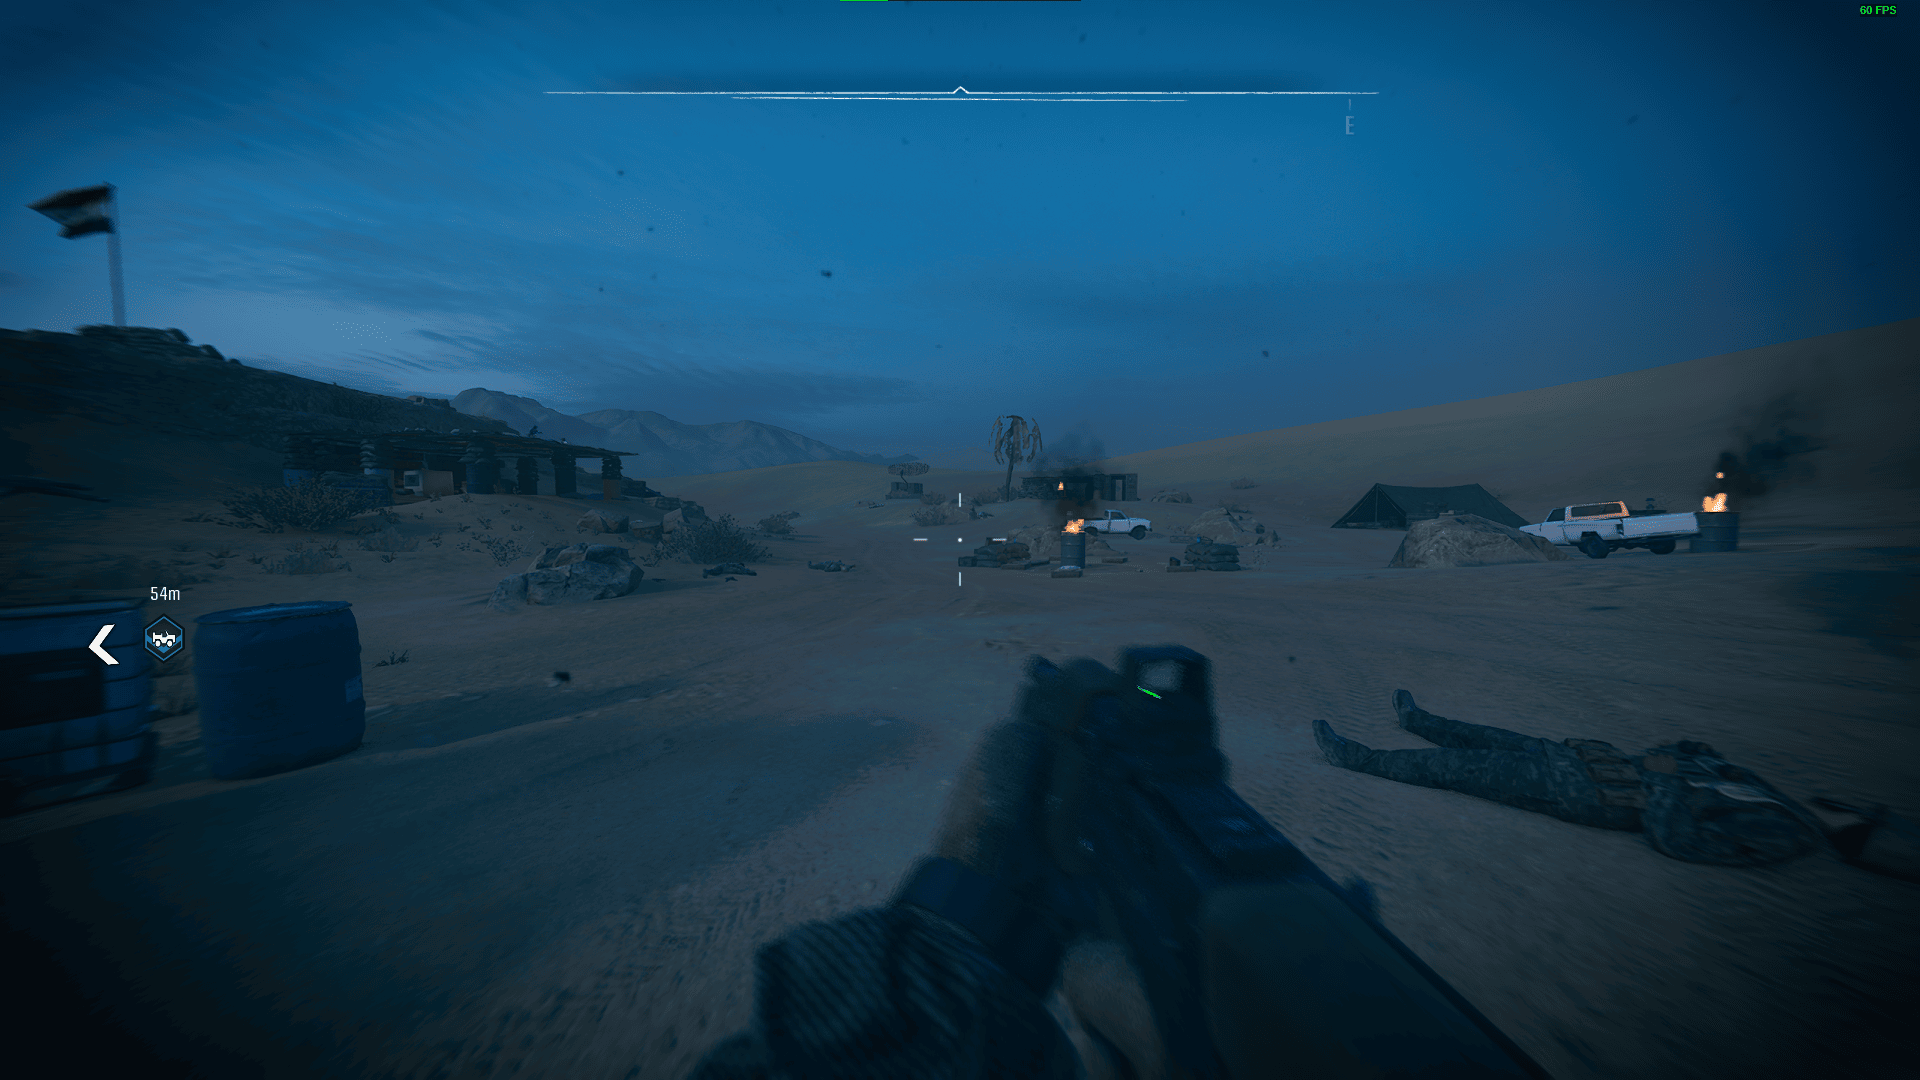
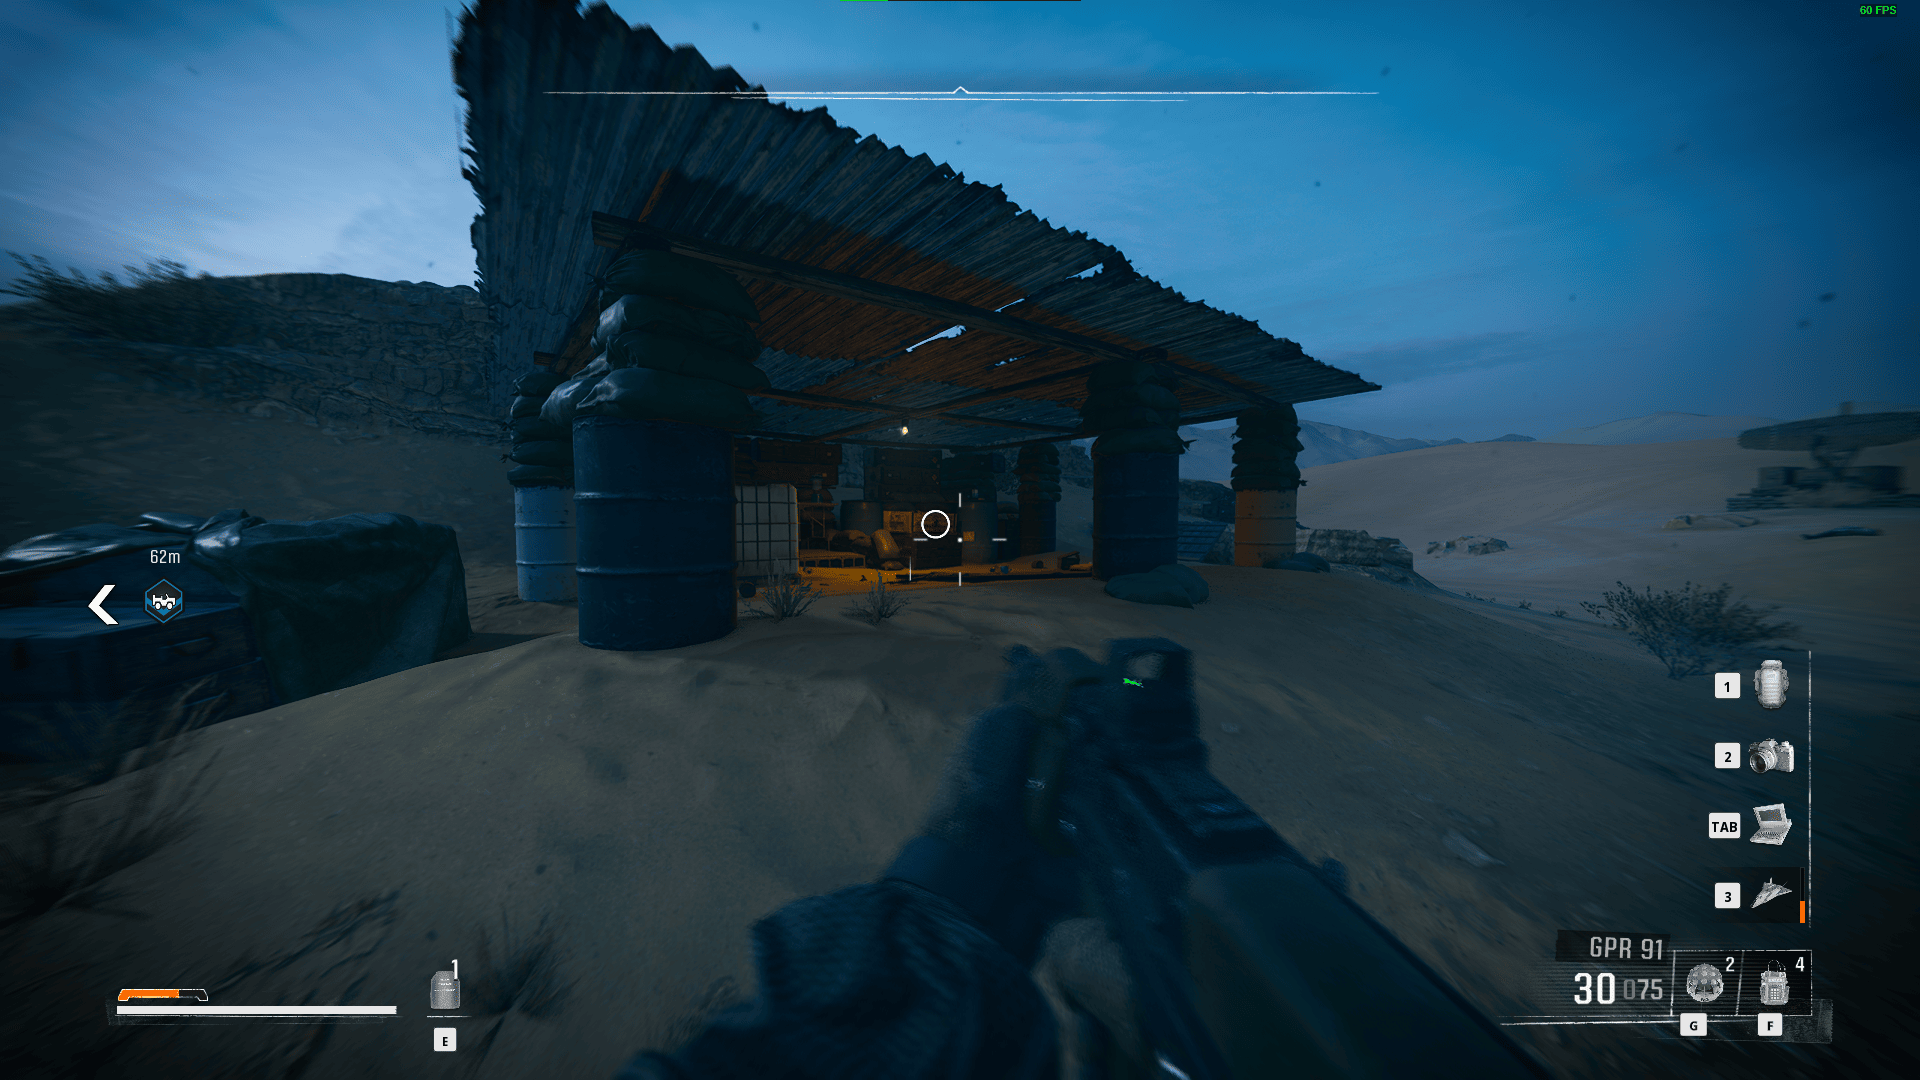
Audio Log 4

Endless Options - DARK OPS
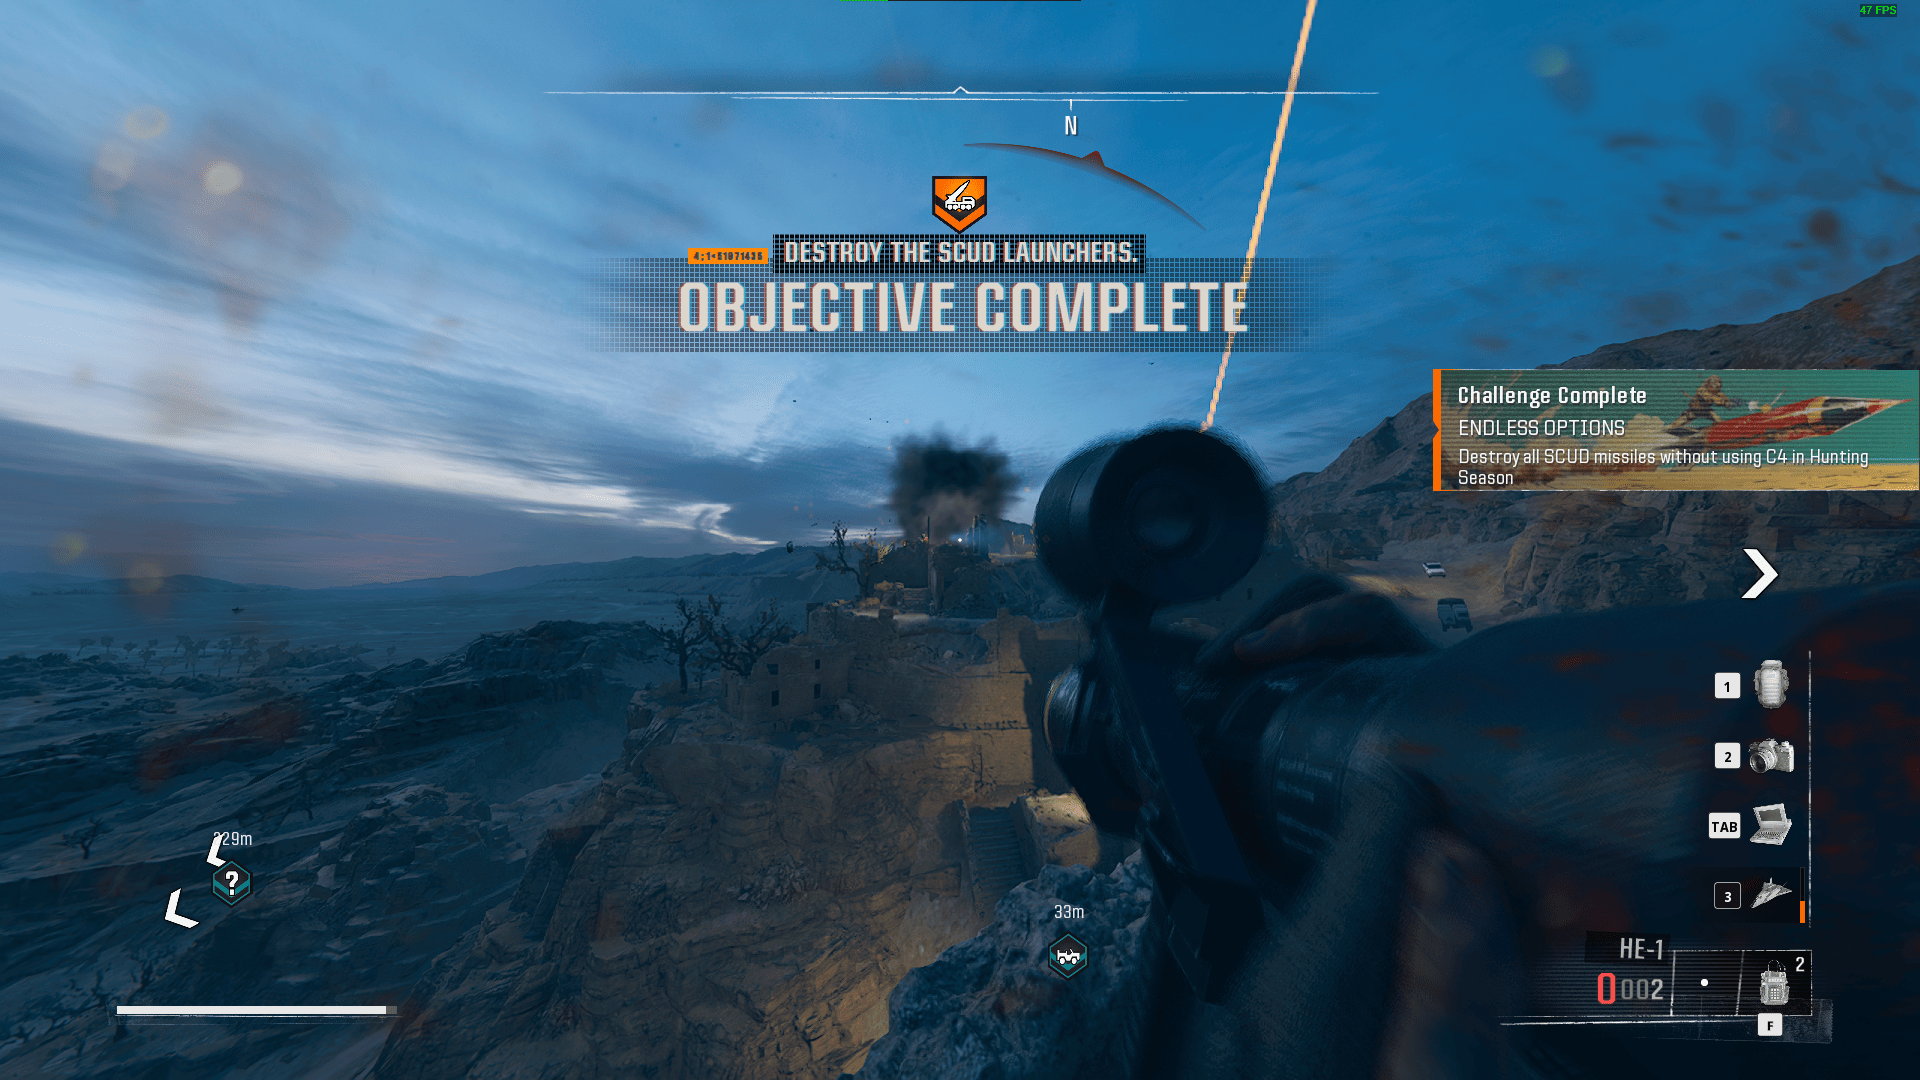
Destroy all the Scud Missiles without using C4 in Hunting Season Mission
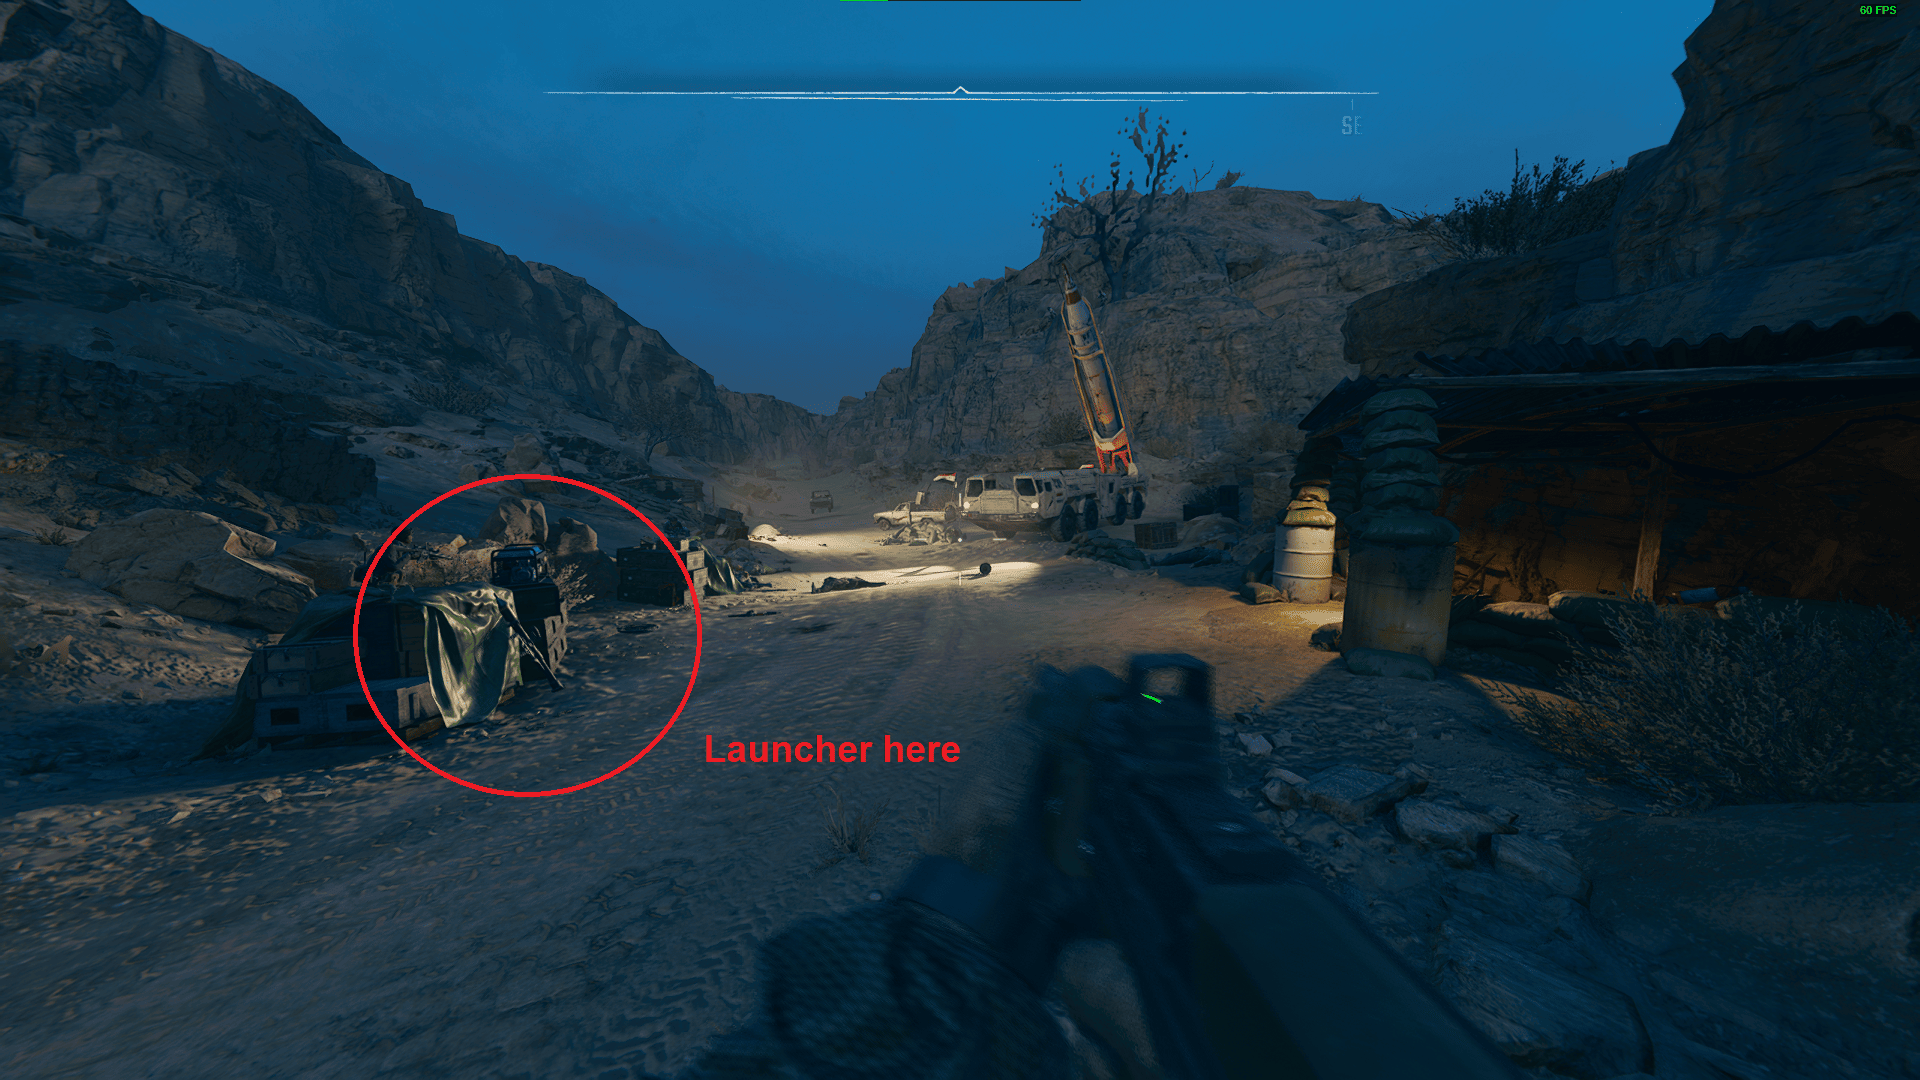
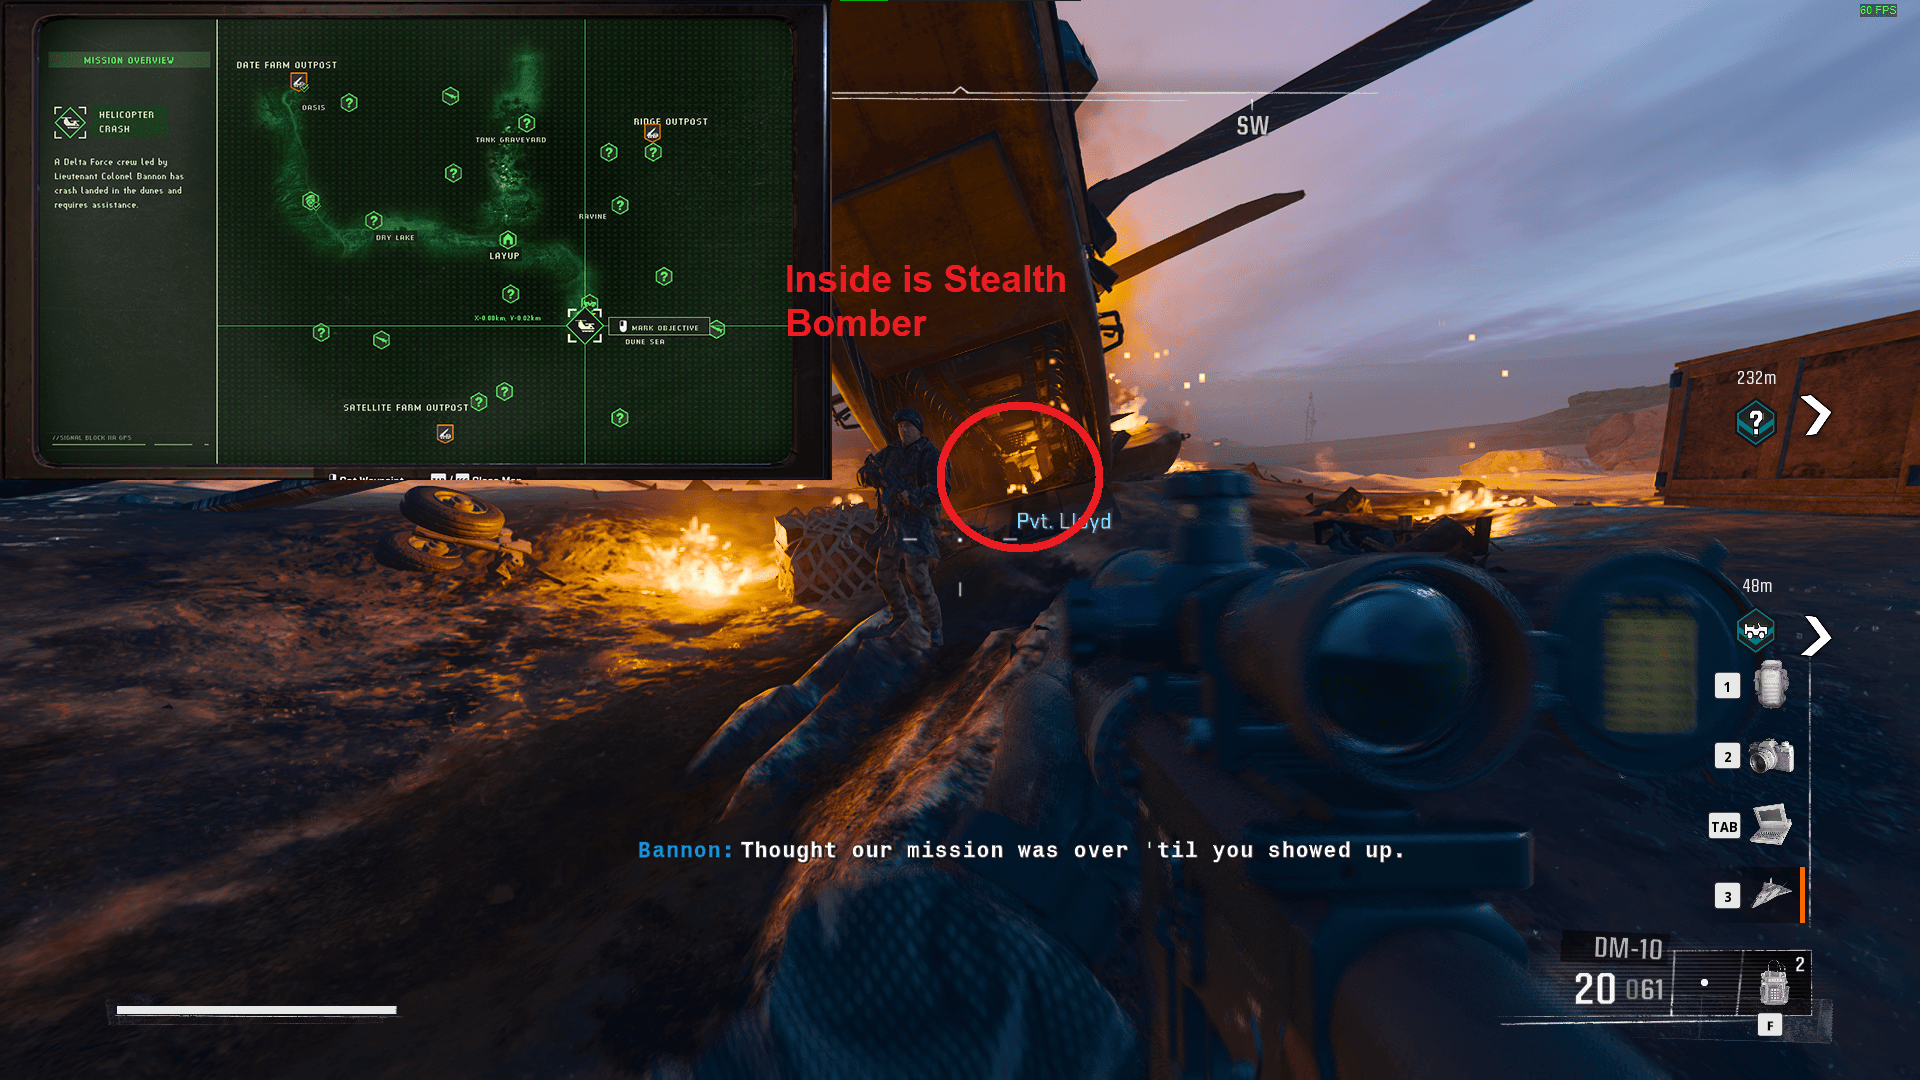
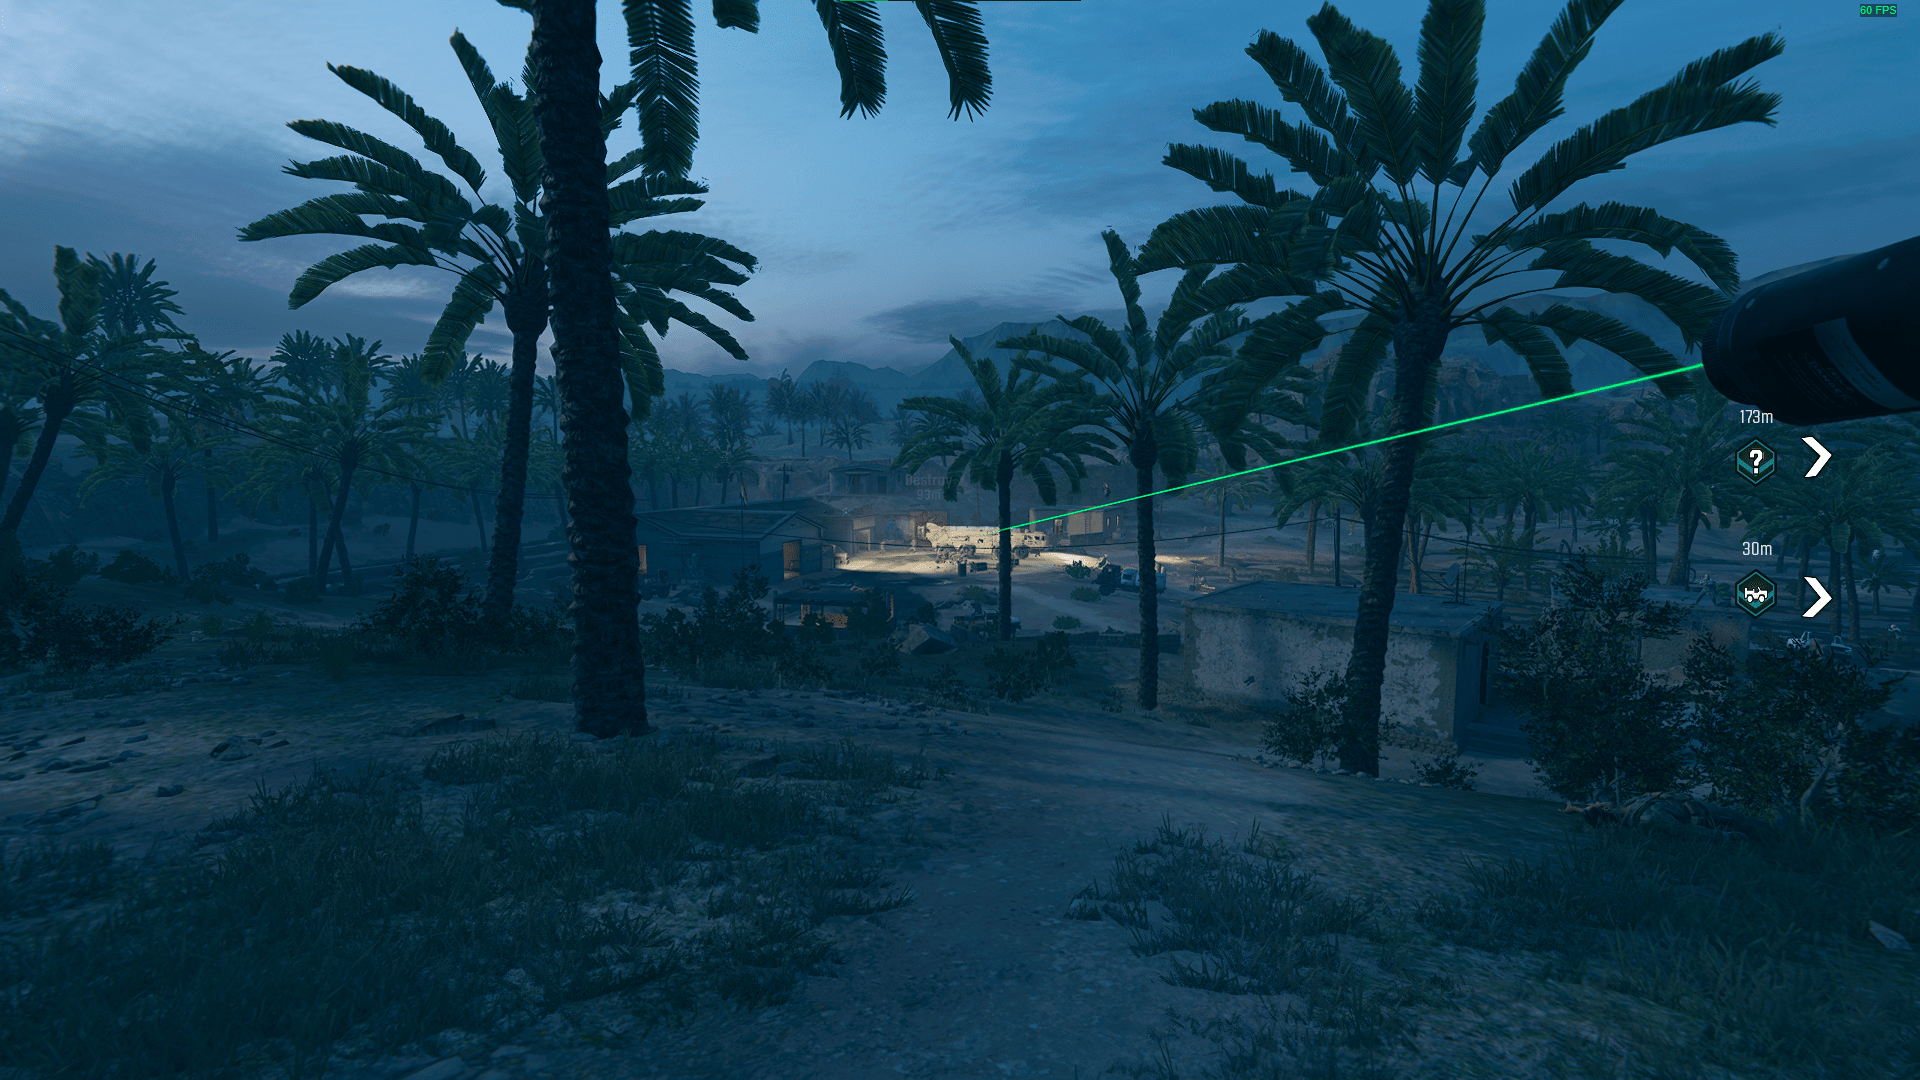
The first Scud Missile is easy to miss without C4 however there is a rocket launcher just to the right of you as you approach the missile. Go to where Gladney takes up residence and turn around, you should see it perched aside a box.
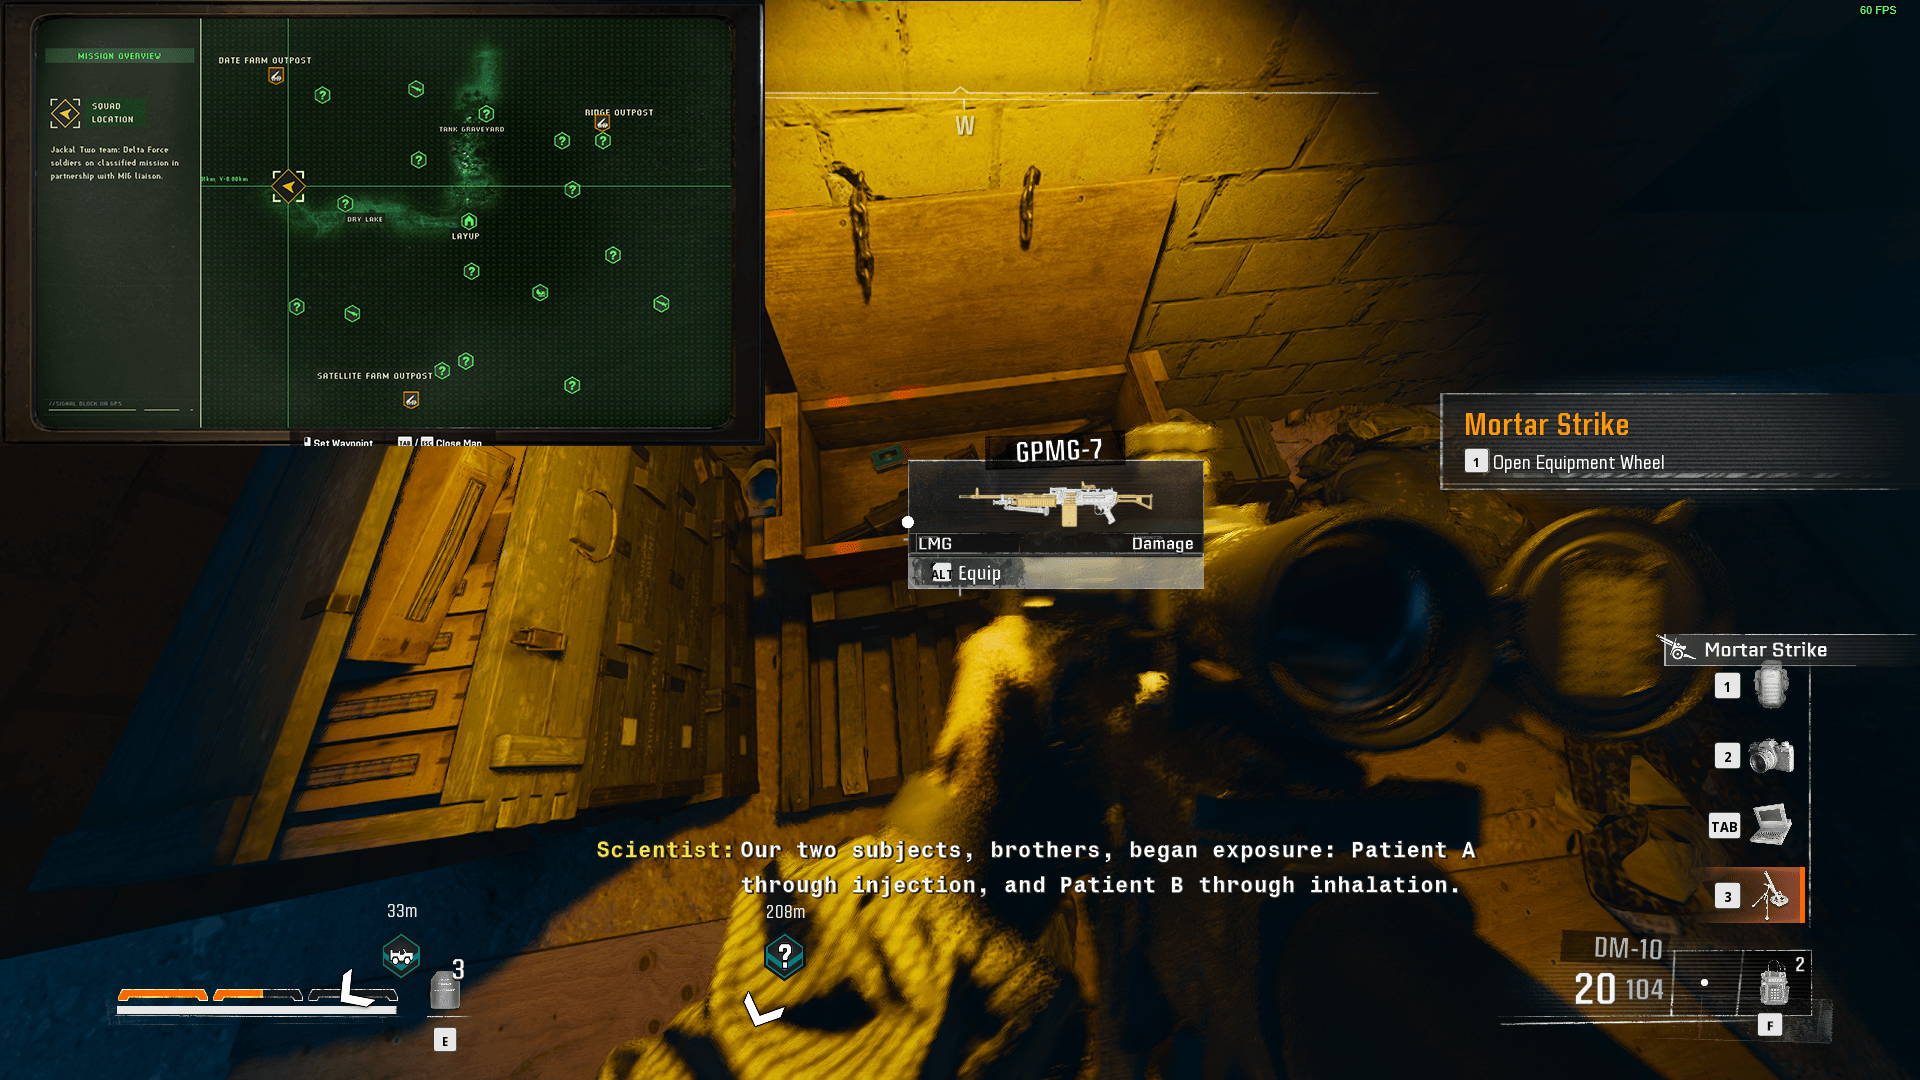
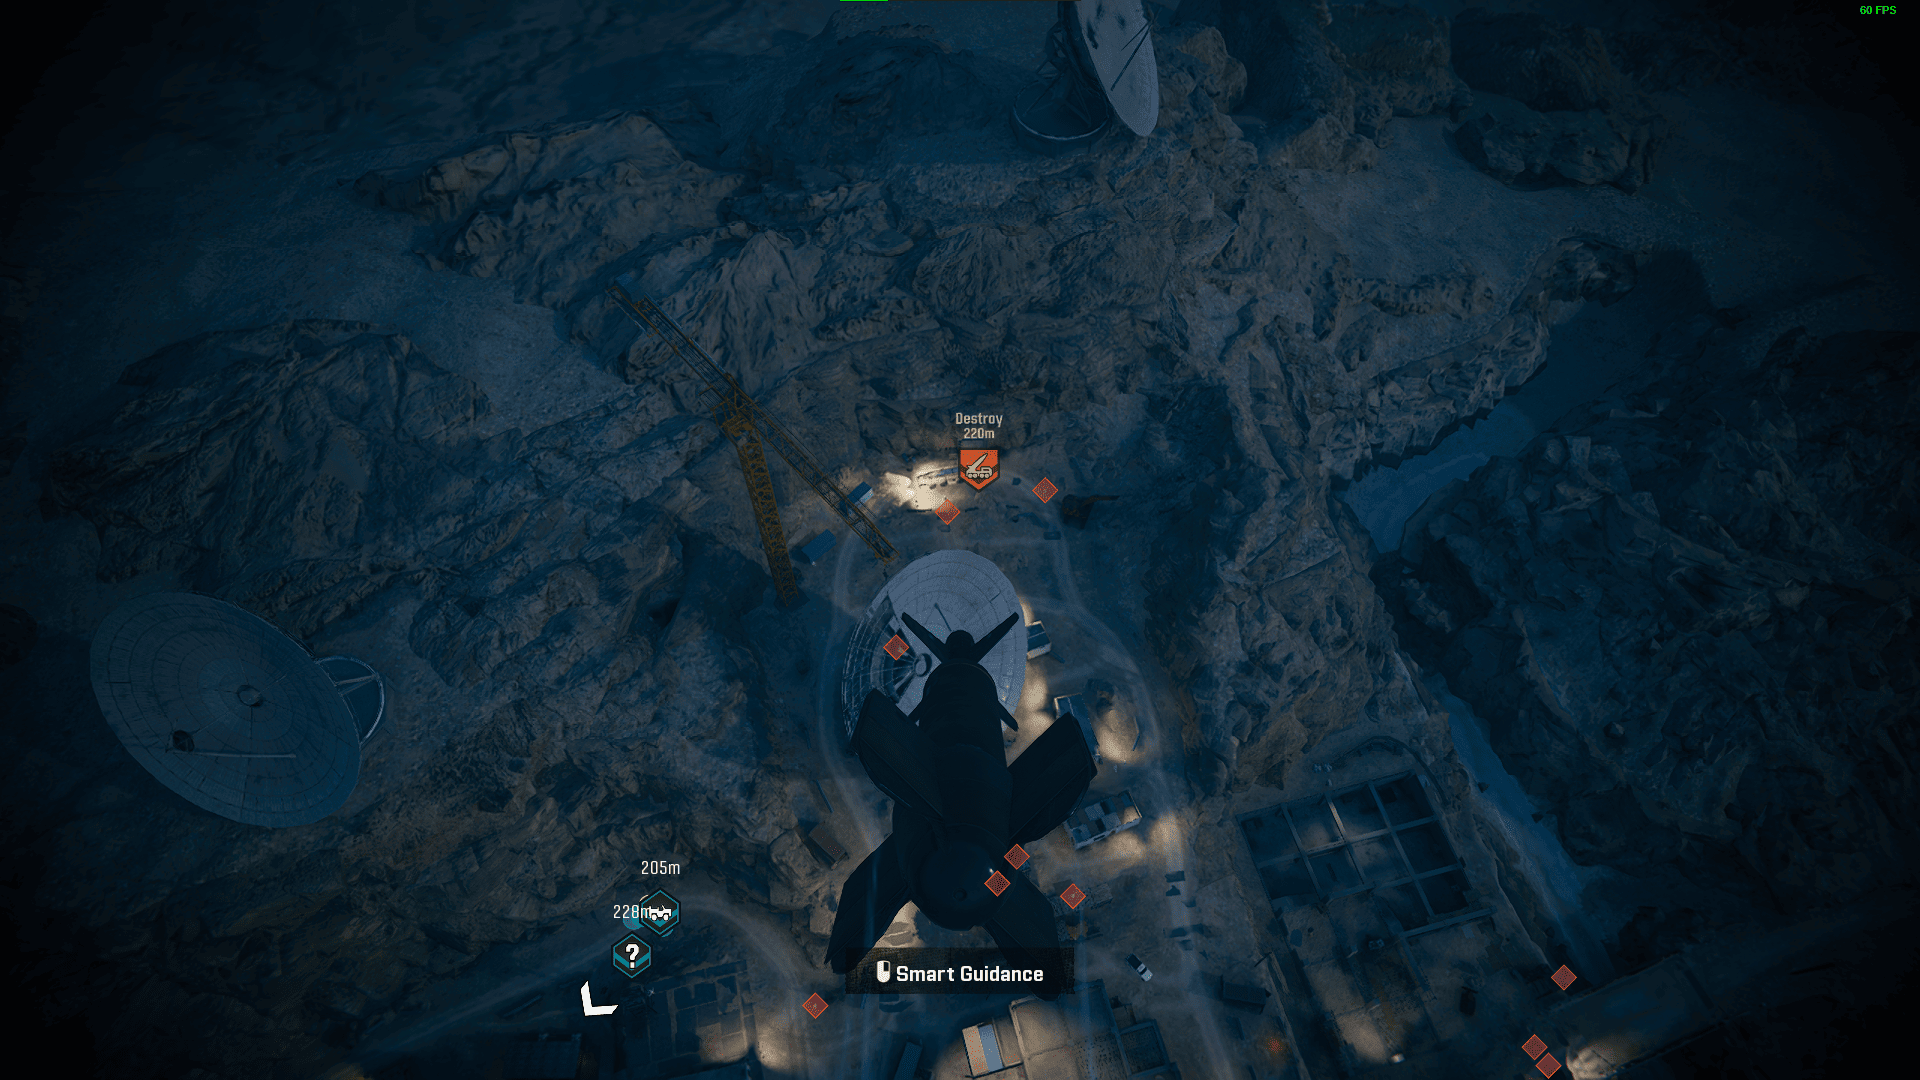
This is relatively easy, you can get the Mortar Strike and Stealth Bomber through side missions, or keep the rocket launcher from the start. The Mortar Strike can be obtained from a crate holding the first Audio Log, west of the main camp Lay Up, and the Stealth Bomber can be obtained by rescuing the helicopter team that crashed in The Dunes Sea, southeast of the main camp. Just use these scorestreaks on the Scud Missiles whenever you get the chance to and the calling card is yours. You do not need to do one of each methods on every launcher, if you only use the rocket launcher, that is enough.
Emergence

Collect Calls
Answer every phone in Emergence
Upon reaching the main complex where you input the directors' key cards, you will be prompted to open the lift directly in front of you. Try to do this and go back to the middle to hear the phone ringing, pick it up.
Second phone is just after you leave the first area with the abomination and acquire the grappling hook. Once you go back down the stairs to the main complex, immediately turn to your left and walk down the corridor to find a phone on your left.
Go back to the stairs but instead of going through the double doors, turn around to see the balcony opposite, grapple and run forward a bit to see another phone on the left just after where the corridors intersect.
After this, make a 90 degree turn to your right (facing the phone from the intersecting corridors, it's behind right of me in the image) and go down that long corridor. You will then come to a balcony overlooking the main complex where the statues reside. Grapple over to the other balcony opposite you and keep heading forward to another intersecting corridor. The phone will be on the left of the same corridor just past the intersection.
The final phone is the easiest, after you have collected and inputted all 4 of the directors' keycards, go back and enter the lift. Now just wait until the lift takes you to the top and you'll find that the final phone is story related and cannot be missed :)
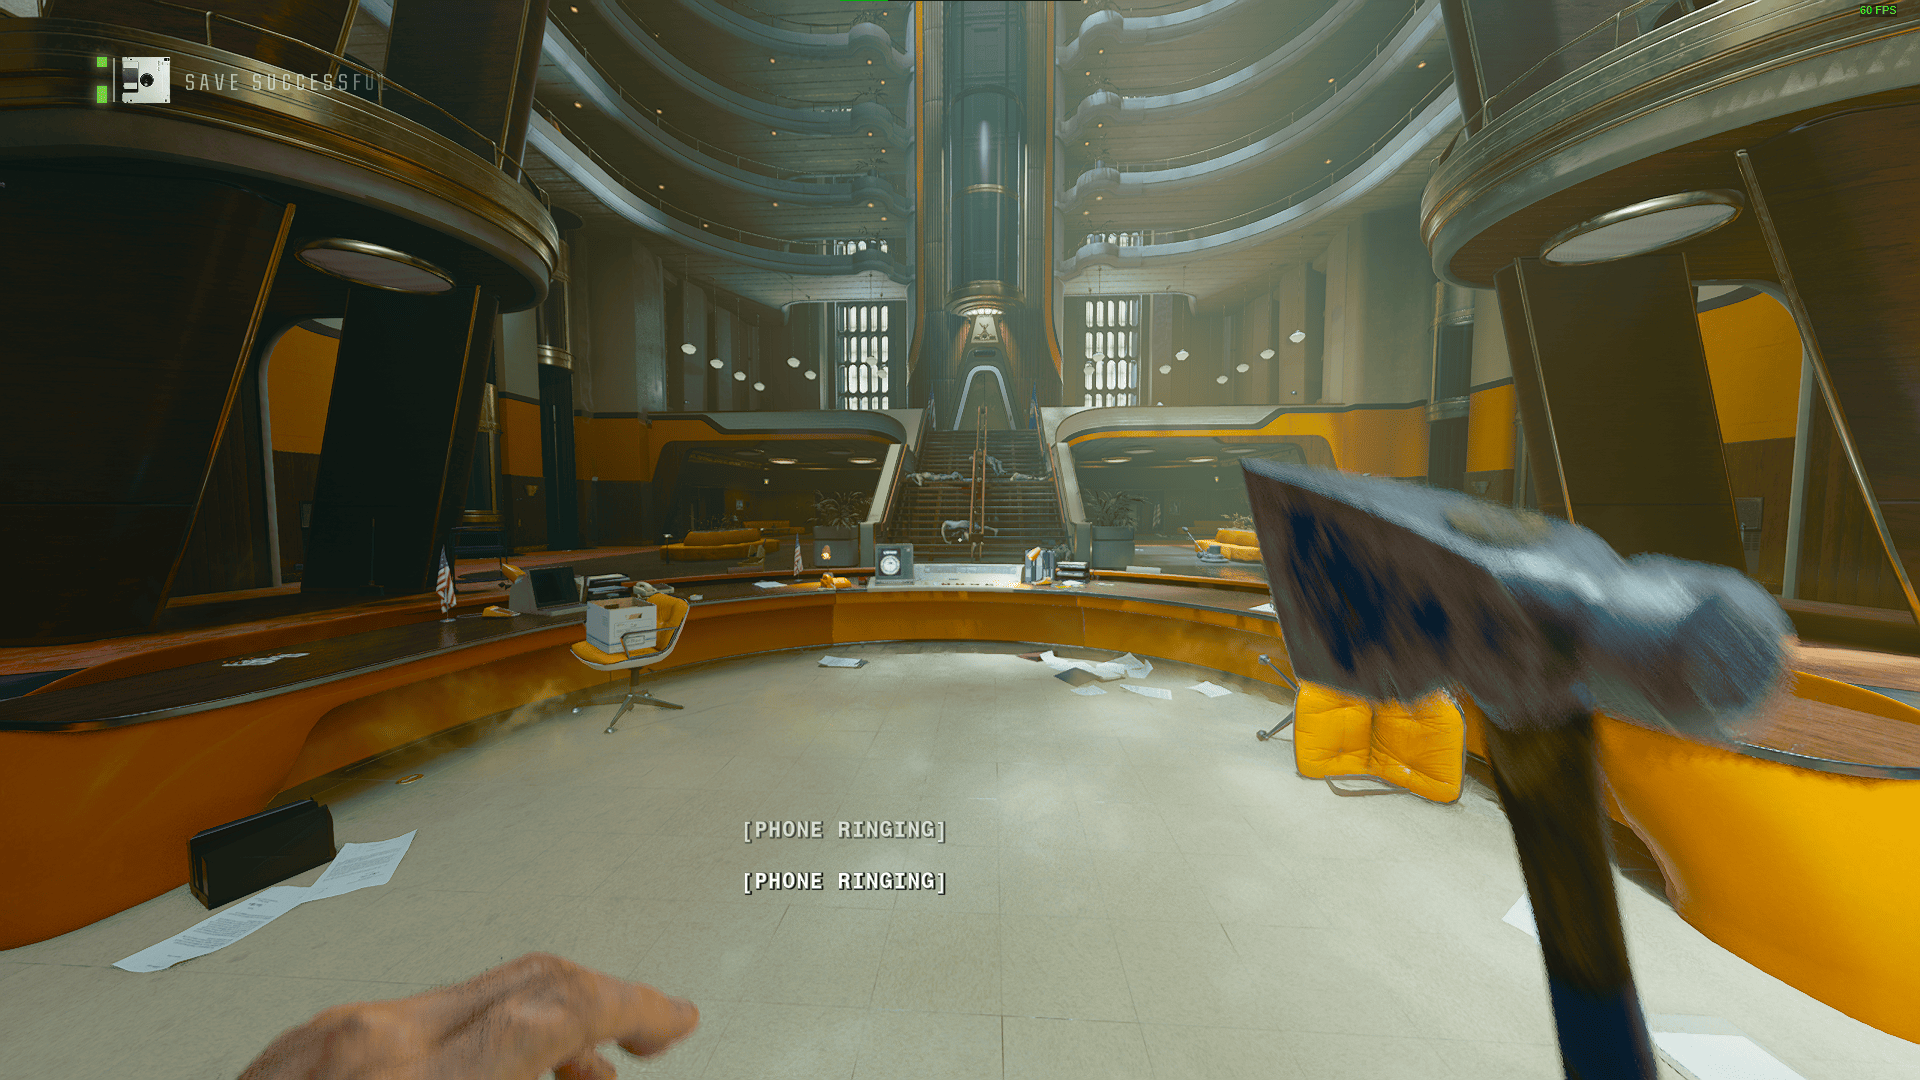
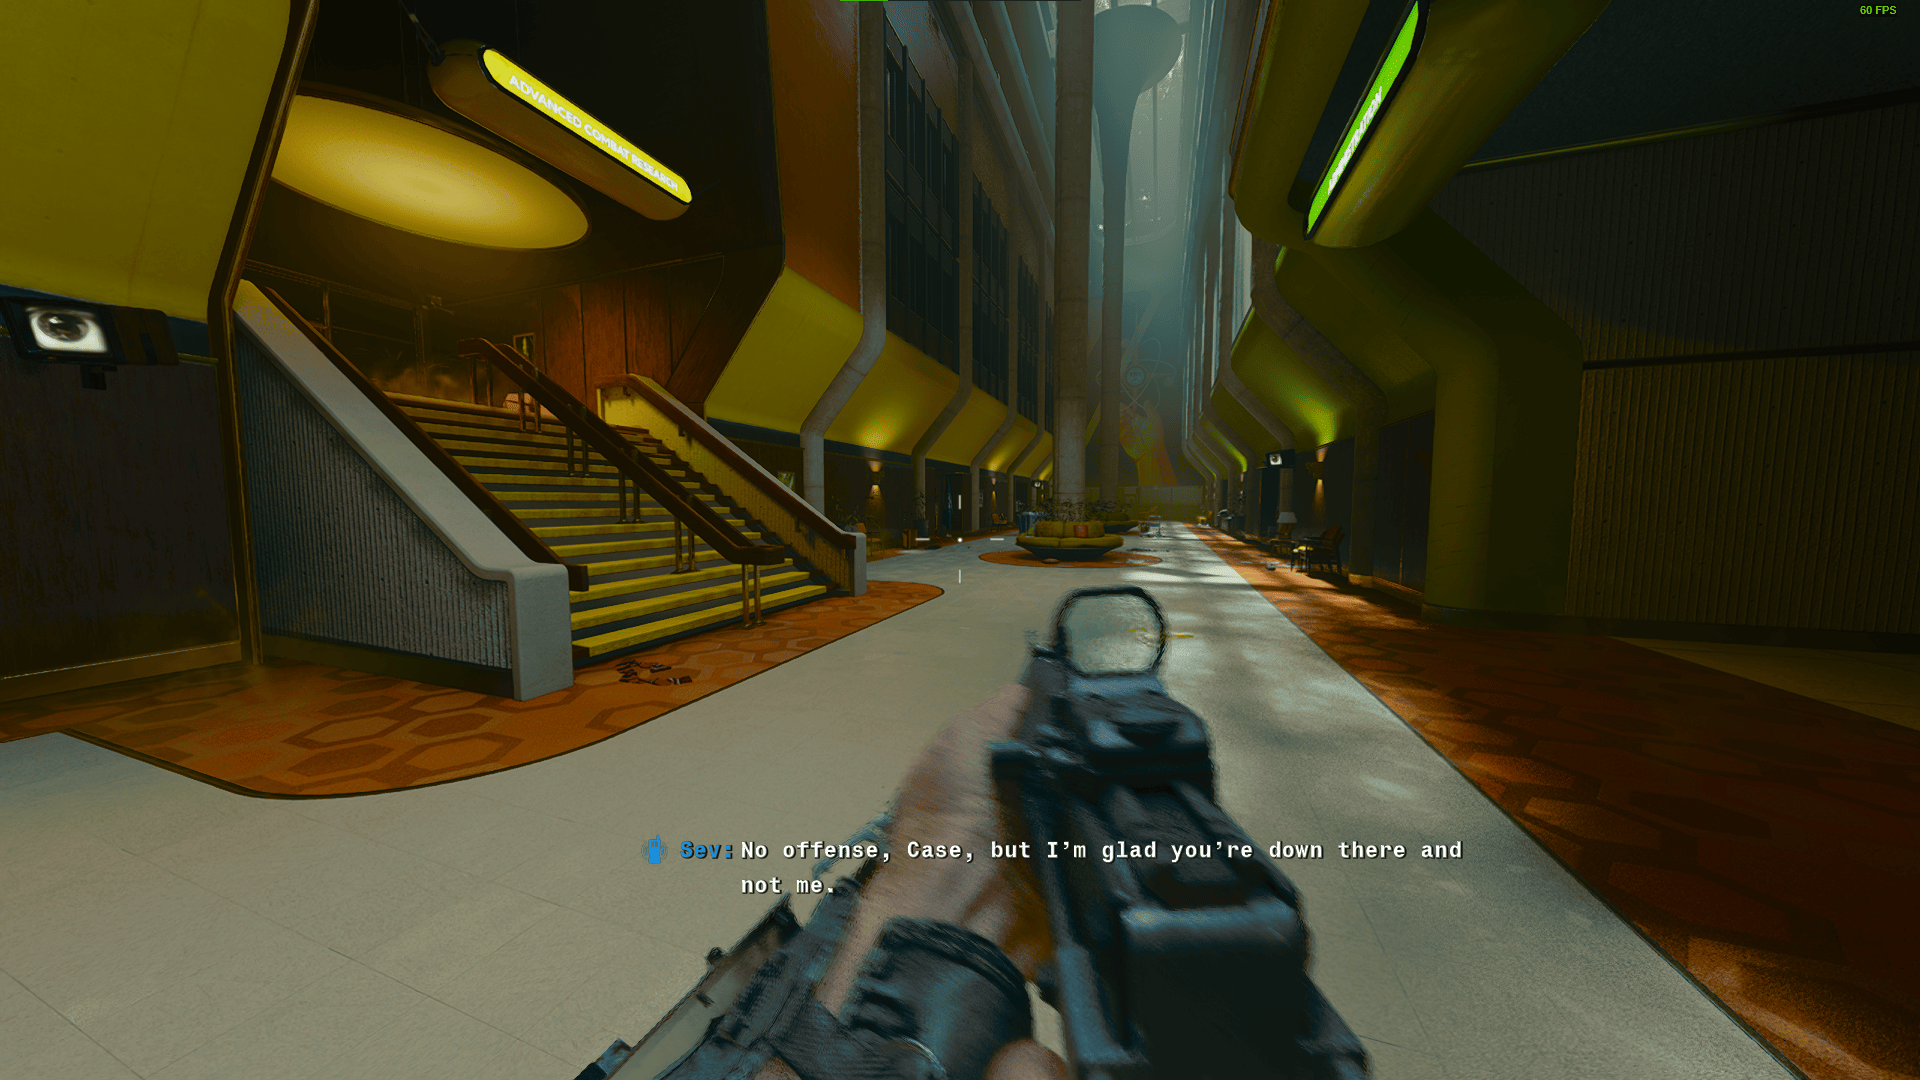
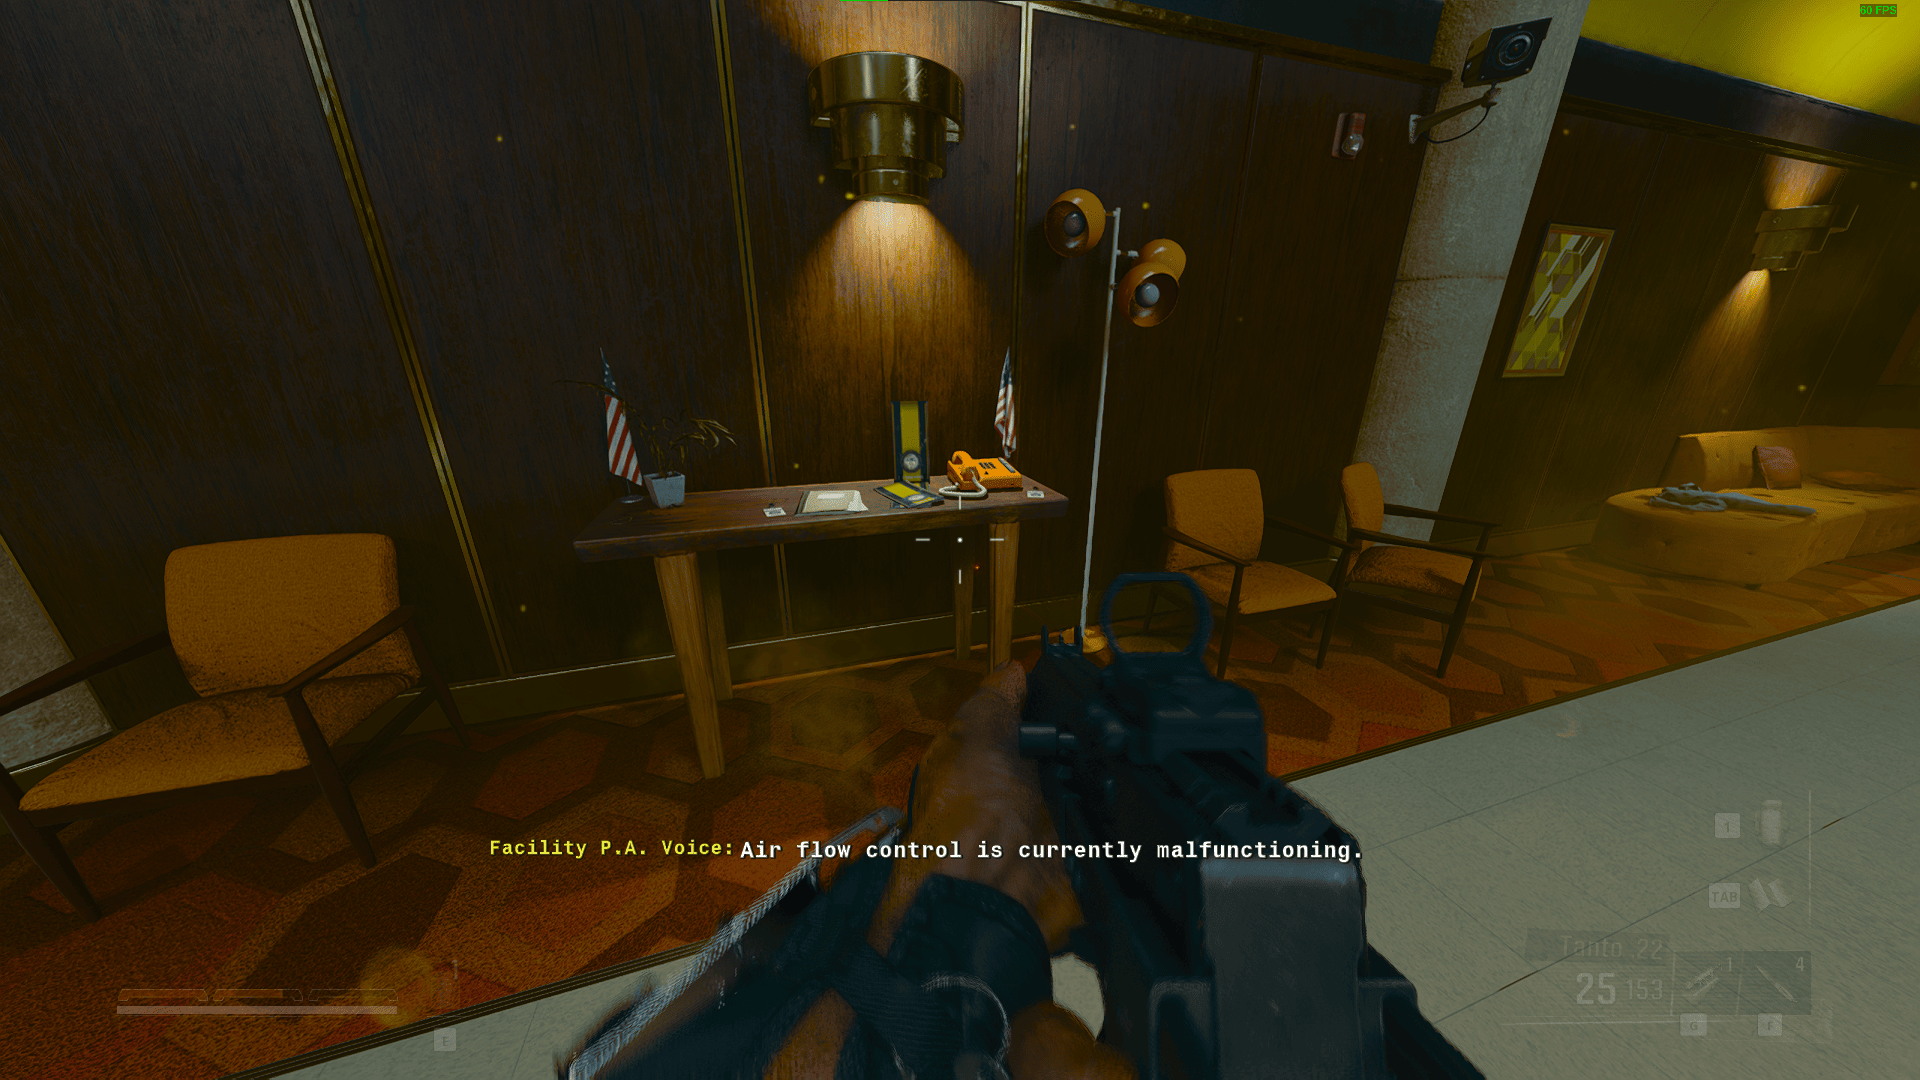
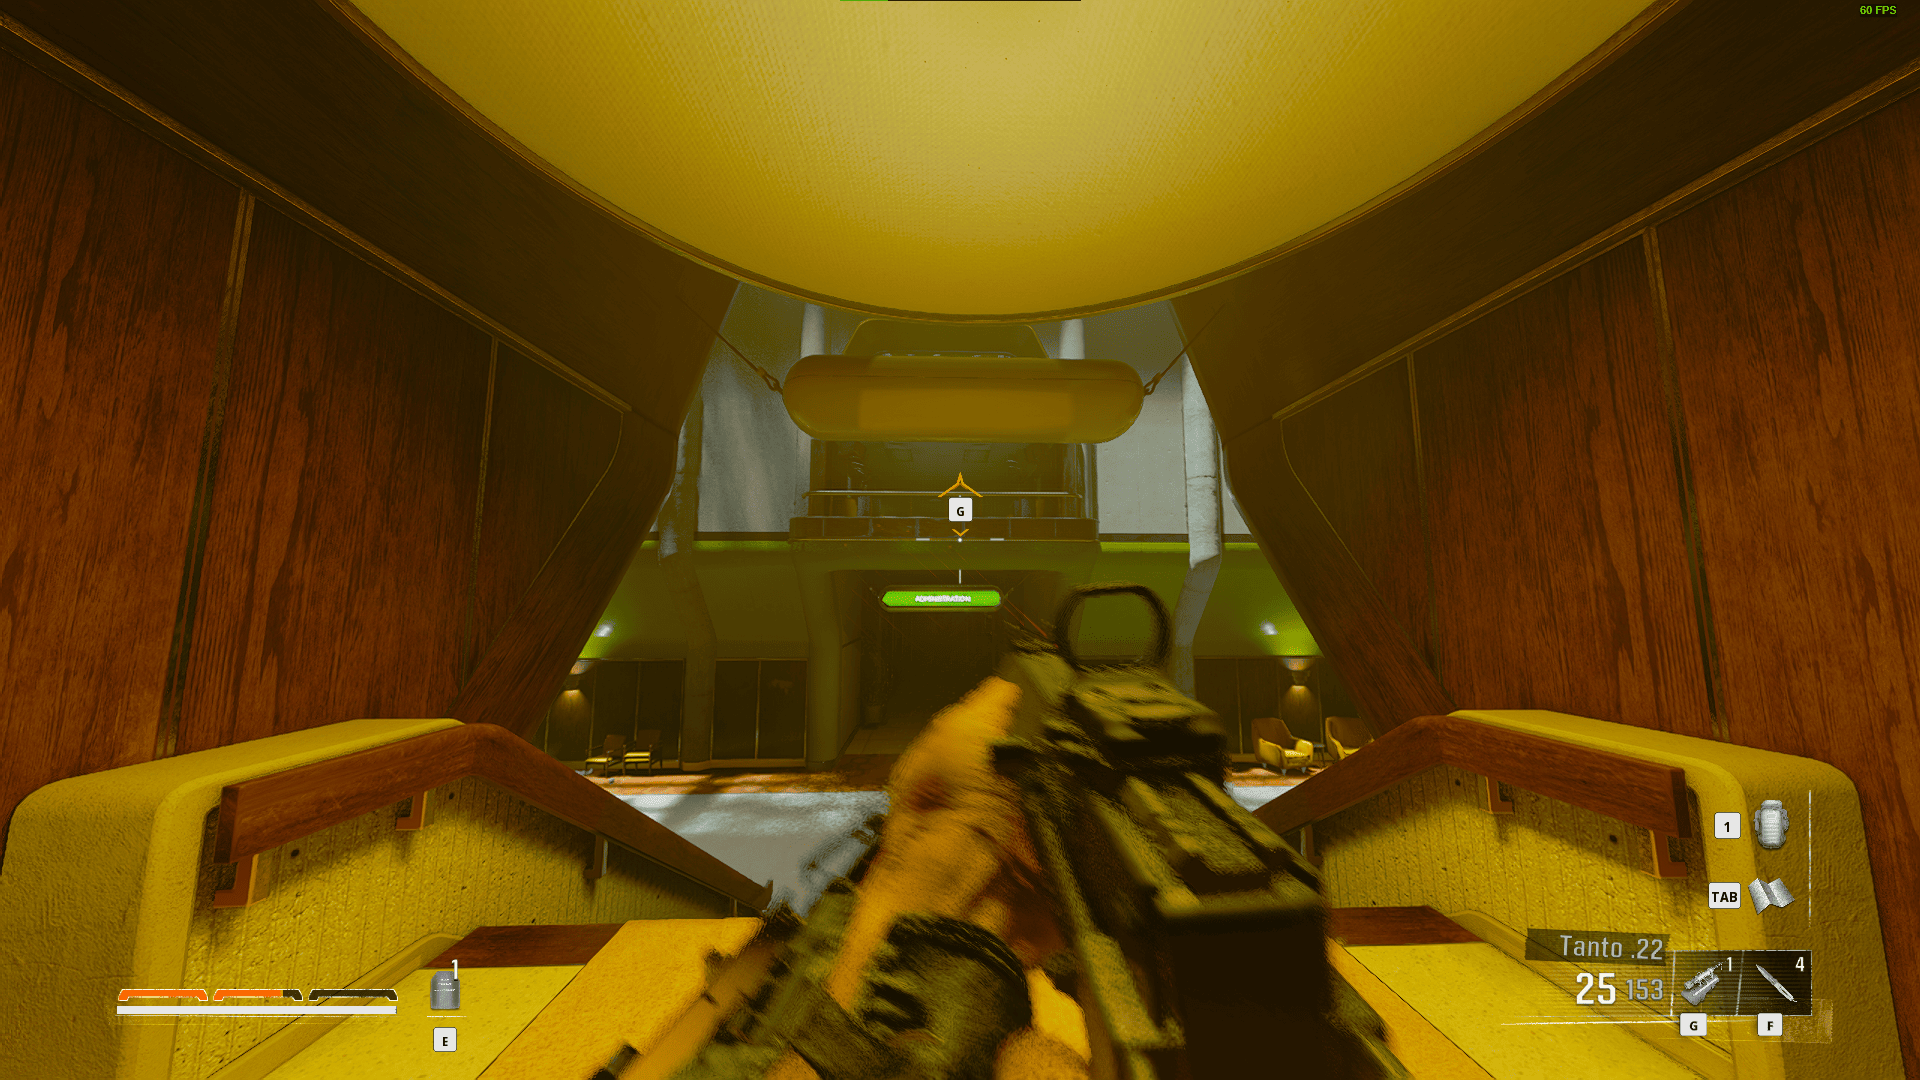
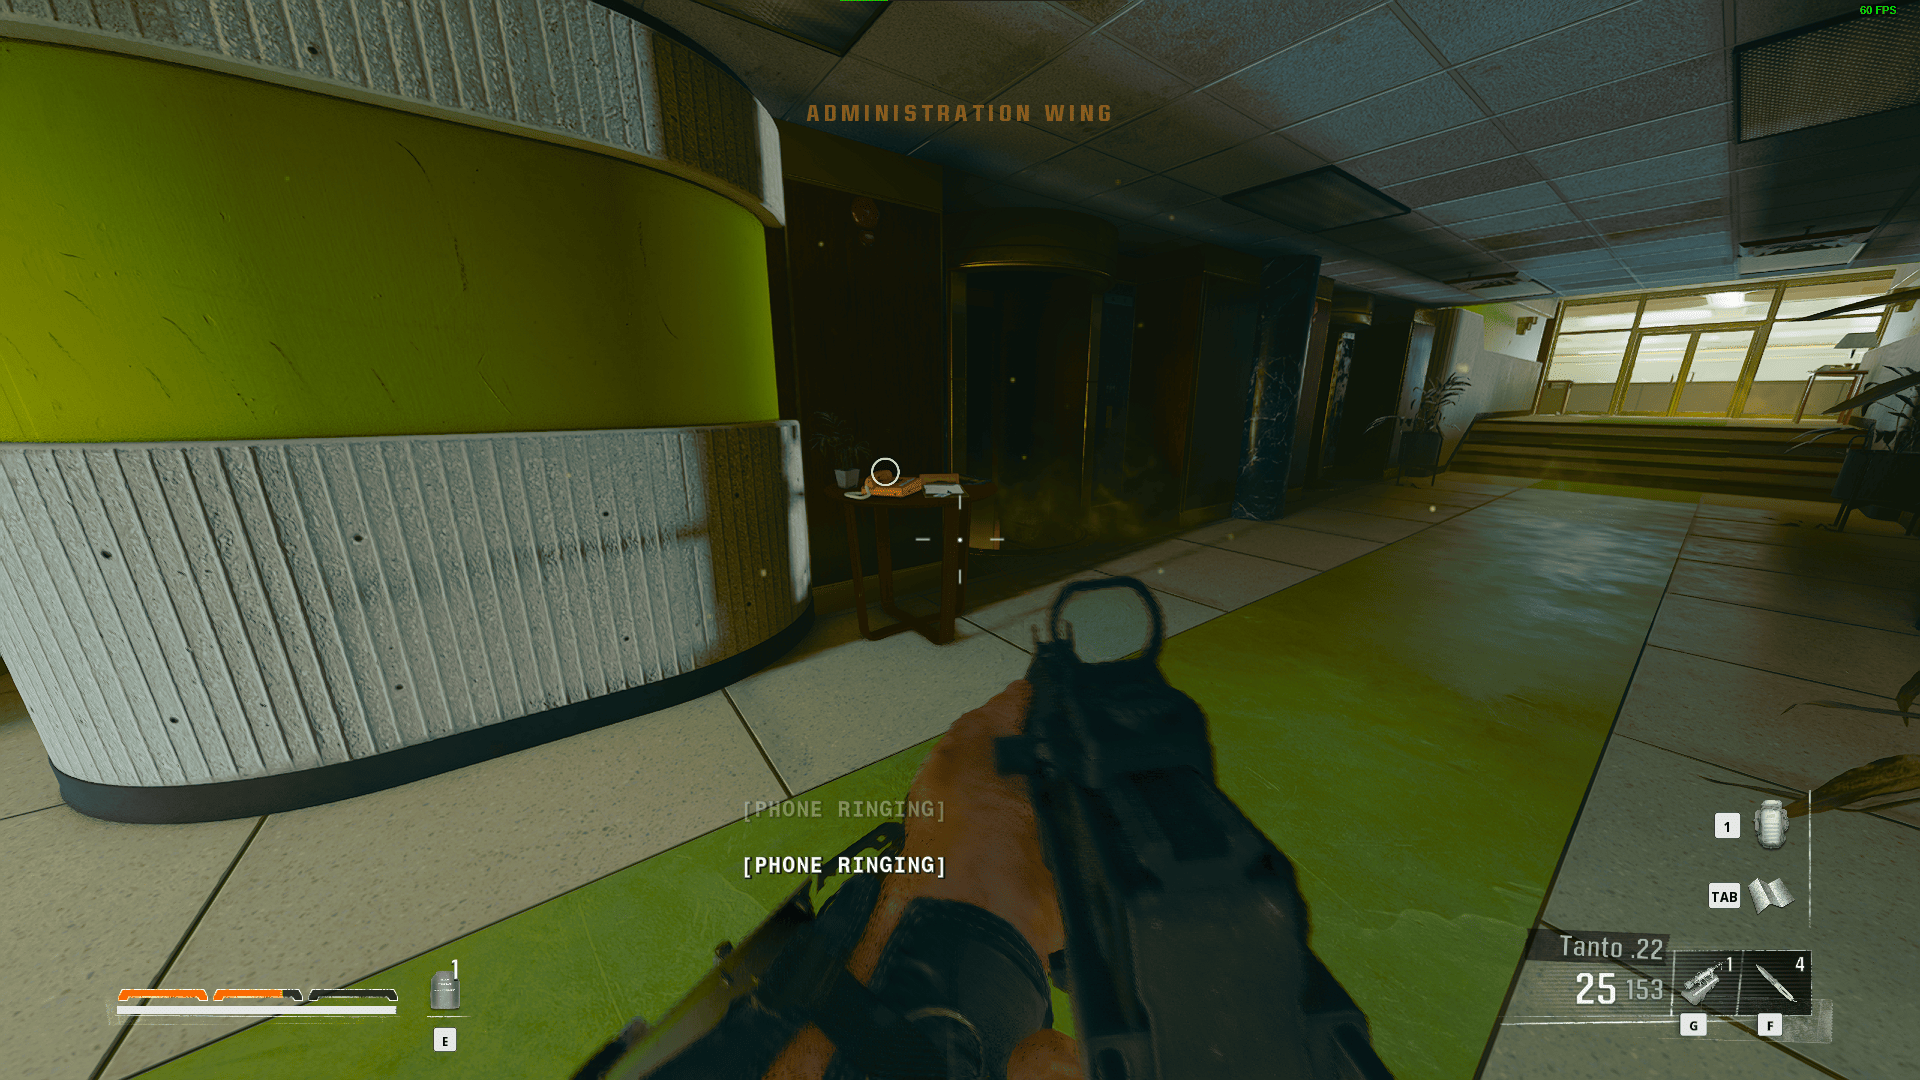
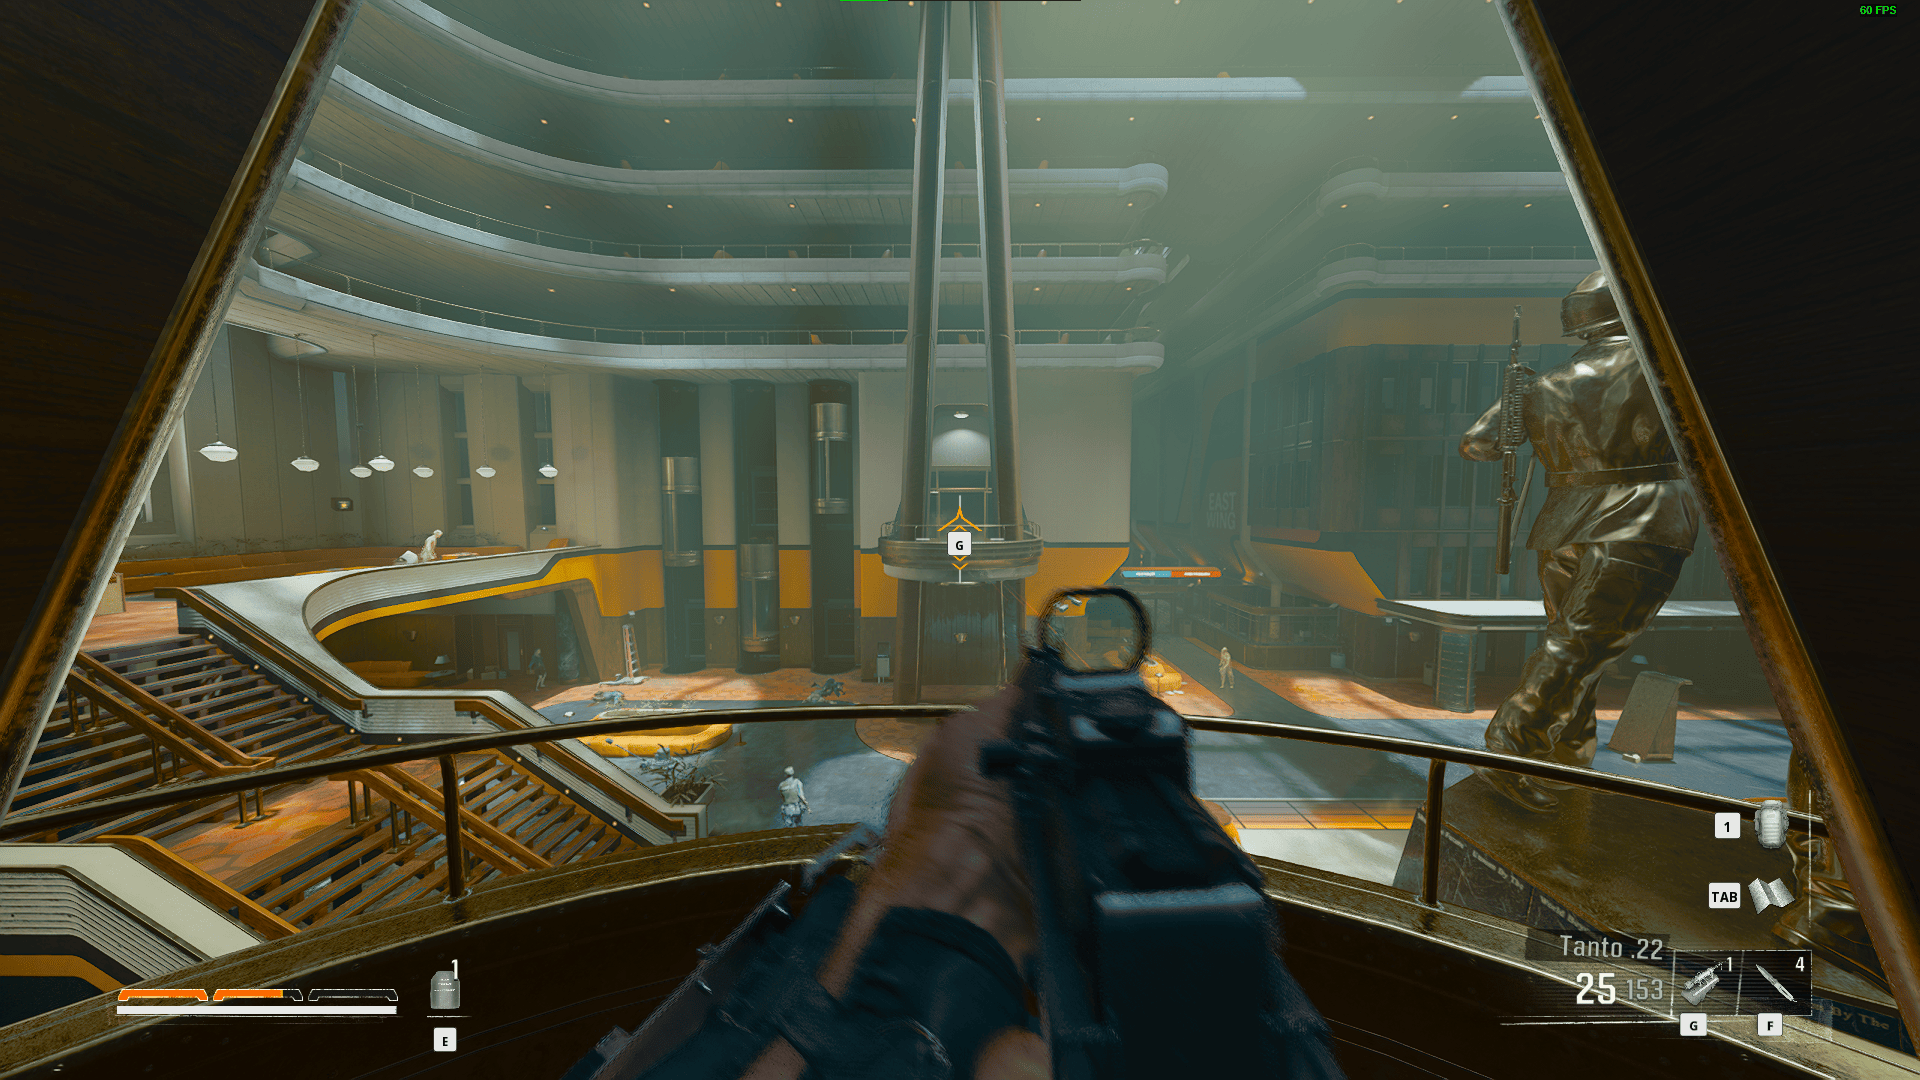
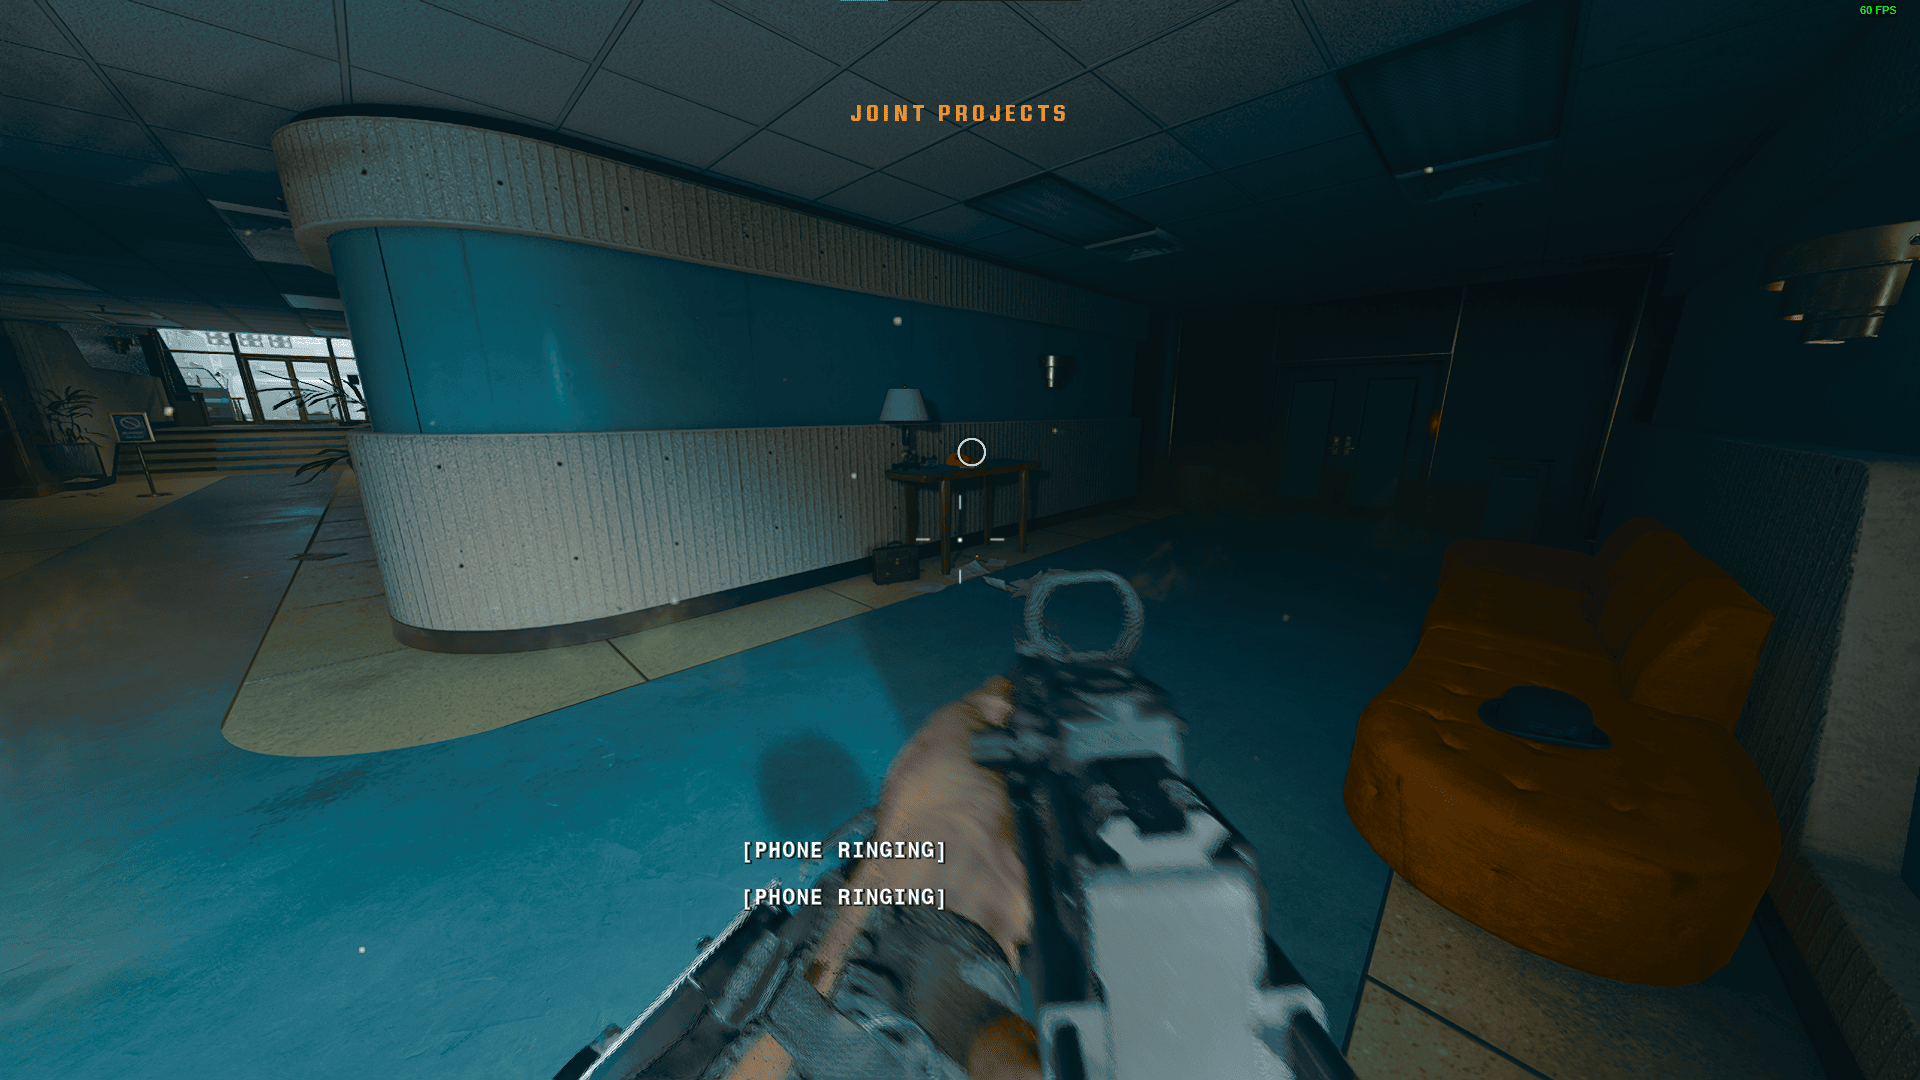

High Rollers

Double Down
Defend the vault with only Pistols in High Rollers
Once you get access to the Armoury below where the vault room is, equip only pistols and stow only pistols into the stow box. Then once you need to defend the vault, pick up said pistols and use them. For safety, I exclusively used pistols. I do not know if you can use lethal and tactical equipment for this.
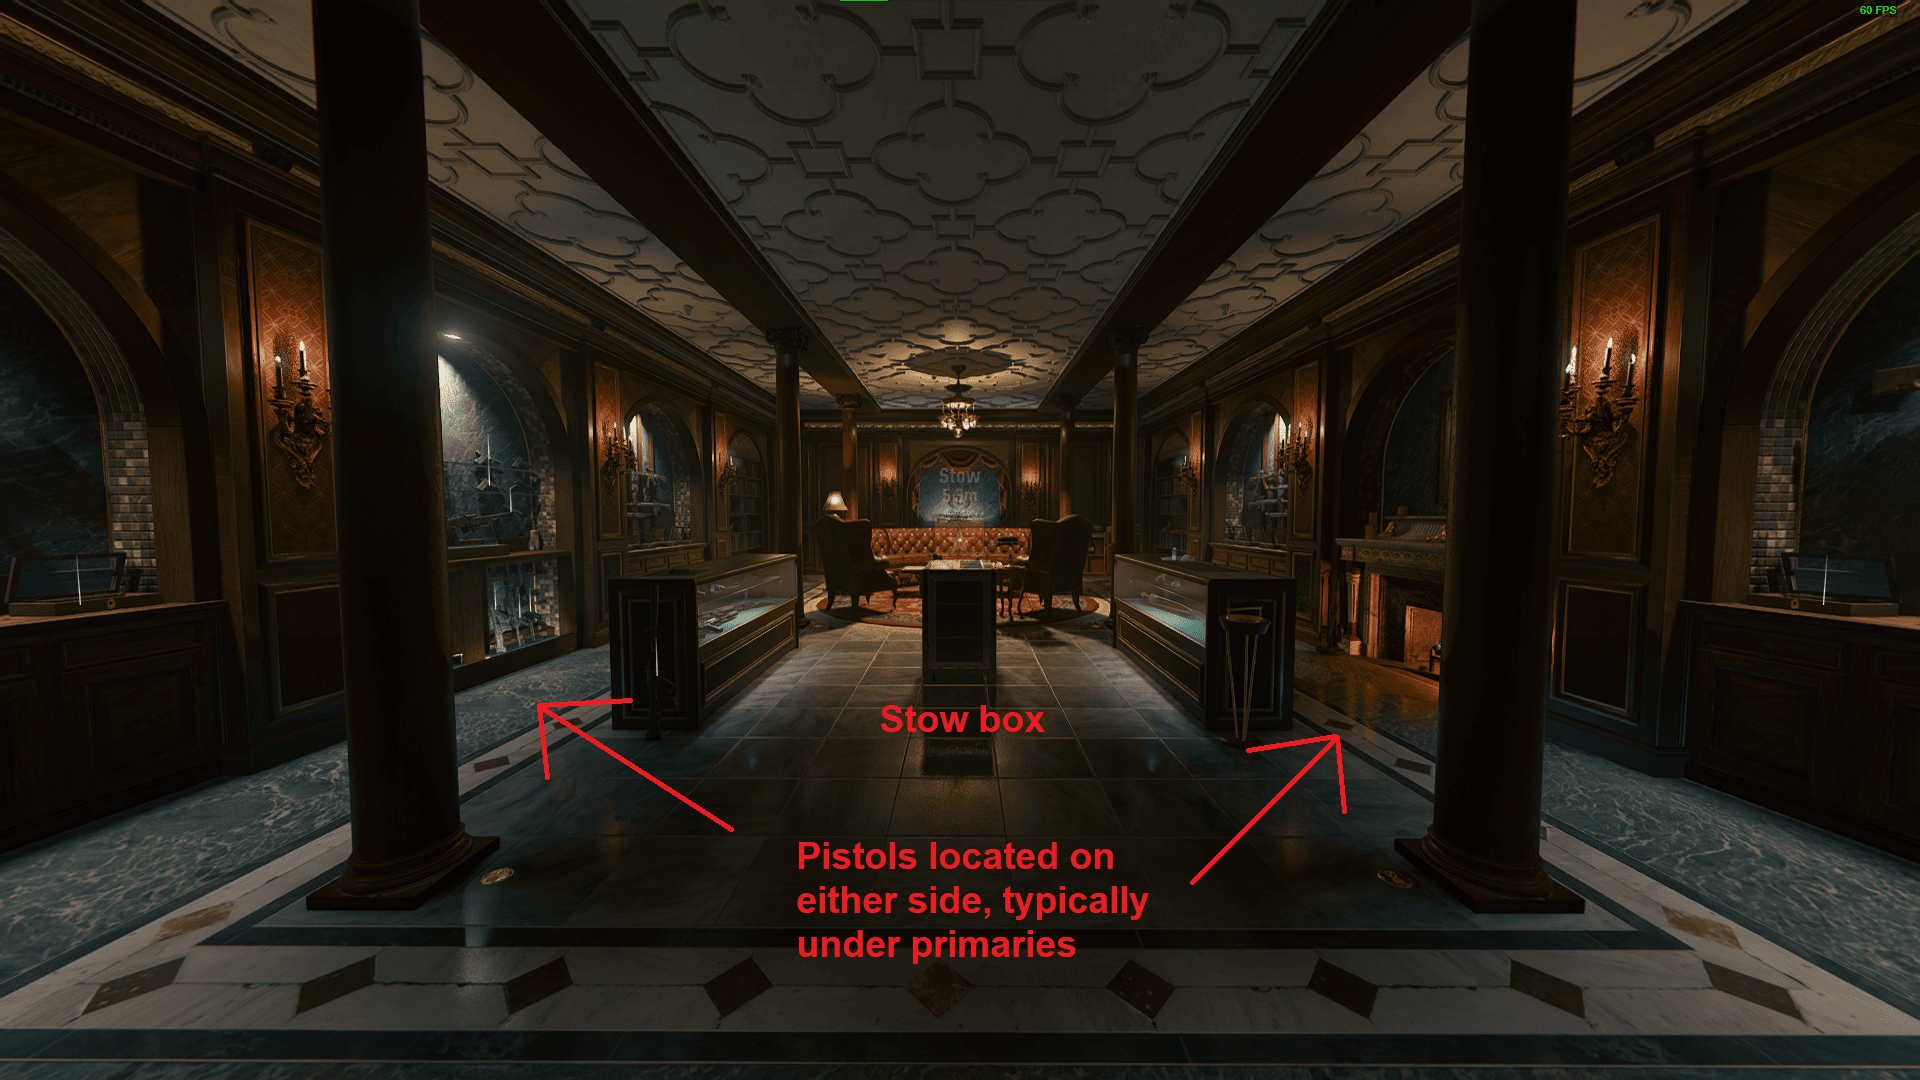
Ground Control

No Smoking
Kill 10 enemies with a Dragon's Breath shotgun in a single play through of ground control
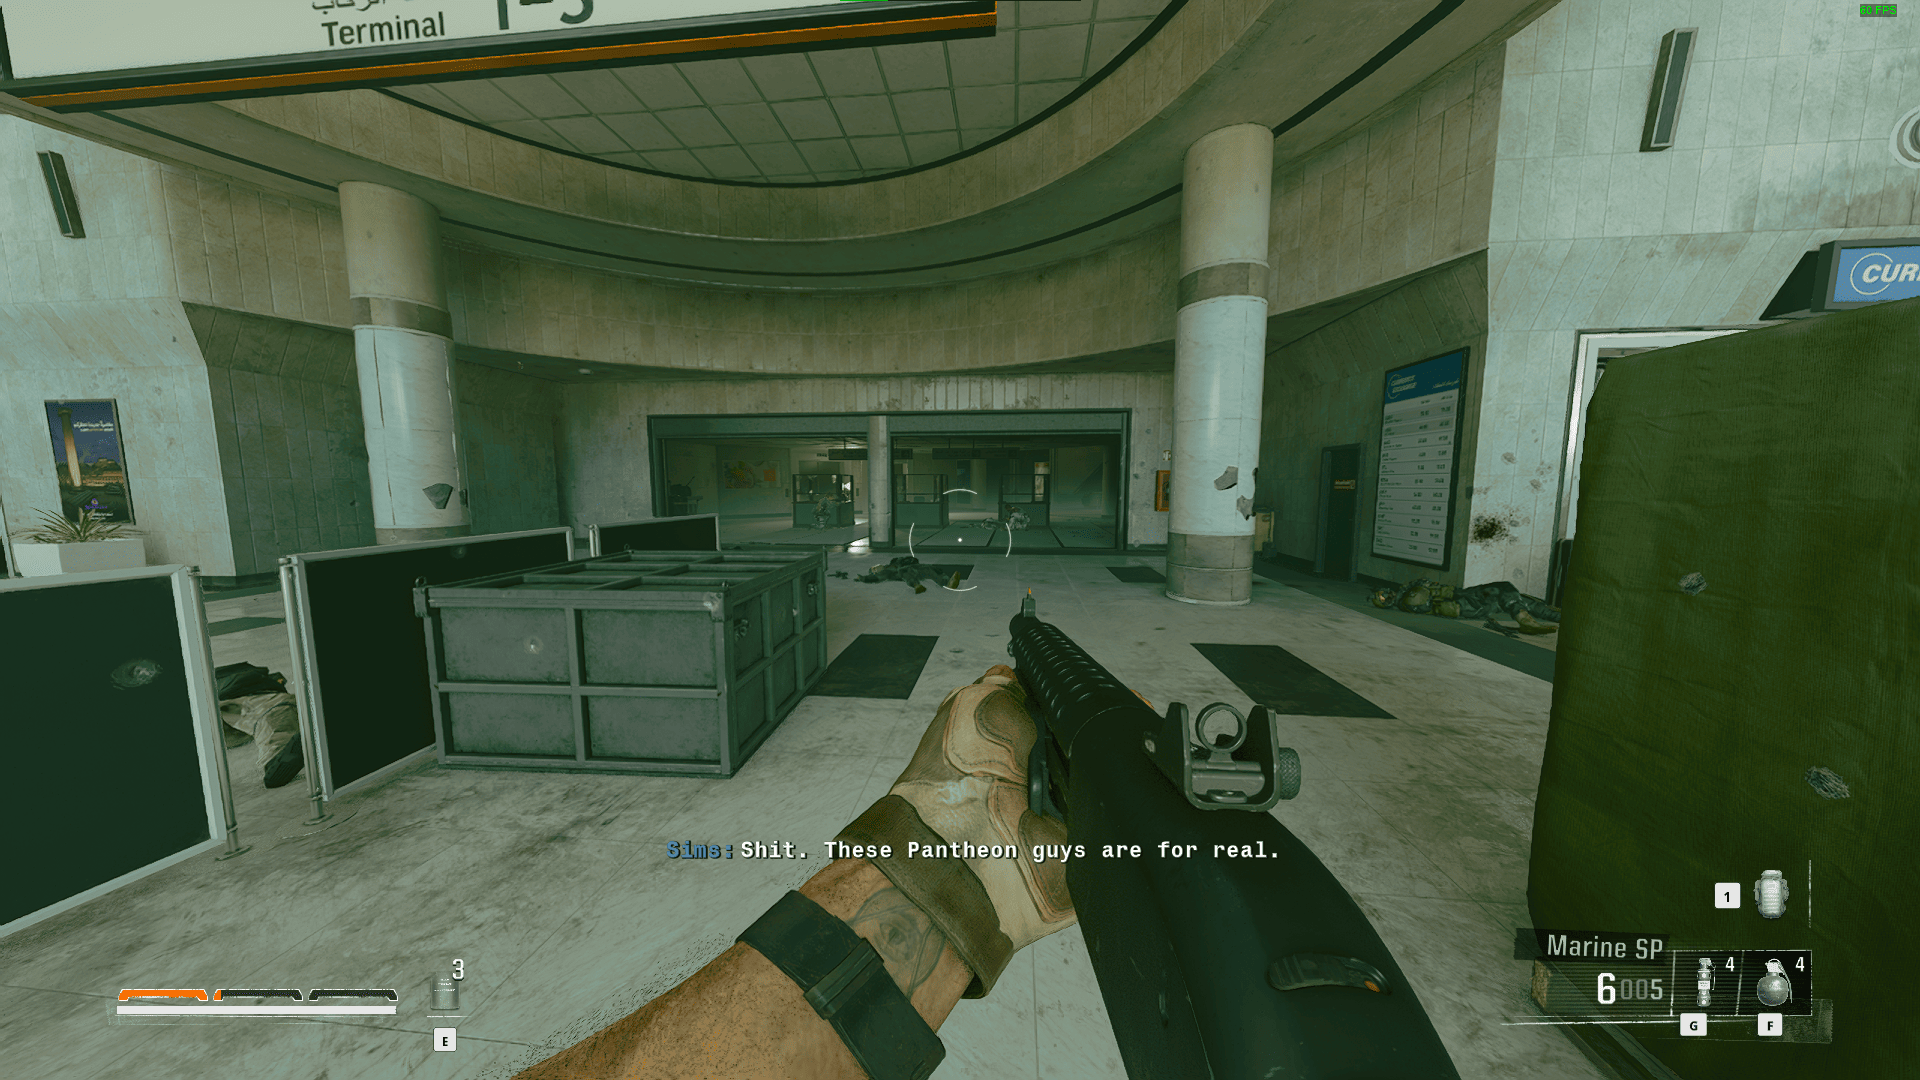
This is fairly easy, just about midway of the mission you'll enter a terminal room and fight a group of enemies besides some shutter doors. You'll approach the shutter doors and smoke will appear with Adler exclaiming about a Shotgunner in the smoke. Kill this Shotgunner and take his Marine SP. You'll only have 11 shots but don't fret, there is an ammo cache in the book shop to the left. Focus on the ground floor enemies then make your way up to the top and kill the regular enemies there. It should pop around this area.
Under the Radar

Keen Eye
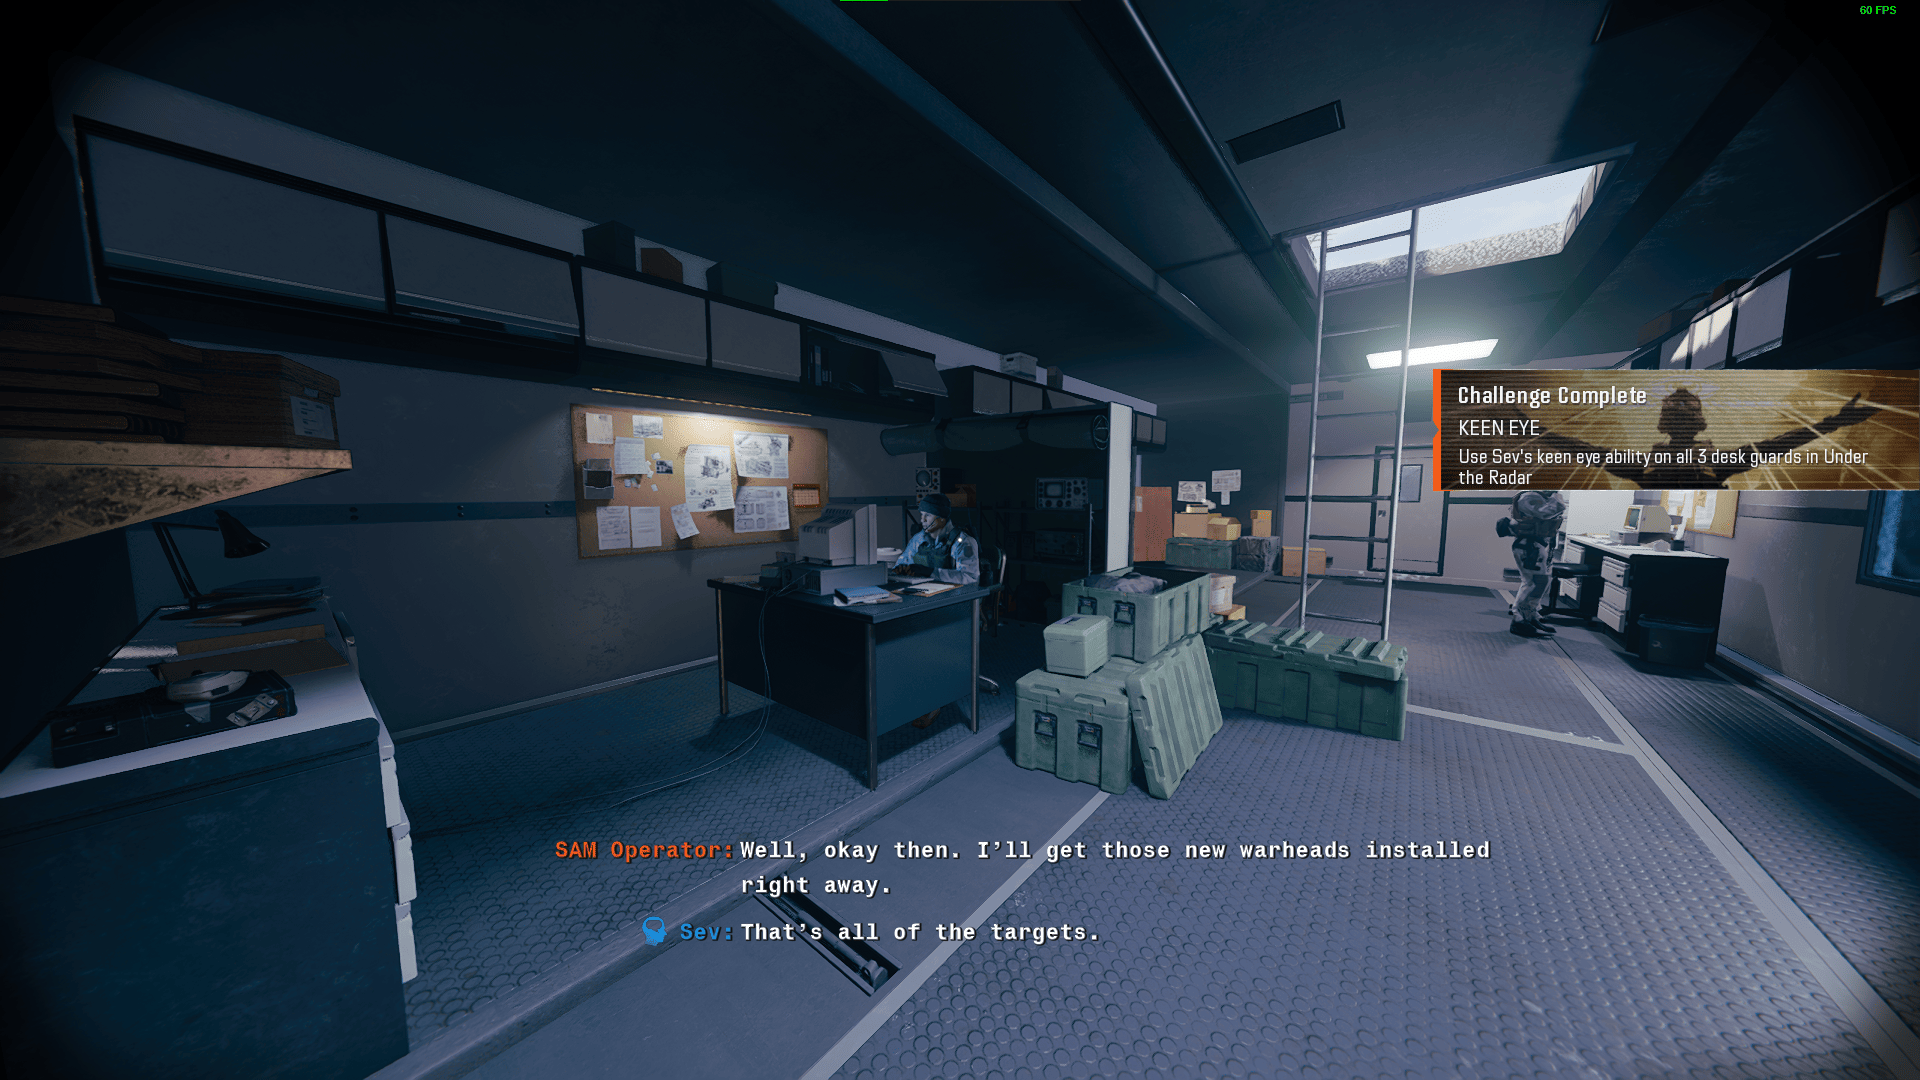
Use Sev's keen eye ability on all 3 desk guards in Under the Radar
There are 3 guards total with one guard per objective. Sit with and talk to each of the guards before completing the objective and use the 'Keen eye' chat dialogue each time. Look around and gather all intel for each objective and this should pop. The important factor with this achievement is that you have to follow through with each of the responses, don't try sabotage the objective any other way.
Go to the RADAR dish and talk to that guard with the following dialogue;
- (Either option) >> KEEN EYE and look around
- 2nd Option (11A) >> 1st Option (Sgt. Whitman) >> 2nd Option (Clutter simulation)
- That's him done.
Go to the Helicopter guard and talk to him with the following dialogue; - KEEN EYE >> Look around
- 2nd Option (French Foreign Brigade) >> 3rd Option (Left for your girls) >> 1st Option (Cpt. Betzer)
- Turn around and plant C4 in the cargo on the forklift.
- Talk to 2 soldiers next to the forklift, tell them 'Go right ahead'. Then you're done.
Next guard is at the SAM Site however instead, enter the building directly south of the SAM Site guard to find a man sleeping with his gun. Enter the room he is facing to pick up the wire cutters. Then go to the SAM Site guard and talk to him with the following dialogue; - (Either option) >> KEEN EYE and look around
- 2nd Option (Belarus) >> 1st Option (Scheduled tomorrow) >> 2nd Option (Guidance chips, GCX-78) >> Exit
- Head straight north, to the left of the vertical container and pick lock the door into said container. Look left and open another door to the outside again.
- Follow the left hand side until you come across a back door into the horizontal container with the Warhead in it. Open the door and sabotage the missile.
- Backtrack to the desk guard and talk to him again.

Missing Persons - DARK OPS
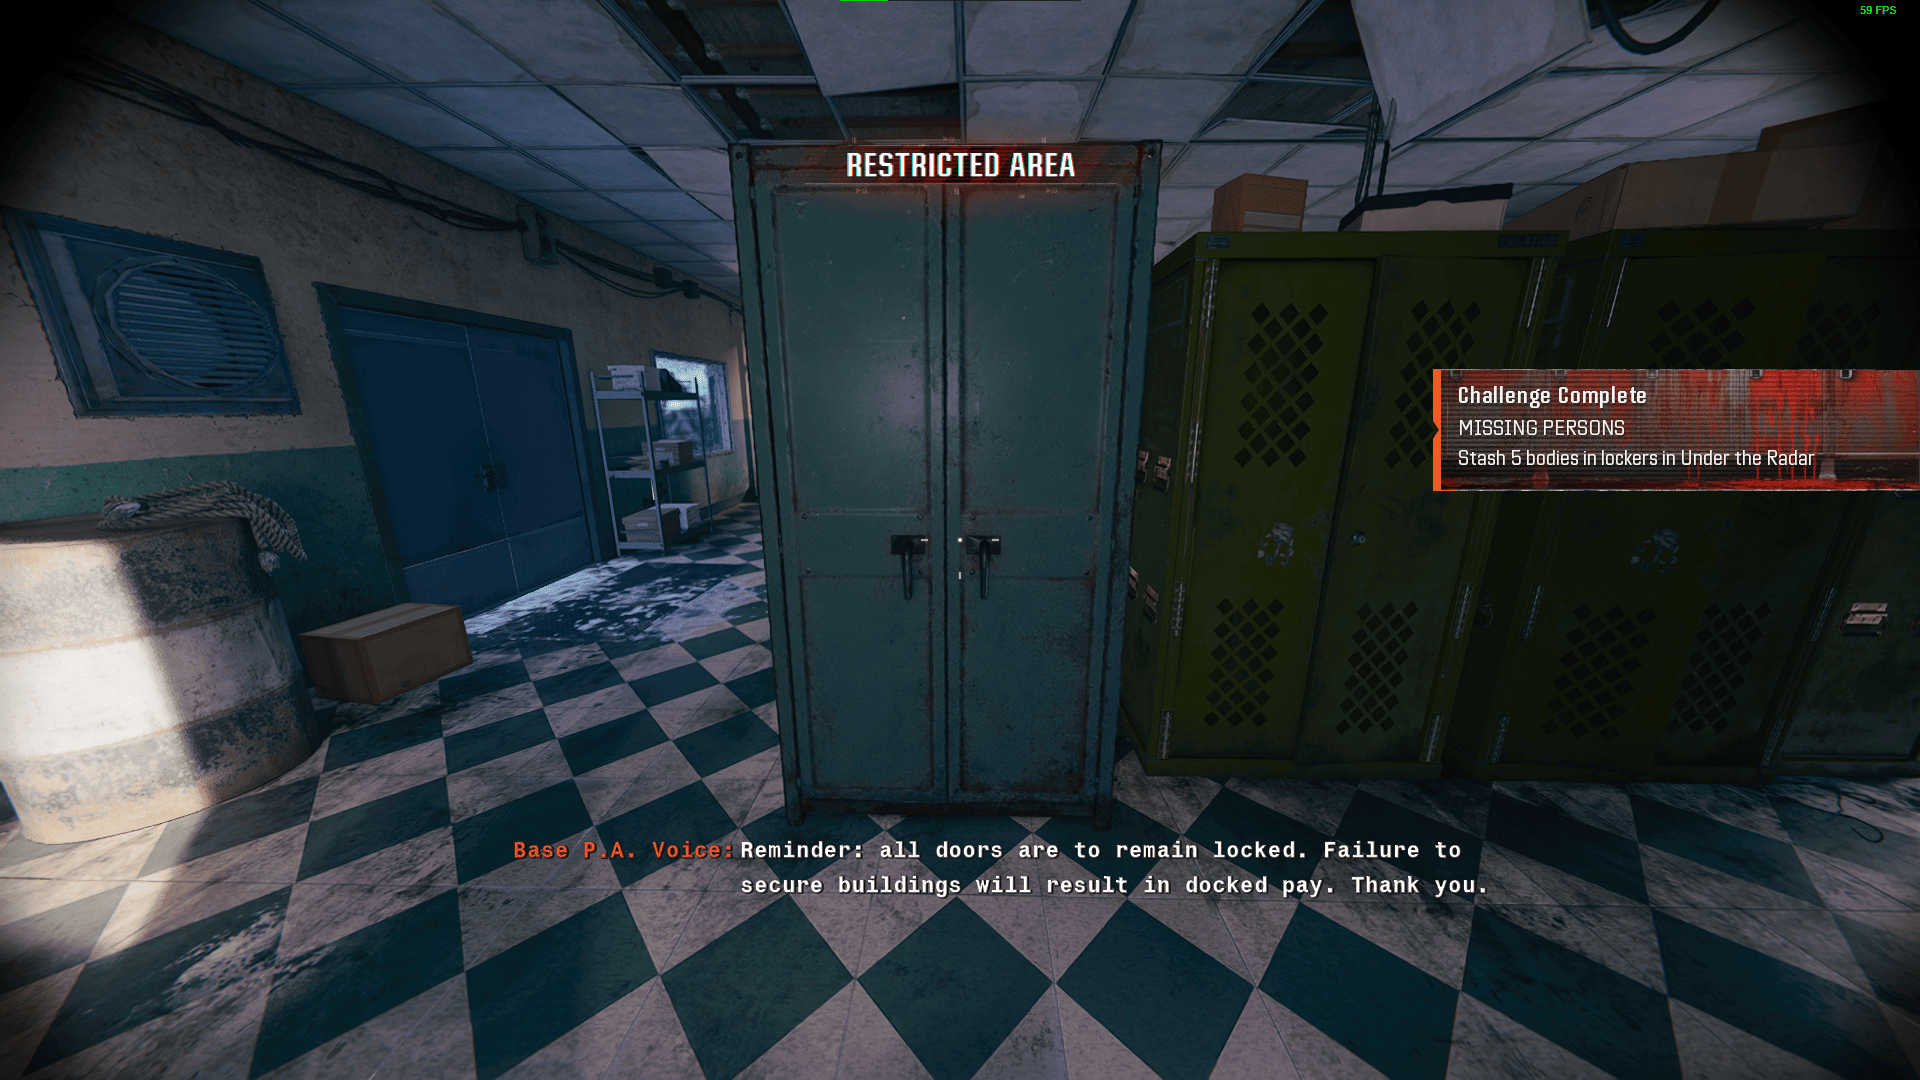
Stash 5 bodies in Lockers in Under the Radar Mission
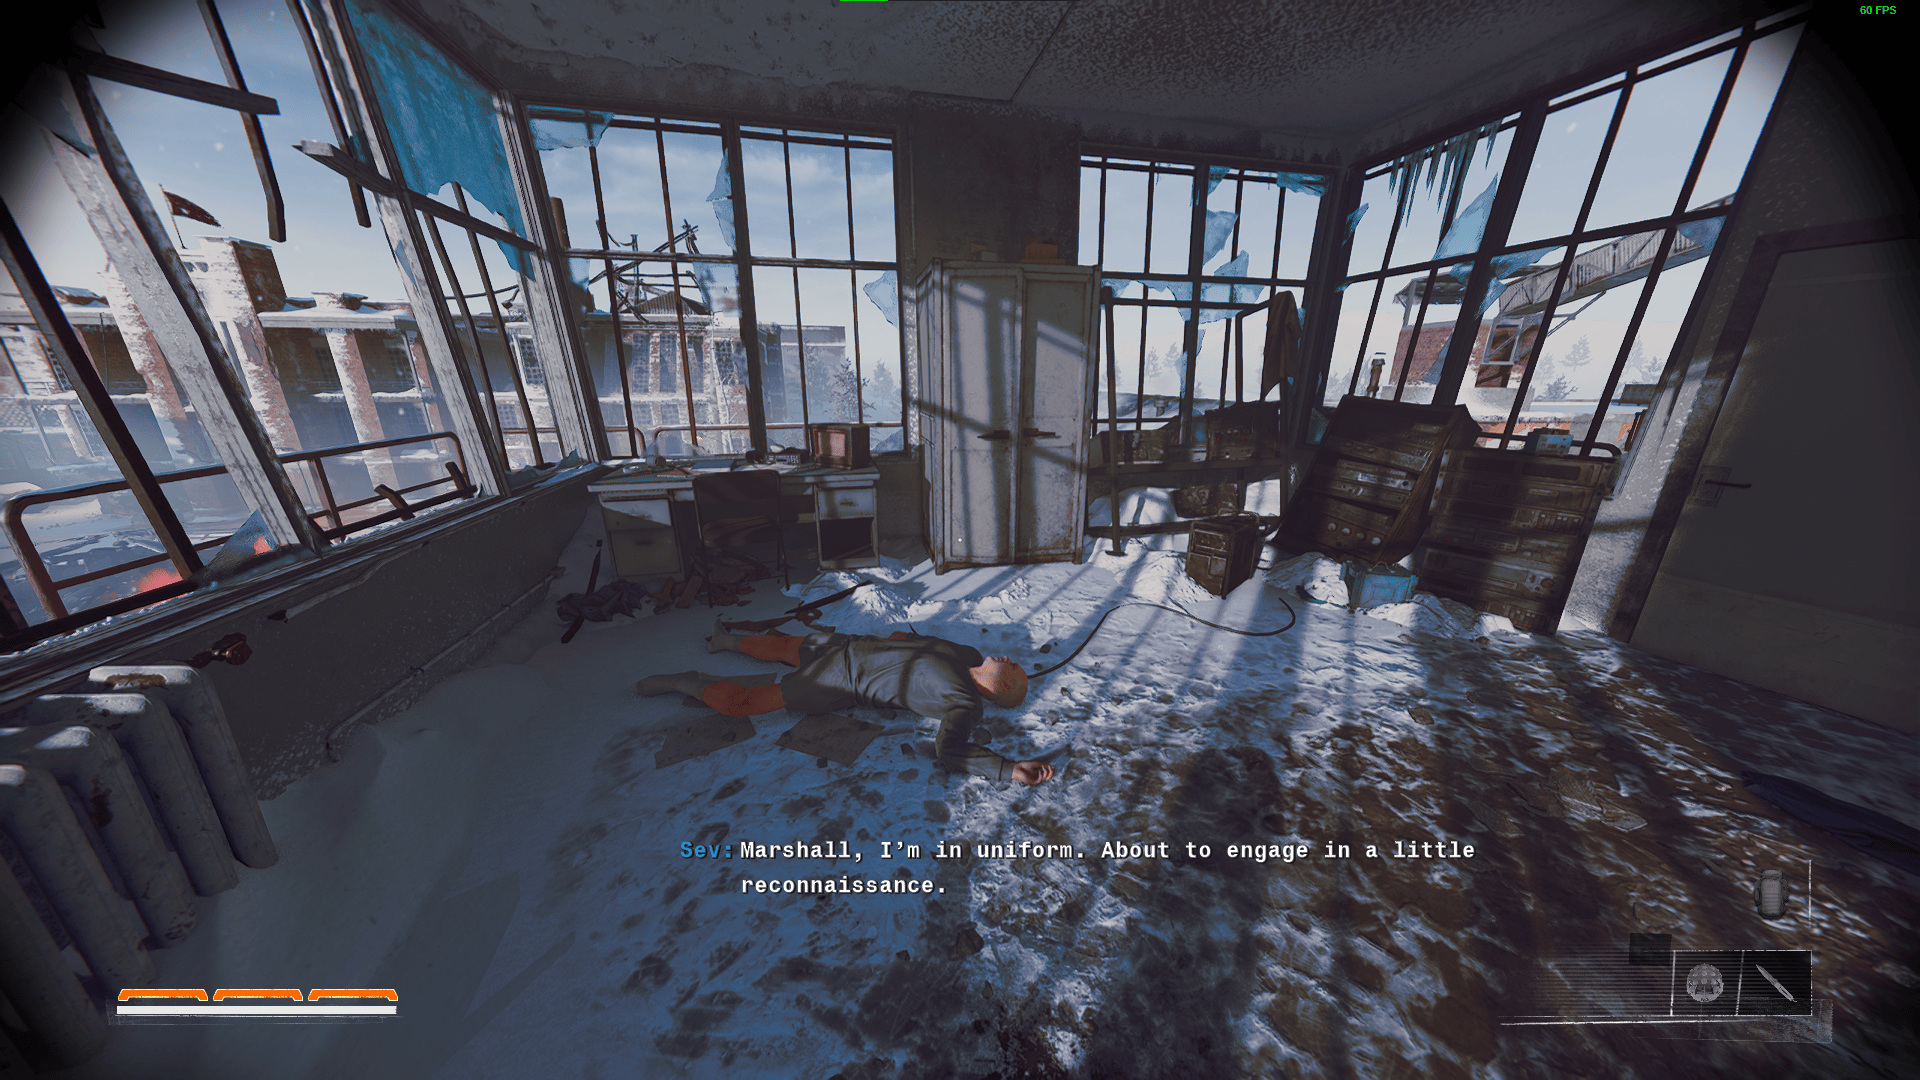
The first time you can do this is actually immediately as you start the mission. Take the guards clothes and throw him in the locker. Now keep an eye out for these lockers, you can use them at any time but can only fit one person in at a time. This calling card isn't actually that bad as there are 4 lockers alone in the Sabotage Warhead area.
Separation Anxiety

Kineticist - DARK OPS
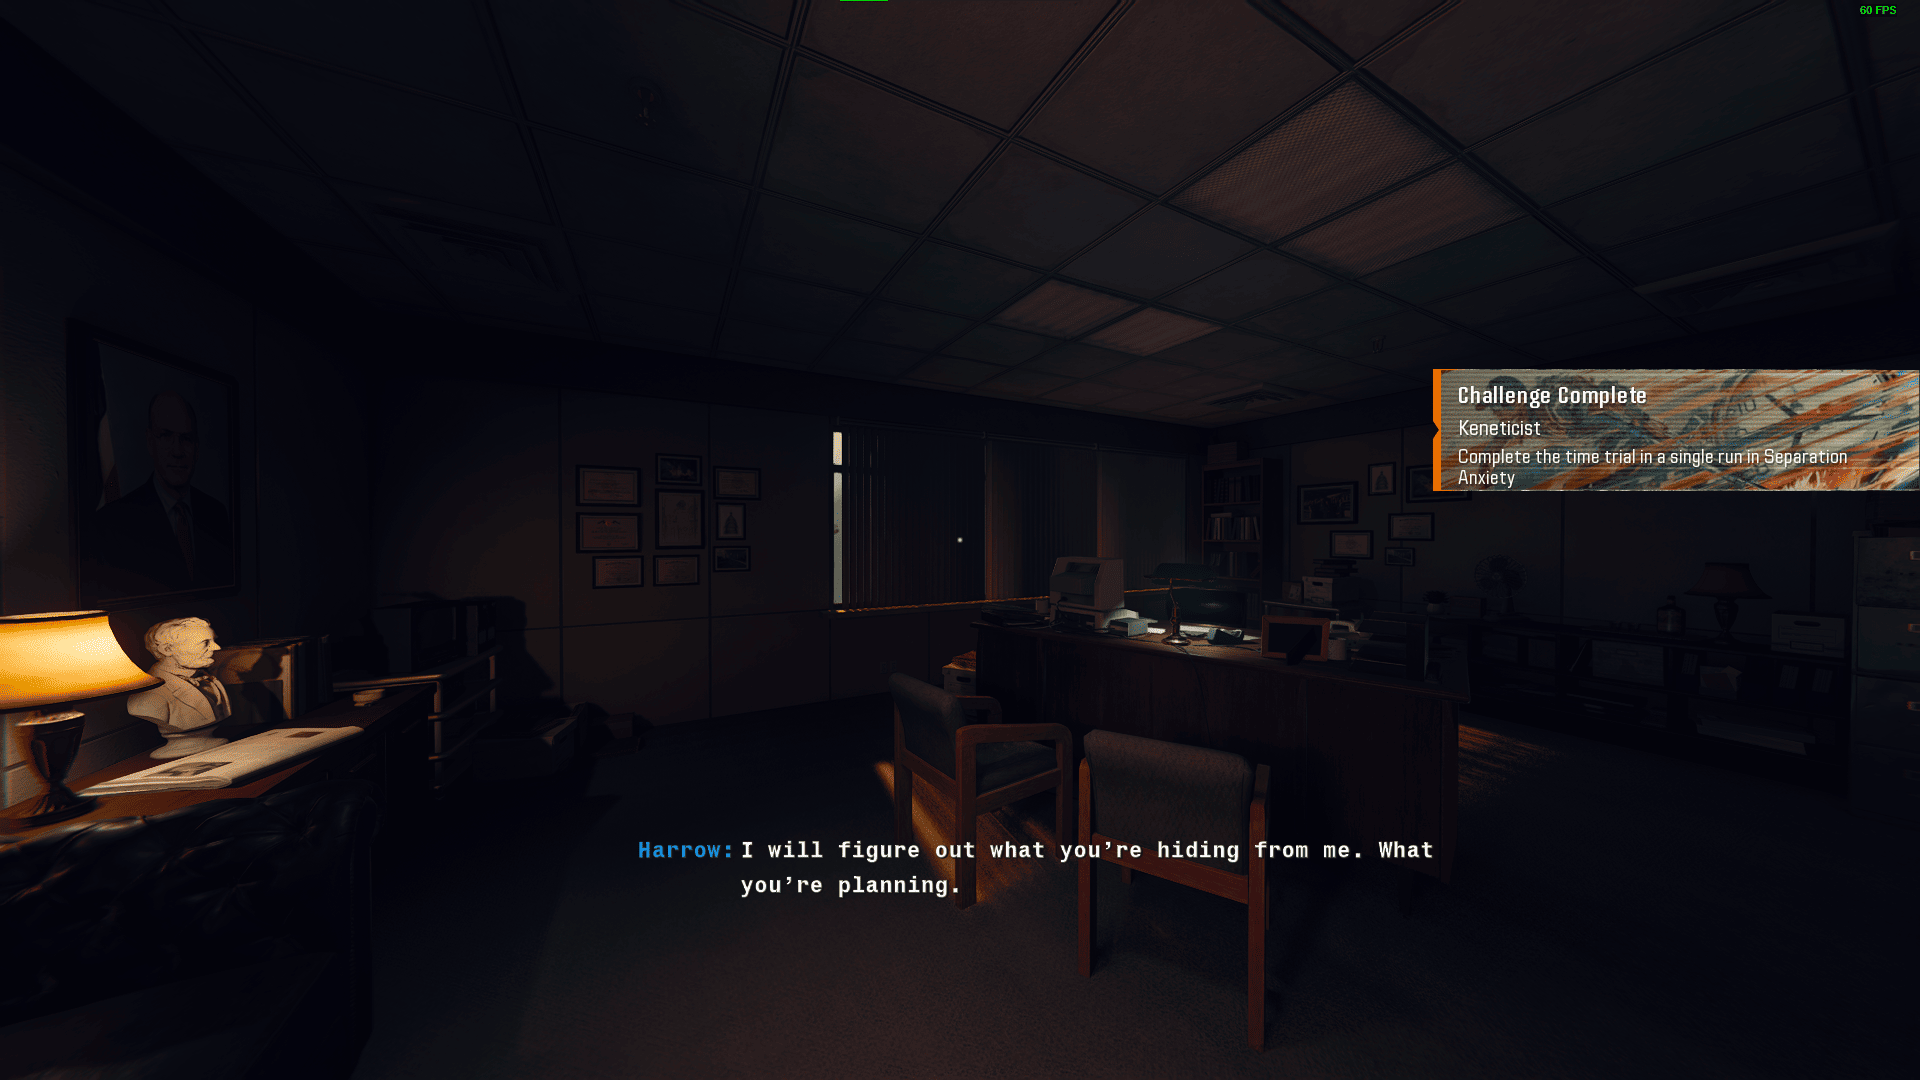
Complete the Time Trial in a single run in Separation Anxiety Mission
After the first fight of defending the safehouse, Woods will talk to Jane and you will go back into her memories. You will be kicked off a, for a lack of a better word, cliff and fall into an abyss (like from the trailer). You will then be prompted to run across a hand and a timer will start. You need to make it through to the end before the timer runs out. If you fail, just restart the checkpoint before dying/failing and you should be good.
My best recommendation is to get a head start and move before the timer even starts while sprint jumping across the platforms. The barrel room you'll need to jump over, crouch then crawl under the final barrels. You do not have to pick up the weapon, only the grappling hook on the island afterwards. Then just glide your way to the door ignoring all the enemies. For me, I had 6 seconds left, so this should be easily doable. The card procs after you enter the office.

Checkmate

Fatal Variety
Get a Kill with 12 different weapons in Checkmate
During the mission there will be a plethora of weapons at your disposal, pick up as many as you can and just keep getting kills with them. You shouldn't have a difficult time with this one. Lethals count towards this one, I only used about 5 or 6 weapons and some lethals.
Detail Devourer
Complete every available dialogue tree in every visit to The Rook
This isn't as bad as it sounds, just talk to the following people during each visit. Make sure to exhaust all their dialogue before continuing. Some of the characters don't have anything to say on some visits either, but talk to them just to be sure.
1st Visit (Arrival) - Talk to Woods and Marshall.
Woods is by the whiteboard and Marshall is by the main table.
2nd Visit (Assemble) - Talk to Sev and Felix.
Sev is opposite the Mission board and Felix is by his desk beside Sev.
3rd Visit (Reunion) - Talk to Marshall and Adler.
Marshall is to the left of the Mission board and Adler is sitting on the main table.
4th Visit (Reconciliation) - Talk to Felix and Sev.
Felix is in the kitchen and Sev is sitting in a chair in the corner of the piano room, looking outside.
5th Visit (Recovery) - Talk to Woods and Sev.
Woods is beside the whiteboard and Sev is outside the front door.
6th Visit (Contact) - Talk to Woods and Marshall.
Woods is in the piano room and Marshall is by his desk to the left of the Mission board.
7th Visit (Interrogation) - Talk to Adler.
Adler is opposite the Mission board.
If a bug appears saying that you have done 13 out of 23 - I got around this by (accidentally) deleting the savefile and starting over. The calling card progress DOES count over multiple saves, but also check if starting a new save fixes this too, don't go deleting your main save like I did, haha.

Brutal Maneuvers
Eliminate 5 elite enemies using takedowns
You can actually just get this as you progress through the game, every time you see an enemy with at least two armour bars, destroy a portion of it and then run up and do a takedown on them. Simple as that.

Safe Cracker
Open every safe in the Campaign
Safe 1 - Safehouse (The Rook)
By doing this safe, you will unlock the 'The Puzzles, Mason' achievement also.
The Piano Puzzle
- Get the Blacklight
- Find the 5 numbered musical notes on the walls of the same room and note them down. The order is typically Mn >> Pe >> Cn >> Ao >> Pe
- Play the correct notes in the order shown in game on the piano (The notes show up on the top of the piano via Blacklight, they correspond the the key below it).
- A door will open to show success.
The Boiler Room Puzzle - Go to the Basement/Boiler Room
- Turn the middle boiler valve twice
- Turn the left fuel valve once
- Press the right pilot button once
- Turn the middle boiler valve twice
- A green blinking light will signify success
The Keypad Puzzle
Note that the combination changes every 5 tries. - Enter the Piano room secret door
- Decipher the pass code using the Blacklight
- The door will open showing success.
The Computer Puzzle - Enter the door and find the computer by keeping to your left.
- Input the correct order using the code words provided.
- The computer will boot you out when done correctly.
The Lockpick Puzzle - Head out the computer room and turn right, then into a door on your left.
- Pick the lock on the locked door in front of you.
- Pick up the key on the table in the middle of the red lit room.
The Radio Puzzle
This puzzle appears to be random for each player. - Leave the Lockpick Puzzle room and turn right at the intersection to find another locke