 Day One Fixes
SolvedHow-toUpdated
Escape the Backrooms: Full game guide in order (1.01 Version)
Short answer
This guide is here to have everything known about the game at your fingertips. Each Level, list of entities, items and what they do, maps, and more ! Thanks to the official Escape the Backrooms wiki for a good amount of the information and its users for the images which will be credited. Here is a…
Steam Community guide by The Ghost™.
Guide layout information
This guide will be made as if you're playing the game while going off of the guide which means that I will go in order of what can and will appear in game. For example:
Level 0 - The Lobby
Objective(s) of the Level, Item(s), Entities, Level door (if applicable), and anything else needed.
So without further notice lets begin shall we. With the controls since players sometimes tend to forget what does what until they played for a couple levels.
Yes, this guide WILL be updated as the game gets updated. When the new multiplayer modes are out I will add them to the bottom of the guide.
Controls
Currently there are no keybindings so I am sorry if you end up suffering until they are added. Here is the list of what each key does :
- Move - WASD
- Crouch - Left Control
- Sprint - Shift
- Lean Left - Q
- Lean Right - E
- Interact - F
- Use Item - Left Click
- Chat - Enter
- Talk - V
- Player List - Tab
- Inventory - i
- 1,2,3 - Hotbars
- Show Card - C
Due note however, that Talk, Chat, Player List, and Show Card will be useless in Single player and are meant for Multi player. Everything else will be used a lot.
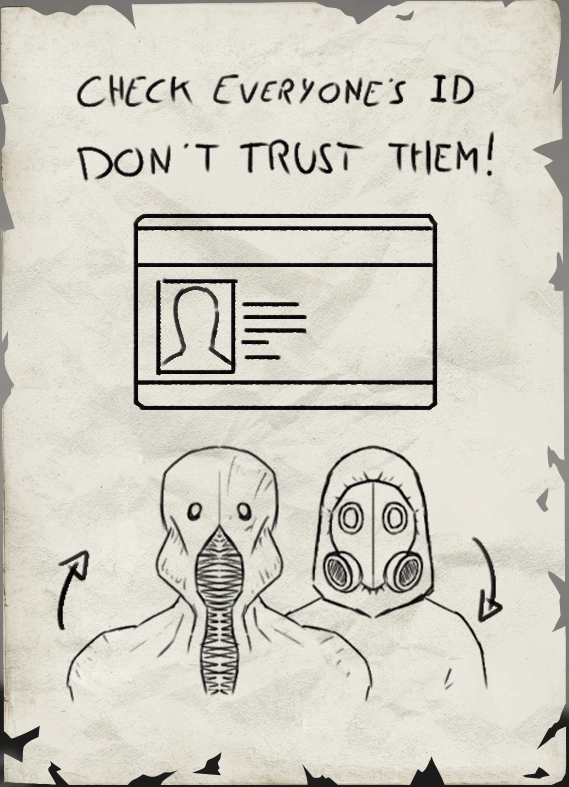
Showing your ID card is meant to help when identifying if someone is really who they are or if they're a specific entity.
Talk is obviously voice chat and is not unlimited and is ranged so you will need to speak up or be closer to teammates so they can hear you. In some cases in game your voice will have a filter over it such as using some items or being underwater. Most dangerously is that one entity in particular will listen for those using this to find and kill them and another will use it to lure your teammate(s) to it.
Stamina is limited when running around a Level but, if you're running away from an entity you will have INFINITE stamina until you lose them.
Chat is meant for talking to teammates by typing instead of talking. This is your only way of communication in game when you are dead.
Player list is primarily used by the Host of the game to kick a player if they need to and to see who is in.
Difficulty differences
If you want to play the game on a higher or lower difficulty, make a lobby in the Multiplayer area and select which one you want then hit play.
Single player is forced on Normal, to play other difficulties by yourself make a private lobby in Multiplayer and select which one you want.
Easy - This difficulty is like Normal, except you do NOT have to worry about sanity. If 1 player finds the Level exit in multiplayer they can do it immediately to continue.
Normal - Just like Easy but, you should keep an eye on your sanity as your progress. If a player finds the exit in multiplayer they cannot leave until ALL the players get there or at least the ones that are alive. This is true for the other 2.
Hard - Just like Normal except, if 1 player dies then everyone goes back to the previous checkpoint.
Some entities get buffed in hearing and other stats. Such as Hounds now being able to be stunned once instead of infinitely and because of this you cannot ward them away by doing 3 stuns on them in 1 go. So stun the Hound and run.
Nightmare - Just like Hard, except for 1 little detail. If you die at all, and if in multi player if even 1 player dies, you start the entire game all over. So if you or a teammate dies on the last Level, you are going back all the way to Level 0 as if you just made a new game. This is the hardest challenge to conquer and will take teamwork, serious practice, messing with your game settings for every advantage, and some good RNG like the exit on Level 1 in section 3 to conquer this. I recommend you practice on Hard before trying this since the difference between the two is the RNG and where you go when 1 player dies.
Some Levels that involve RNG can be worse such as Level 9223372036854775807 for example.
I have a guide specifically for this difficulty as well so you can get the achievement. I recommend you finish reading this guide entirely and practice with friends on Hard mode before attempting Nightmare.
https://steamcommunity.com/sharedfiles/filedetails/?id=3022329165
Level 0 - The Lobby
When starting the level you will spawn in a random location. After spawning in you might see a note on a wall. Remember that if you walk up to any note and inspect it the note will be bigger and easier to read. These are important as they will help you survive and roughly know what to do.
If on Multiplayer, all players will spawn in random places.
Hug the left or right wall until you start finding pieces of wood. Collect them. Another important thing to remember is that key items like keys, these wood, keycards, etc. will NOT take up inventory space and in multiplayer everyone will be able to use them and they will not drop should the player who originally picked it up dies.
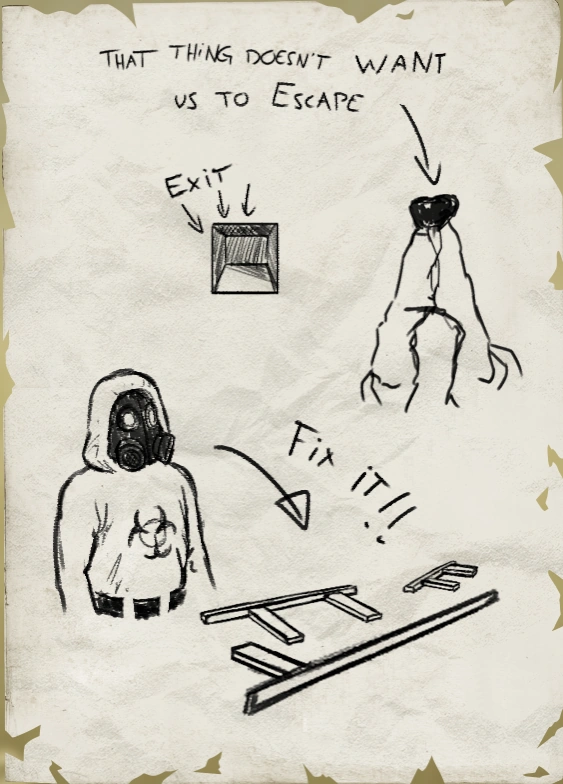
Once you collect all the pieces of wood nearby go to the broken ladder as seen in the note
So you can fix it up. Interact with it and you will end the scene with a key being collected. Depending on where you spawned and how you got to this area you must've seen a wooden door. Go find it and open it and go through. From there you will see some pits. You will be told to balance yourself so when you press Q and E you will start leaning in that direction. Q for Left and E for Right.
Use this to get across the pitfalls and to the exit.
However, should you or all of you if in multiplayer fall down you're going to have find the alternate exit. After falling down look around until you find some arrows spray painted on the walls. Following them will lead you to the alternate exit.
Regarding exits in multiplayer, every player has to be at the trigger area to go to the next level. If 3/4 players are at the exit but, the 4th one isn't there they will have to wait until either, the player dies, the player gets there, or if that player leaves the game.
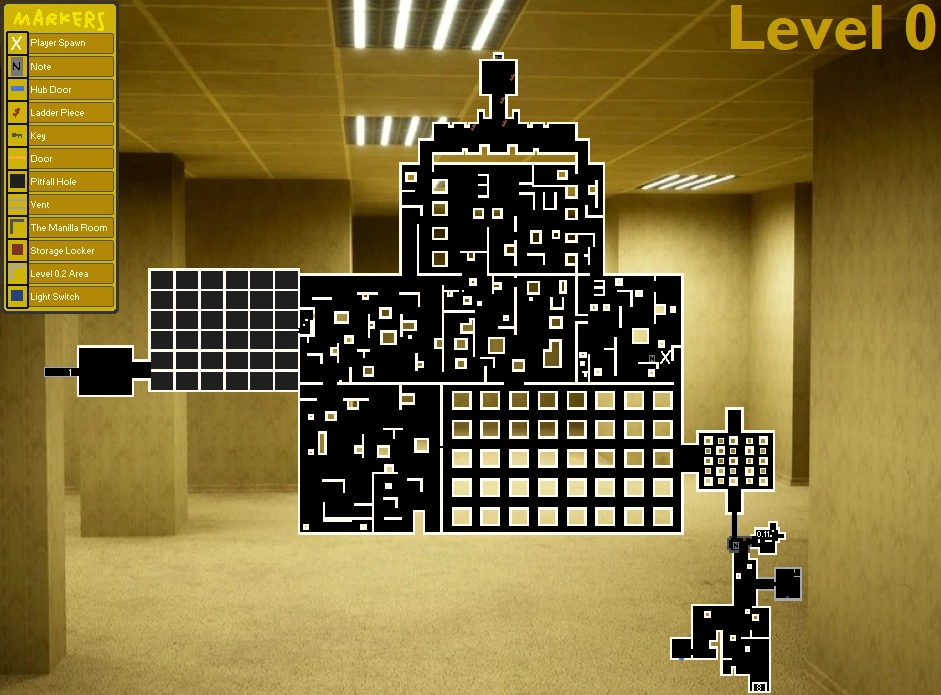
Here is a map of Level 0 to help you out. The right edge of the map is where you are later on in the game when you come back here from another Level.
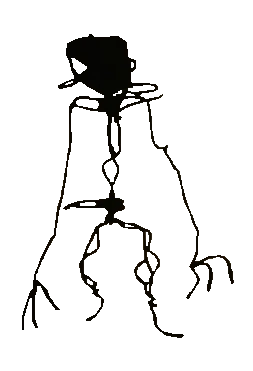
All of this sounds easy but, it wouldn't be a backrooms game without something hunting you down...say hello to The Howler.

Entity - The Howler
It is to note that most entities in the game are not blind and if they see you directly they will start chasing after you until you hide or escape them. The Howler is in multiple Levels in this game and entity pages will include this info.
Here is how the Howler works for Level 0 and future Levels it will be in so feel free to come back here when you get there for stuff relating to that Level.
Level 0
It will start spawning after 2-3 minutes of the player entering the level. This 2–3-minute spawn is disregarded if you fall in pitfalls, and it will be down there too. Usually stalking the player before attacking, one can hear breathing or a continuous knocking on the eerie yellow walls as it spawns near them. Looking at the Howler creates an intense VHS effect, similar to the Blue Tiles from level 37. That will be talked about later when we get there.
If the Howler see's you in the above floor of level 0, you are most likely dead, although you might be able to survive by constantly turning corners and hopefully the howler won't know where you are. If the Howler see's you in the pitfalls area when you fall down, run as long as you can and try and find the exit before it kills you.
Do's:
- Try and turn as many corners as possible, in a confusing matter.
- Try locating the nearest exit.
- Run away and not looking back until it's safe.
Don'ts: - Run away in a straight line, as it will catch up to you.
- Walk around a corner when you hear a knock or breathing.
Level 0.11
It will roam around the main area with the timed switches in a set path. Walking nearby the rooms where the levers are. Unlike in Level 0, it won't make any noises when nearby with the only noise it makes being a loud roaring when spotting the player.
This level has a lot more walls and hiding places to use against the Howler. Otherwise, it functions almost exactly like it did in Level 0.
Do's: - Keep doors open to have a hiding spot ready in case you're spotted
- Hide in vents in the far back
- Peek around a corner before walking towards it
- Run away and not looking back until it's safe
Don'ts: - Run away in a straight line, as it will catch up to you.
- Walk around a corner without peeking.
- Hide in a vent near the front, it can potentially grab you and result in your death
Level 55.1
Same behavior as Level 0 (Minus the timer before spawning). However, unlike Level 0 there is no warning of it nearby, it won't stalk you, and due to lighting it can be more dangerous as it emerges from the darkness.
Do's: - Hide in a locker if you aren't ready to take its picture to proceed forward (also note the nearest one)
- Get on the elevator and raise it upward so it cannot reach you
Don'ts: - Go into dark area without a flashlight
- Take too long to get onto the elevator or hide in a locker
The Overgrowth
Same behavior as Level 0 (minus the timer) however, there is multiple roaming around.
Do's: - Peek around corners or take them wide so you have time to react before you are seen
- If chased, find a small opening in the walls, crouch, and hide in it. If the Howler doesn't leave at all go to the left or right side so it can't "see" you
- If chased, head back to the main area, they cannot get in there at all, like before if one doesn't leave, break line of sight
- If in multiplayer, try and get many to chase after you to lure away from teammates or lost Wanderers and then hide
Don'ts: - Run around a corner blindly
- Keep running away when you don't know where a safe space is, odds are you might run into another Howler and be sandwiched.
Flashlight and Rope
In Level 0 you get to see your first items if you are lucky or unlucky.
Flashlight
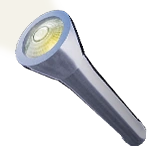
If you fall down into the pits and find the exit in the small kitchen-like room next to the stairs there will be a flashlight there. When you hold it out and press F you will turn it on/off and is useful for the darker areas and darker Levels of the game.
It is important to know you do NOT need to put it in your primary hand to use it. If it is in your primary hand or any of the other 2 squares you can still use it. Press 1, 2, or 3 to pull out the specific item in that slot. Very useful in later Levels when you get more items and is much faster than swapping. Especially if being chased and you need a boost from an item you are yet to see. Run away, press 1, 2, or 3 and then left click to use it.
If you miss the flashlight do not worry since if you need it in a level they will be abundant. So be sure to look around for them if you need one.
Rope
This item can only be found in this Level. If in single player there is 0 need to grab it. However, if in multi player this is very useful.
After getting across the pits you can find a few of these. When you are near the edge of a pit and press F you will lower the rope to your teammate(s) below. If they press F they will climb up the rope and onto wherever you are.
Very useful in saving time to getting out of Level 0 and into....Level 1.

Level 1 - The Habitable Zone
When spawning in this level you will see 2 things worthy of your attention. An elevator and 2 Notes on the nearby walls. The notes will help you know how to identify each other in multiplayer and will warn the player of Skin-Stealers. While they aren't in this section, due remember this for the rest of the Level.
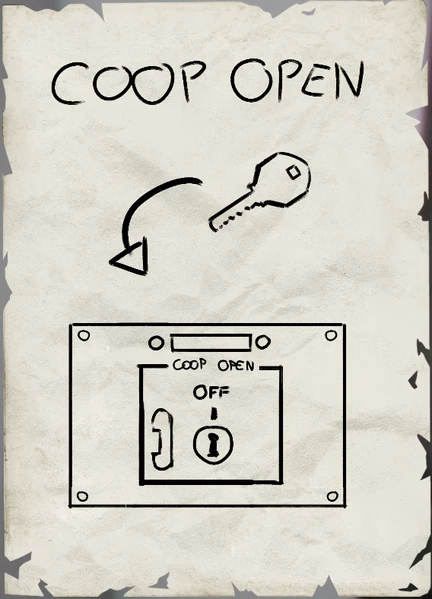
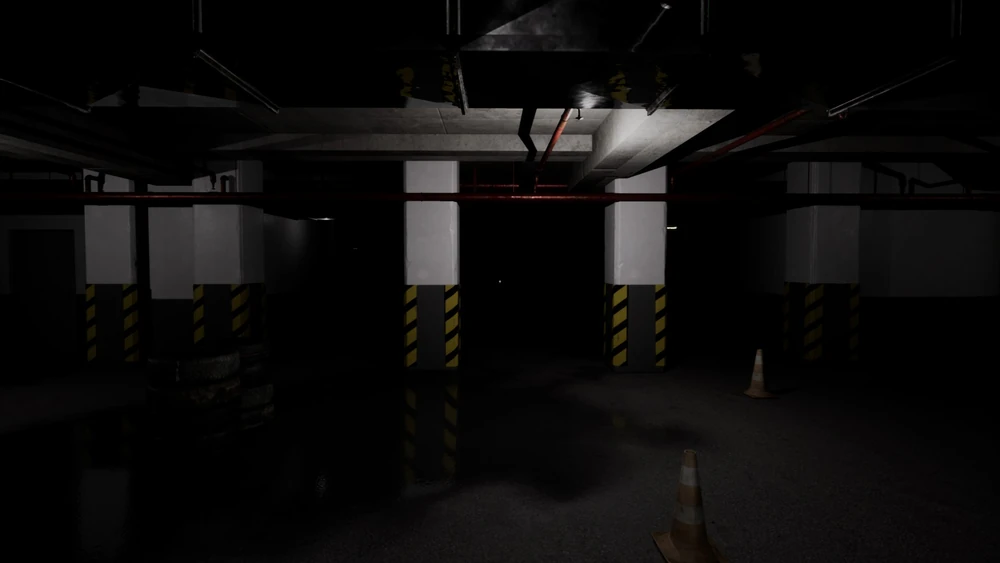
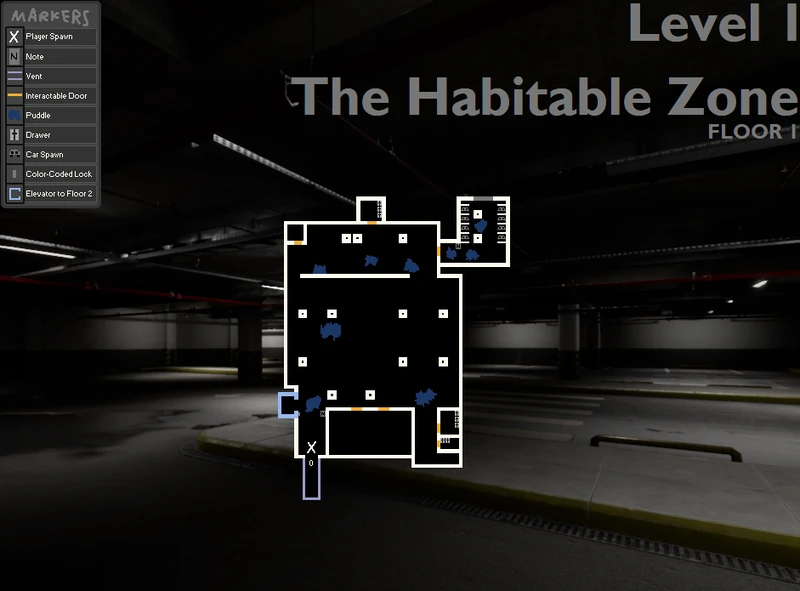
In this first section the elevator requires a color code, look around and grab items that you find and you will find a small room with 4 colored cars and a Note inside. These cars vary in color types so be sure to note how many there are of each color since you will need this info to open the elevator.
After going down the elevator you will now be introduced to Sanity and have text on screen telling you this as well as being in an area that has a Skin-Stealer or two if on multiplayer.
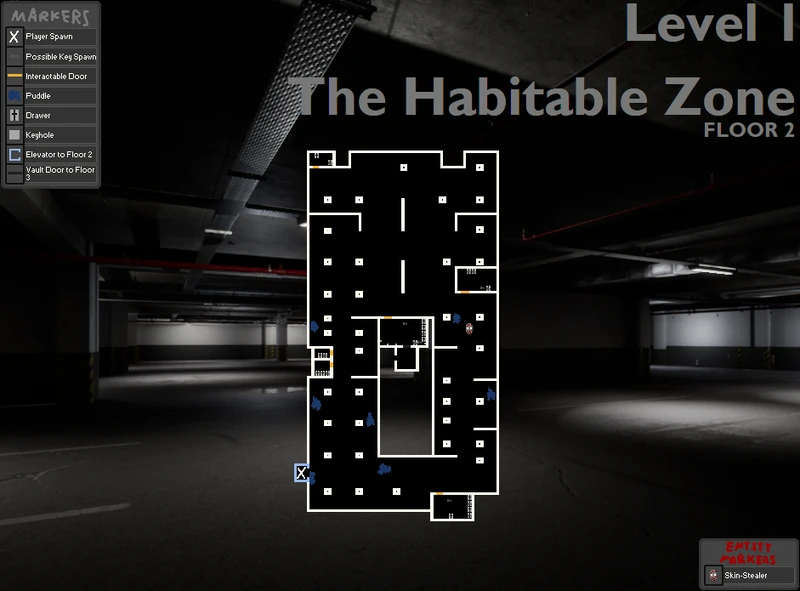
In this area you are tasked with finding 4 keys to go into keyholes in a specific room. Inside this room is a Note.
Check cabinets and desks in every room to look for them. If you are looking in cabinets check each little part of it since sometimes the key can spawn on eye level and you might miss it.
If you see a Skin Stealer try to avoid being seen, if you are seen they will give chase and try to eat you. All you have to do is go into those rooms and close the door until you see it leave through the glass or if a room doesn't have glass just listen for it to stop screaming and it will have lost you and start wandering around.
When you do get all 4 keys into the keyholes you have to flip them all over and they're on timers. The amount of time until they unwind themselves will be shorter the more players you have. If you have all 4 players each person must take a hole and time their turning to open a door that will lead to the next section.
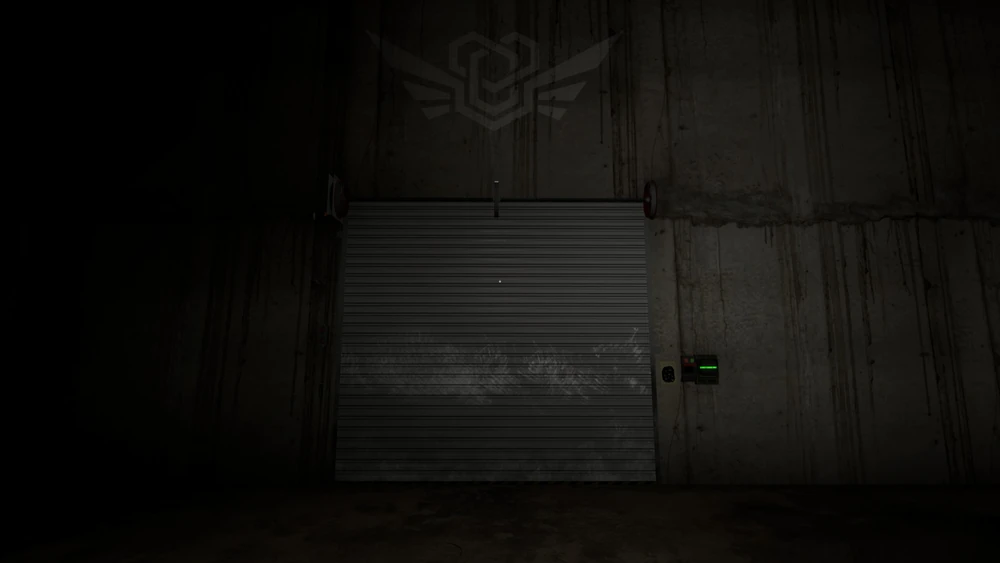
This is where things can get hard for this Level. This area has 3 floors, dark areas, and many doors. There is also a Skin-Stealer roaming around as well.
Before entering the dangerous area there are flashlights and almond water on your left and a Note by the door.
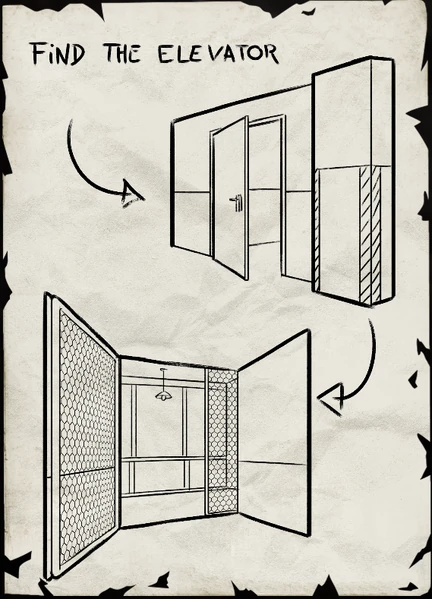
Your goal in this area is to open every door on each floor until you find the elevator. Doors could lead to small rooms to hide in and some act like a hiding spot once interacted with. Be sure to use your flashlight and keep a door or two open and note hiding spot doors so you are ready to run and hide if you find the Skin-Stealer or it finds you.
Once you find the elevator get in it and interact with the buttons to go to the 4th area.
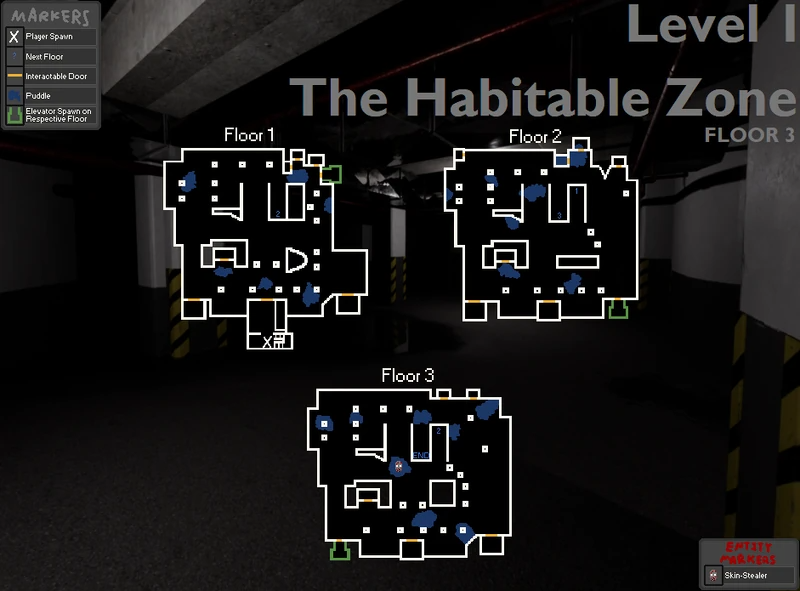
The map is the same layout for each floor of this area, the doors marked is where the elevator could be. If you're on the first layer where you start on and you do not find it in that room go down and check the one marked for layer 2, and so on until you find it.
The little spot under the red mark is where you start when on Layer 1 btw. After going downwards you head straight until a wall then go left to get to layer 2's door. Layer 3 just go straight until you hit the wall then go right and start checking doors.
This area is locked off and you must enter the exit door to go to The Hub. However, before we talk about that. Let's talk about those Skin-Stealers that have been chasing you around and impersonating humans.
If you're lost or need a map, look at the next section for the Maps. After that is The Hub.
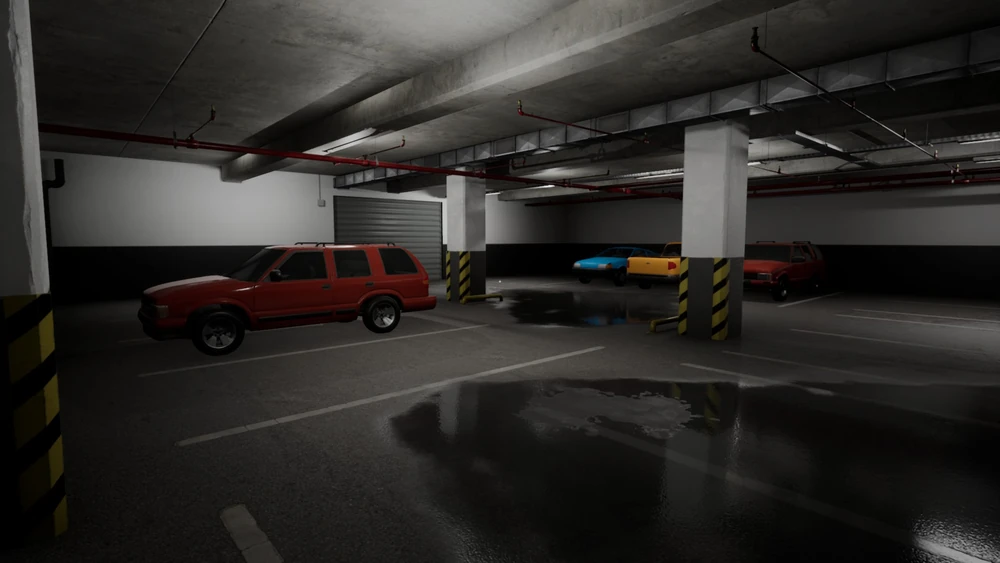
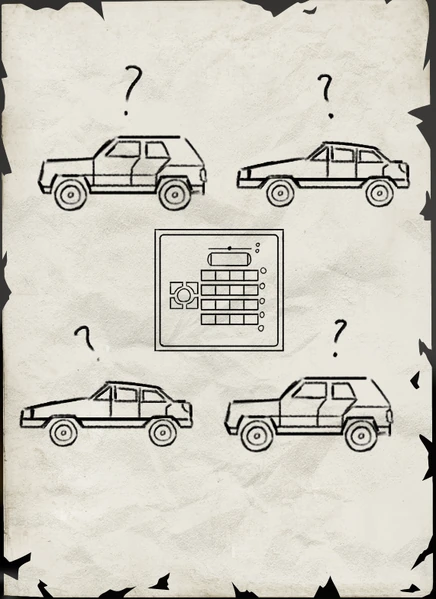
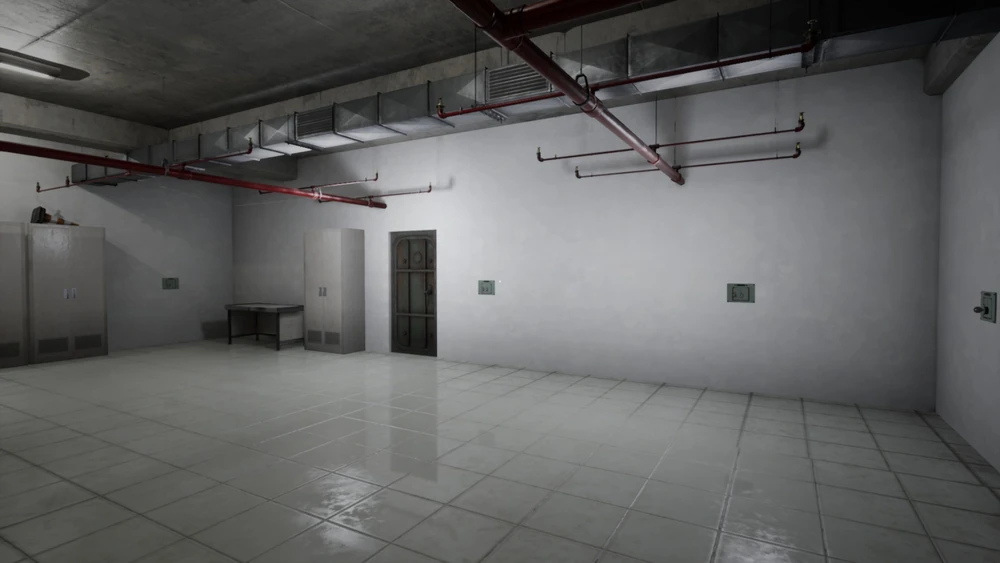
Level 1 Maps (First visit)
The starting area, the car puzzle code
The 2nd area, Collect keys
The 3rd area, Find the elevator
Entity - Skin-Stealer
Skin-Stealer's are easy to identify and deal with on Single player but, in Multiplayer it is more dangerous since in some cases more will spawn and if they get the jump on a teammate or pop right around the corner 1 or 2 seconds of their disguise is all they need to get a meal.
They are found on Level 1, Level 5, Level 8, Sub-Level 0.1, and Sub-Level 55.1 so feel free to come back here for tips for those specific levels.
If they see a player they will begin to chase after them and will not be able to open doors. In dark areas their eyes glow in the dark. Giving you a warning.
Teamwork and communication is the best strategy against them. Especially on multiplayer where players can pull out their keycards the second they make eye contact with another player so they know they are real. If you do this and the "player" doesn't and starts running right for you that is a Skin-Stealer.
Some notes :

- The Skin-Stealer does not have the ability to open doors.
- It is also unable to find players in Level 5 who hide under a bed or in a closet.
- It carries a flashlight in Level 8 to warn you of its location.
Do: - Run away from it and don't look back until you are safe.
- Shut the doors behind you to avoid encounters.
- Keep doors open behind you after exploring them so you have a hiding spot ready
- Keep communication with your team to avoid being tricked.
- Peek around corners before going forward
- If on Level 5 hiding is the best option to survive a chase with a Skin-Stealer.
- If on Level 8 running back to the start or the exit and turning the valve is your only way of hiding from them.
- If on Sub-Level 0.1 run into a generator room and close the door OR run to the nearest noclip zone to escape it
- If on Sub-Level 55.1 use the elevator and go up to avoid being caught by it
Don't: - Attempt to ask someone running at you for their ID Card.
- Leave doors behind you open when actively exploring them for items
- Try to confront a Skin-Stealer.
- Spam F on a door when being chased down by a Skin-Stealer.
- Do not run around a corner without peeking first
Almond Water and Sanity
Almond Water is the most common item you will find in most of this game. If you see one grab it and drink it. If your sanity is A-ok, still grab it for later.
If you find an item you wish to replace one with, drink it then replace it.
The purpose of Almond Water is to keep your sanity good so you do not go insane. Drinking it will refill 50% of your Sanity.
If you open your inventory you will see it. A brain and a blue background. The blue background is how much you have and if you are in a place where you can start losing it you can see it go down. If you have a ton of it or your sanity is full check it in your inventory to familiarize yourself with identifying how much you have left.
When you are low on it you will hallucinate Smilers looking at you from various angles. This is a warning to let you know you are low on sanity, after this you have about a minute before you go insane. If you go Insane and that death sequence starts, even if you drink or eat something that gains you sanity back during this scene it will be too late. So be sure to prevent that sequence from starting and if you get that warning immediately start refilling your sanity bac