 Day One Fixes
SolvedHow-toUpdated
(NOW WITH 421) Escape The Backrooms - Complete Escape Guide + 100%…
Short answer
A complete guide with videos and photos, as well as how to get all achievements! Rewrite by Just Valerie, videos by Lance
Steam Community guide by Lance.
Intro and Tips
(Lance)
For starters, If this game gets an update with new levels, I will play them and make an update on this guide about it. Now the tips.
The developer added or might add a procedural generation so might be spawning in a different location on level 0 so your position will be different than mines when I did the video guide on level 0.
In this game, there are different types of consumables, like Almond water which restores your sanity, Energy bars which gives you a stamina boost, The juice gives a speed boost, and Liquid pain gives a lot of pain.
Your sanity will decrease over time and will decrease rapidly when in danger.
You can get rid of entities that chase you by hiding under tables, closets, or closing doors behind you.
Play and complete multiplayer achievements first so you can have map and puzzle knowledge when you play single-player.
Good Luck
Other Helpful Guides
If you are looking for more detail or more helpful tips and tricks, check out these guides.
https://steamcommunity.com/sharedfiles/filedetails/?id=3007075917
Multiplayer Achievements
I recommend you do this achievement in the order listed with friends because it's easier and for learning purposes because in the Nightmare difficulty if 1 of your teammates dies, you need to restart the whole game.
The rest of the Achievements are single-player and I will talk about them alongside how to complete each level.


<-------------- Levels -------------->
(Valerie)
Level 0
Before you escape Level 0 there is an achievement to be completed.
Simply survive within level 0 for 15 minutes.


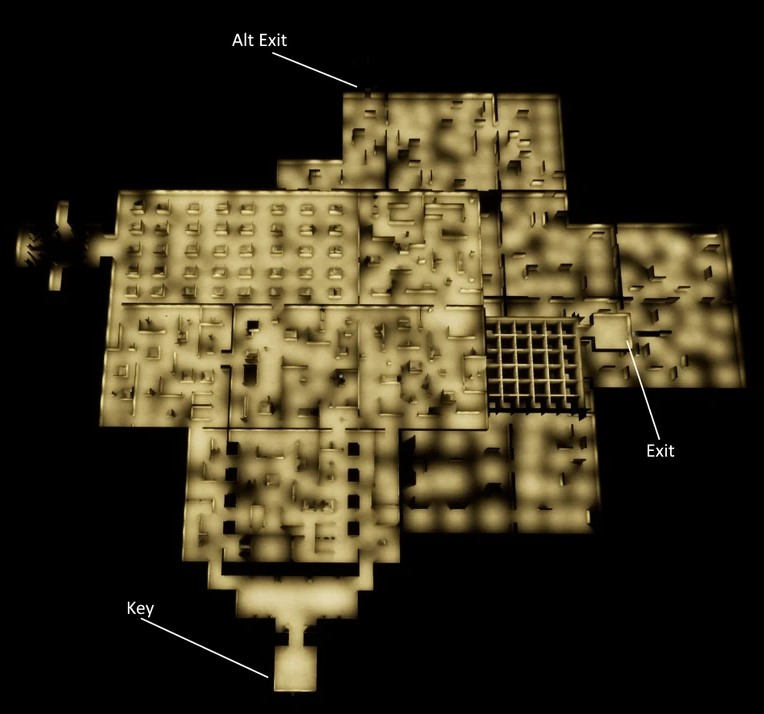
In this level you need to first find 2 things: A locked door and the nearby cubby where the key to it is. To get the key, first find the door and from facing it: turn 90 degrees right and go straight until you reach a much longer wall. Follow this wall until you find the room with the alcove. Around it are pieces of a ladder which you need to collect to reach up to the cubby.
After you get the key head back to the door to unlock it. You'll find a large room with square holes all over. All you need to do is make your way to the other side to get to the exit, but if you do fall and are in multiplayer another player can use a rope on the other side to get you back up. Should you fall and are unable to get back up, look around the area you fell to find arrows that will point you to the alternate exit.
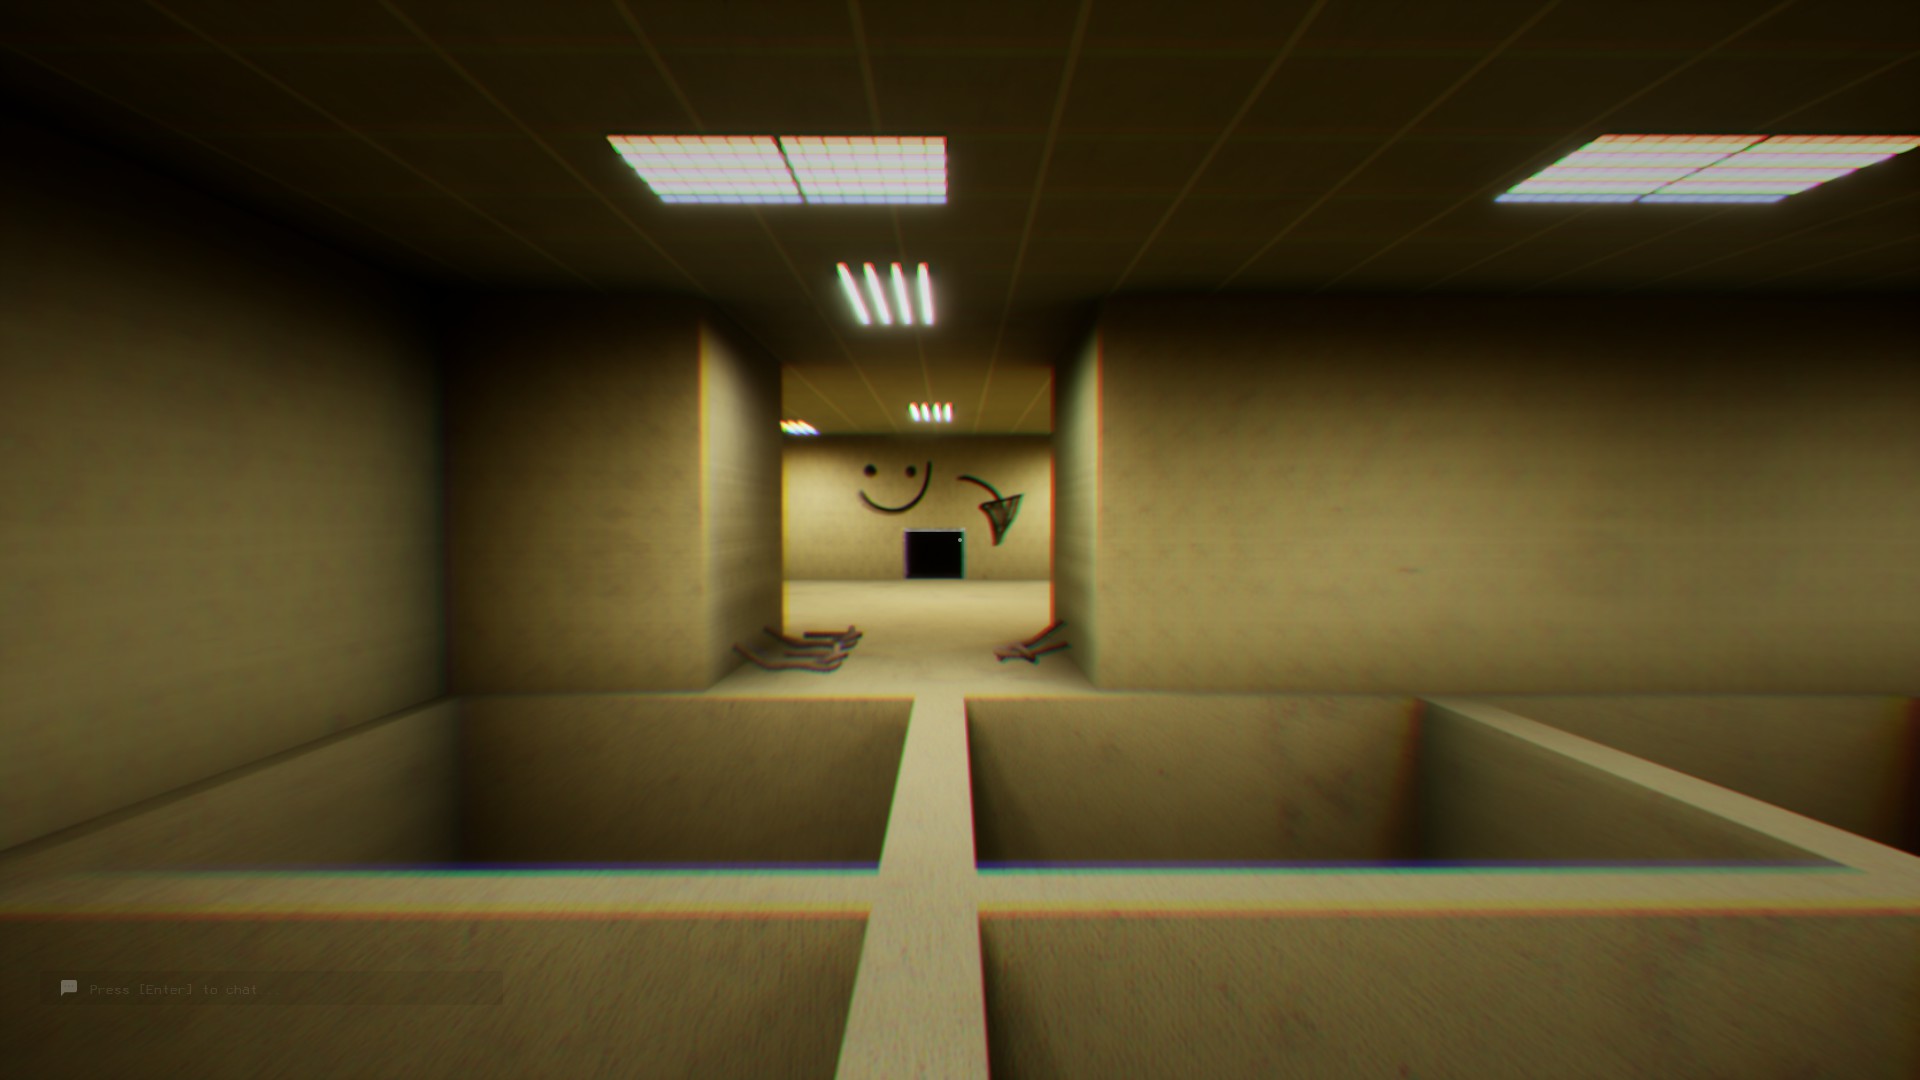

Here is a video guide on how to go through Level 0, as well as a map that shows where the key is as well as both exits.
After completing this level, you will unlock this achievement.

The Habitable Zone
The only achievement you can get in this level is.

The Parking Garage
This level has four parts, the first part will require you to look for a code to unlock the elevator next to the start of the level.
The code itself is given by the position of the colored cars on the other side of the level. There are also items within cabinets in the side rooms of the first two parts of this level which can come in handy for the third part.
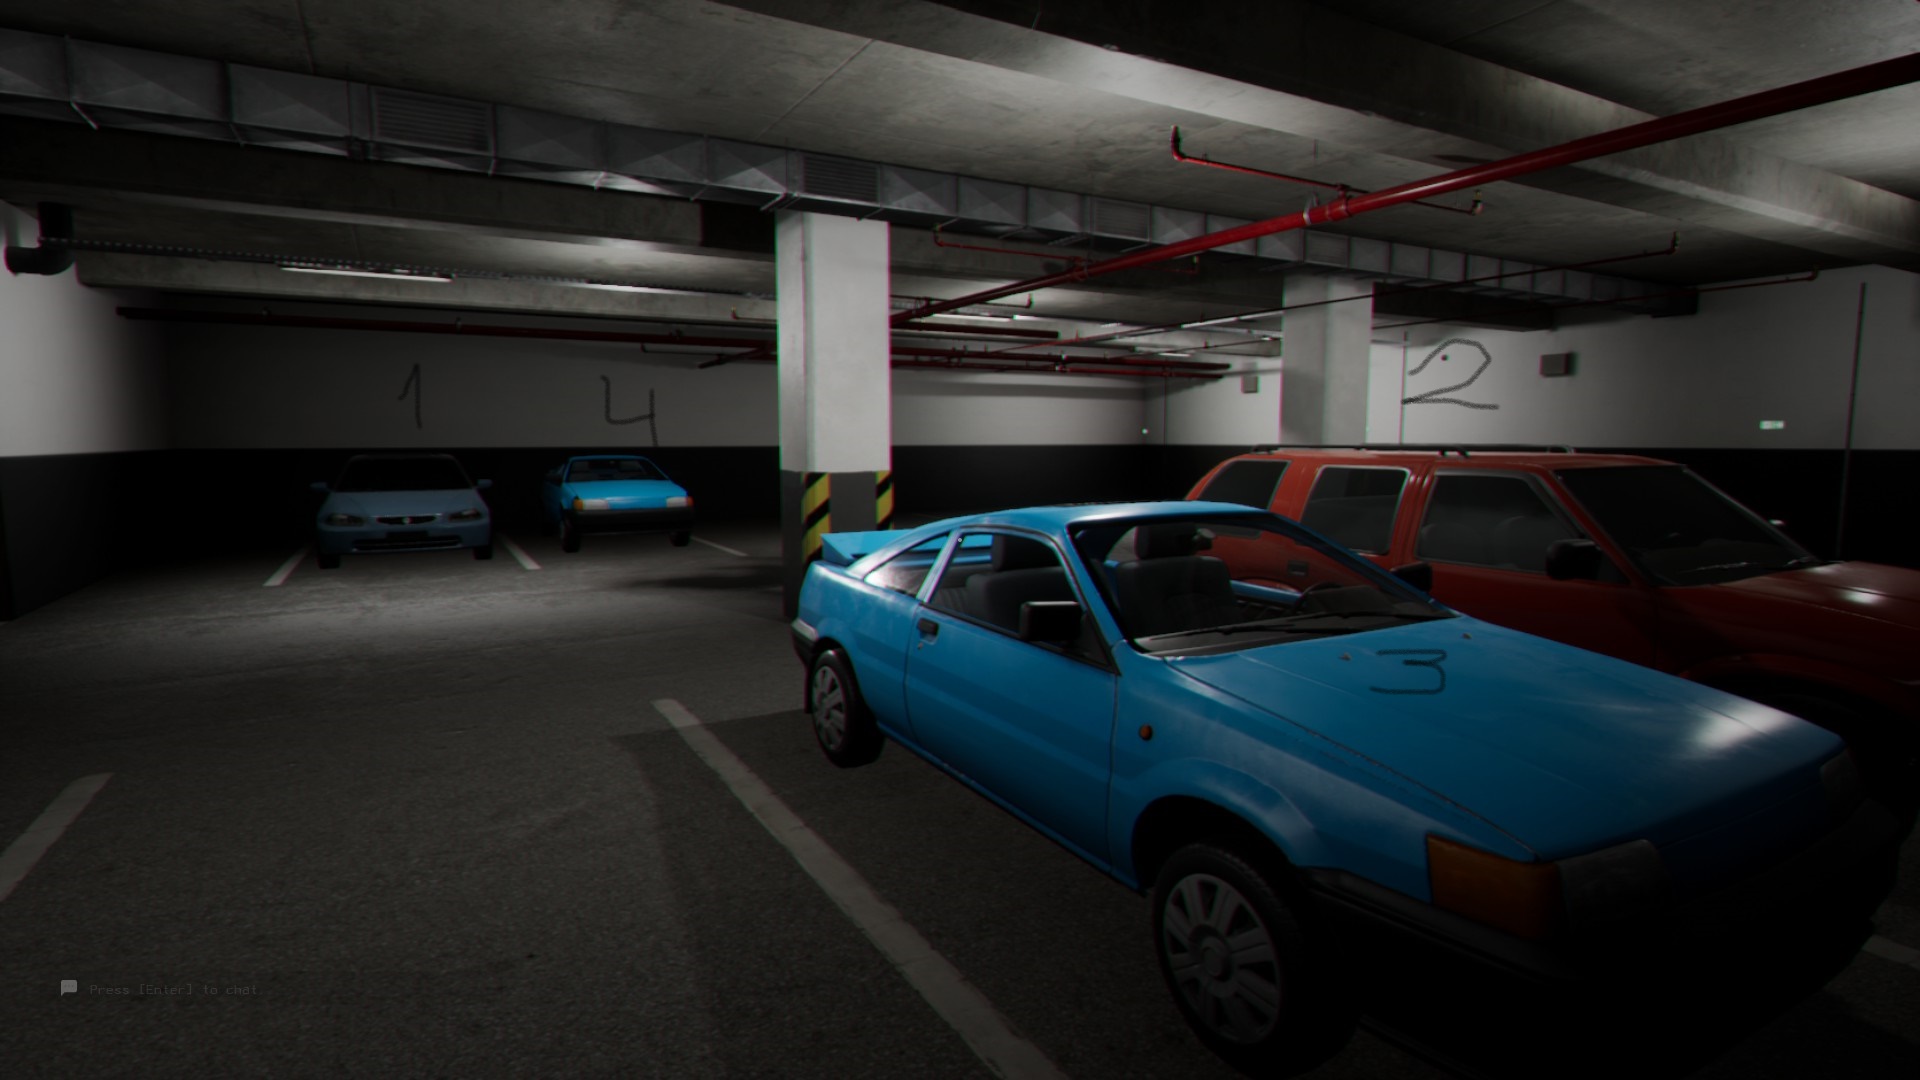
In this picture, there are two cars in the back and two cars in front, there can be other combinations but this is the one a came across in all my playthroughs so just restart your session if you have a different one.
Down the Elevator
After you leave the elevator you will see a similar parking lot but in this part: you need to look for 4 keys that are in the rooms scattered around the map. There are skin stealers in this area, so be careful going deeper in. Of the keys: three can be found in the rooms away from the skin stealers, while the last can spawn in the room behind them so getting it may be a bit of a challenge. They cannot open doors so use this to your advantage!

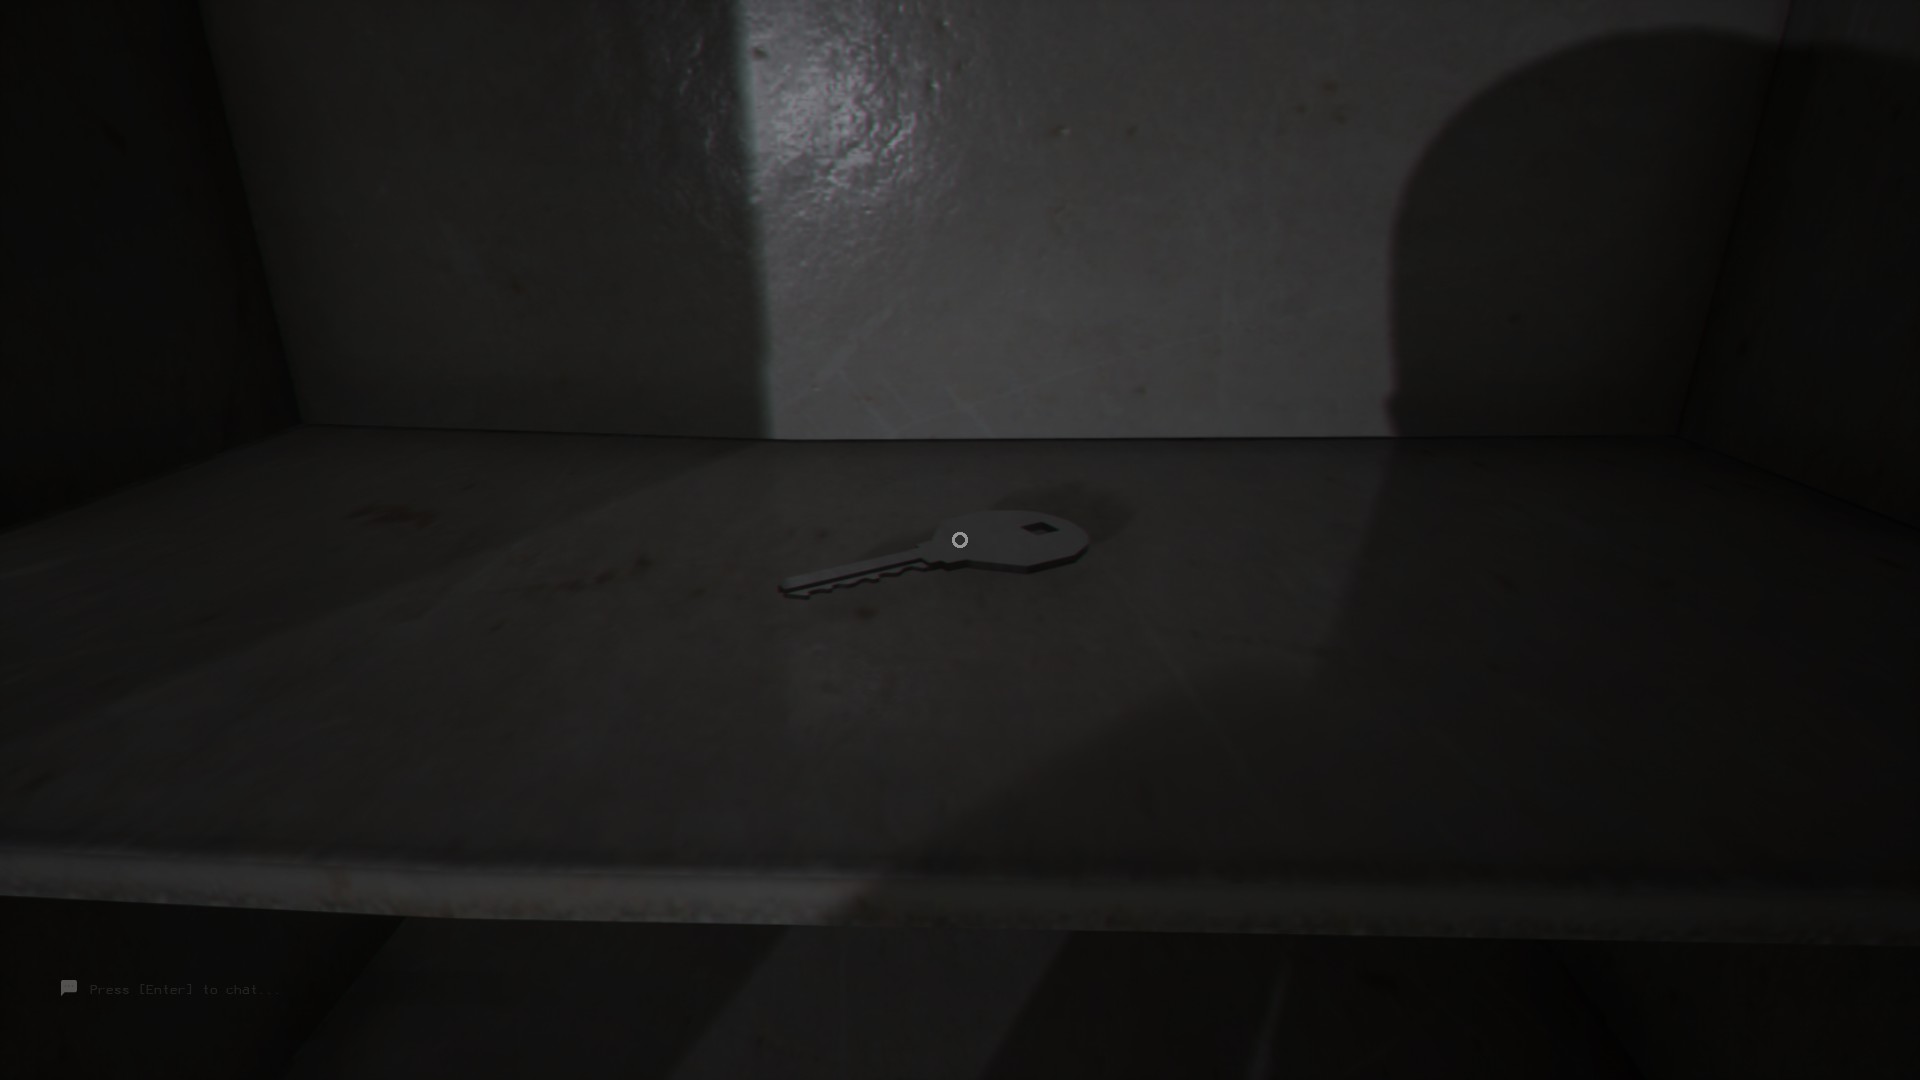
After you get all the keys, make your way to the door in the center of the map and you'll find four slots to enter the keys. You'll need to turn them all close to the same time, as if you take too long they will reset. Once the keys are turned the door will unlock and you can go to the next part.

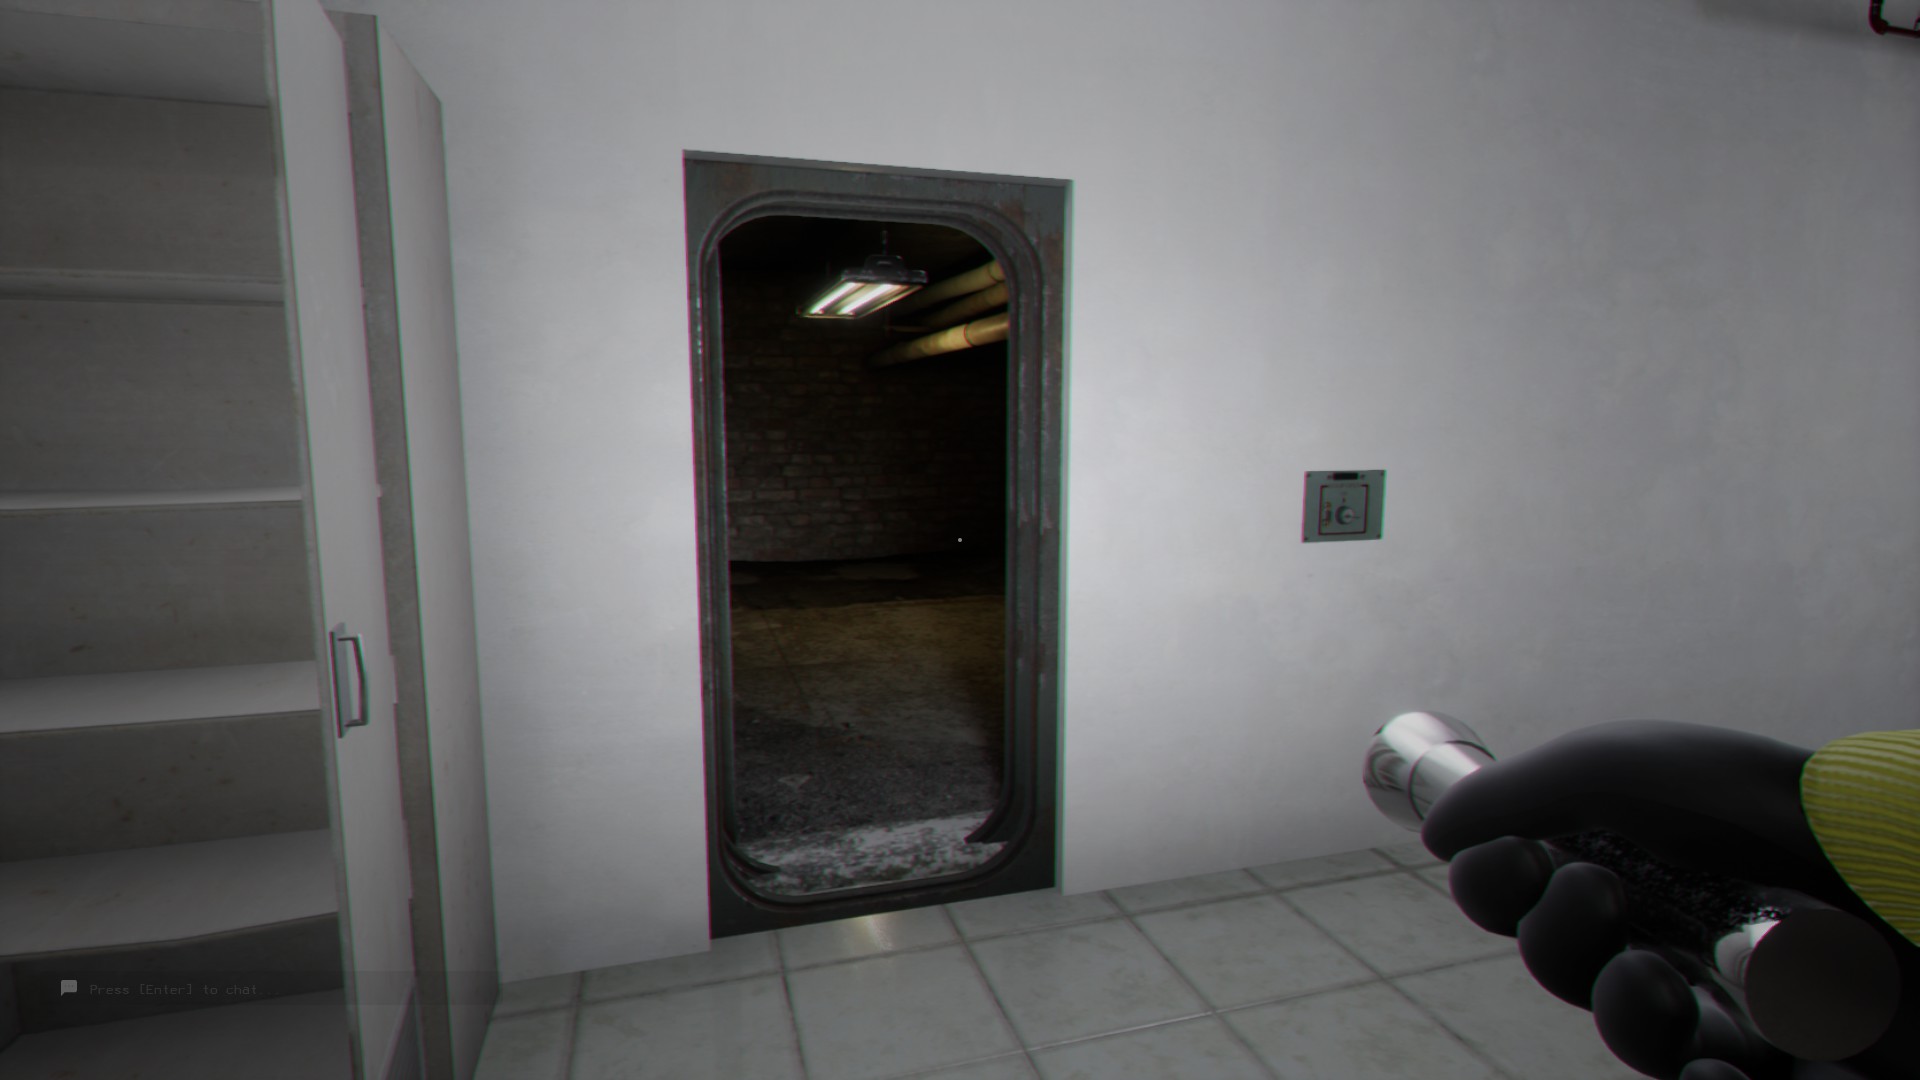
The Dark Garage
After going through the door you will find yourself in another yet darker and smaller parking lot, your job here is to look around for a door that will take you to the next level, there are two skin stealers on this level that will wander between floors, and due to the darkness may be hard to spot before running into them. Once you find the elevator, it will take you to the next level.


The Hub - 2 Exits (Not counting shortcuts)
M.E.G. Base
The hub is the central point where you can jump between levels, making it a very useful place for returning and gathering items.
After you go out of the elevator you will find yourself in this room. There is a garage door, which we will need to open to continue, and an exit door (which is were we are going first).

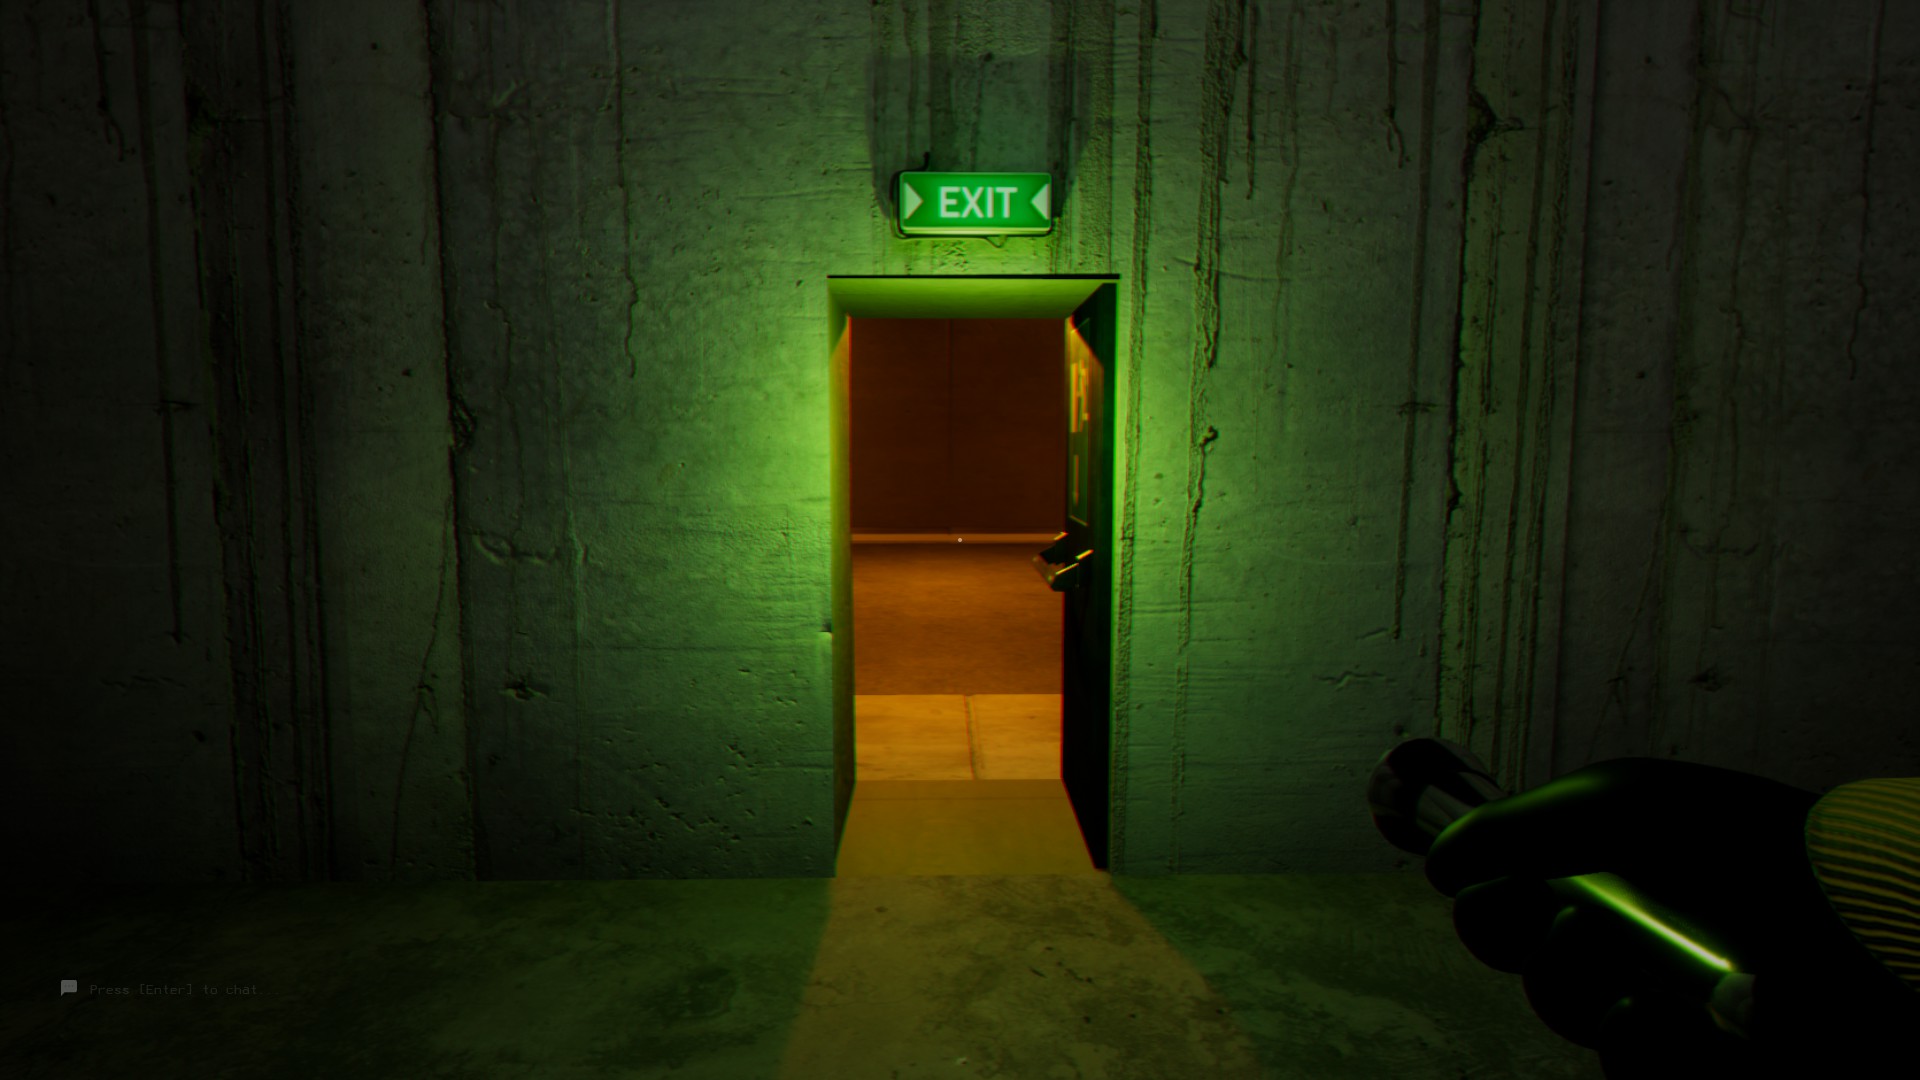
Once inside you will find yourself in a traffic tunnel with doors lining one side. These doors go to the different levels and can only be opened on the other side of them within the levels they lead to, but for now, you'll want to head to the only other door opposite of all the others, which will take you to the M.E.G. base within this level. The door to the base is locked with a puzzle terminal on it's right side. To complete you need to match the given code with its equivalent of the group given.
Once inside, all thats left to do is turn on the lights (the switch is just to the right of the door) and check out the terminals. While these terminals are locked, their password is written down on a notepad nearby. The password for this is:
Once you've logged into the computers You'll have some desktop icons to click. One will unlock the garage door we passed at the beginning of this level.
Here is a video guide if you need further assistance getting through this level
After completing this level you unlock this achivement:


The Smilers
After you open the garage door you will have to look for a door that will lead to level 2: Pipe dreams. To do this, you'll need to stay in the hallways on the sides of the car garage where the lights are, as to not get killed by the smilers that have infested this level. The lights flick on and off at random intervals, but from what I've seen the lights always stay on for the same amount of time, regardless of how long it remains dark. To exit, check every set of doors in the side hallways until you find one thats different from the rest.
Alternatively, you can go up the ramp to a darker area. Take a right and then follow the wall to find a MEG door to get the next ending.


Exit A - Pipe Dreams 1 & Electrical Station
Pipe Dreams 1
On this level you have to go left to the station, as the right path to level FUN is blocked by a Smiler. On your way there, it will be a long walk, however, you will know you are close when you find a flashlight on the floor and a dark hallway. The dark hallway will trigger a Smiler to chase you, however you will have infinite stamina to reach the exit to the station (which appears on the left).

After completing this level, you will unlock this achievement.

Electrical Station
In this level, you have to activate 9 fuse boxes to open the Exit door. These boxes are scattered randomly around the level in groups of 3. Head through the open door you passed to get to the indicator box in that starting hallway and look around the area, as there are a ton of items that can spawn on the shelves. The boxes all have red lights above them when not turned on, and turning on all of them in an area will unlock the next.
Once all 3 boxes are finished in the first section, you'll need to walk back to find an open door to the second section. In the second section you will have your first encounter with a Hound. Hounds can be stunned by flashing them with a flashlight! This hound will appear down a long hallway and will chase you to the door. Simply close the door and it will run off and despawn. The last box for this area is in the room is usually with the second Hound and the farthest end of this area. Once all 3 are set, again head back to the white concrete room and take a right.
The last 3 switches are being guarded by several hounds, and will have new puzzles to solve them. You can hear hounds on the other side of doors and walls, so always listen before you look! The first couple of rooms are guarded by a hound each, making it harder to slip by without a tense run. The last section has 2 hounds wandering and is the most likely spot of the 3 fuses. Check side rooms and areas that need to be crouched into to find them! After all 3 are switched on, the exit door from the start of the level will be unlocked.
Here's a video guide on how to pass this level, as well as a map

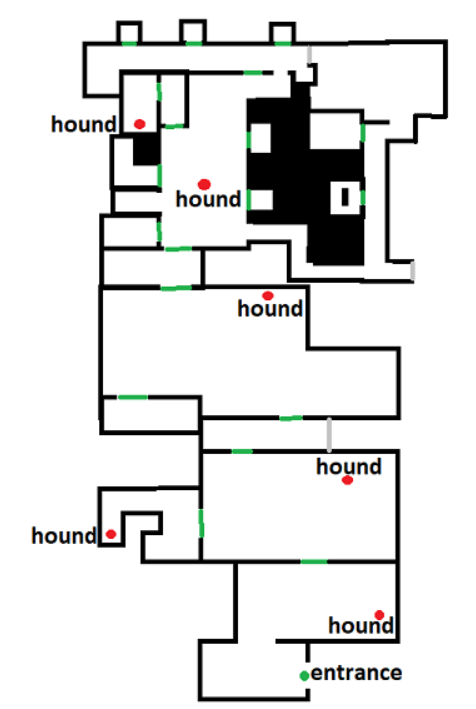
After completing this level, you will unlock this achievement.

Exit B - Level 922 - Ending C
This level is a series of identical rooms. What you need to do is climb up to 94 or higher and then jump down the center of the staircase. There are no entities to this level.
On level 1, instead of looking for the door to the next level, take the ramp located at the start of the level. There's an M.E.G. door that will take you to level 922 and show you Ending C.


Here is a video guide on how to get to this level.
After completing this level, you will unlock this achievement.

Abandoned Office
Level 4 Is an office space with plenty of collectible items among the cubicals. The door back to the main hub is straight from the entrance then take a left to the doors on the far side of the large, empty room.


There are entities in this area! If you see a pair of red eyes outside a window, don't get close or you'll die. To get through this level, take a right from the entrance room to head down a hallway to a break room. This room is a puzzle, where you need to select the number on the vending machines matching number of items in the room shown on their display covers.
Continuing through the level you'll come to a larger series of rooms and halls with 4 total cameras in them. Should any of these cameras see you, the door to the next level will be locked and the cameras will need to be reset back at the start of the challenge. Stick to side rooms and halls, as well as waiting for the cameras to turn away from you to sneak through them.
Here is a video guide for how to get through this level.
After escaping this level you will unlock this achievement.

Terror Hotel
The Lobby
When you first enter this level, you'll find cans of bug spray and a locked door. The door's unlock is a puzzle involving the several paintings around the room for which you need to select in order of age from youngest to lowest.
In the next area, there is a locked door that needs 3 keys to open, and if you turn left. a dumbwaiter at the end of the hall. Next to the dumbwaiter is text that indicates needing to give food to it to get keys, however, it doesn't accept anything except Moth Jelly.
If you search around this area you'll find groups of male Death Moths to which your can of bug spray will be quite effective against! Spraying them will result in the moths dying and leaving behind a block of Moth Jelly; which is an extremely useful item giving both stamina and speed when eaten, so search around and collect as much as you can!


Once you've gotten 3 moth jellies head back to the dumbwaiter. All you need to do is place the jelly into it to get the 3 keys you need to head to the next area.


Here is a video guide for the first part of this map, should you need more specifics.
The Rooms
After taking the elevator you will enter a small lobby. To the left you will see a mailbox for each room. The boxes for rooms that have their mailbox open for the rooms that have a piece of paper with a letter on it which you will need to exit this part of the level. There are two Skin Stealers in this level that wander the halls and will attack should you be seen.
After collecting all papers put them together in the mailbox at the start of the level and the code to unlock the nearby door will appear. Possible lock combinations are 17564, 89472, and 05938.


The Service Crawlspace
This level is a giant maze full of Female Death moths and Fake Rooms. You will need those thermometers left for you at the table at the start of the map. Female Death moths and Fake Rooms both give off lots of heat, so you'll know when they're nearby. The Female Death Moths are sensitive to motion, so stay far from them and crawl past to sneak through this level. Should one catch you, it will attempt to bring you back to their nests in the Fake Rooms.
Here is a video guide as well as a map of the level's layout.
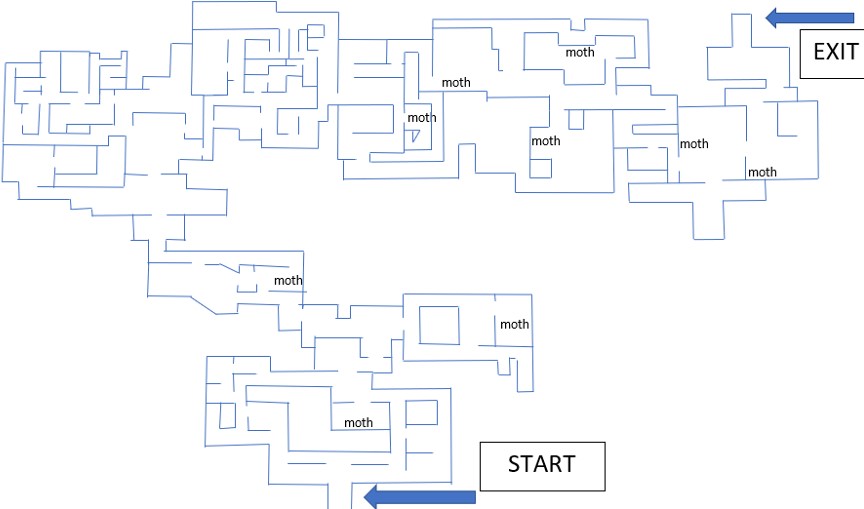
After completing this level you will unlock this achievement.

Pipe Dreams 2 & Level Fun!
Pipe Dreams 2
You will be returned to level 2 after completing the Horror Hotel, but this time to take another left to level Fun!. The Smiler that had blocked you last time will be gone, however there will be another dark area and a chase leading to the exit which will be on the right.


Level Fun!
Level Fun! is quite a difficult level due to the Partygoers that stand around each of it's areas. These creatures can both see and hear should you get close enough. Should they give chase the music will stop and you will hear them all roar and move to your location but you can hide under the tables to avoid them.
To get past, you'll need to first sneak past the first couple of Partygoers and bait a few so they face in ways that let you slip past. Eventually, you'll come to a larger room full of Partygoers. Stay on the left wall and about halfway through the room theres a large gap to it's center. You'll need to sprint through to the next hiding spot to escape the creatures.
Here is a video guide for how to get through this level.
After escaping thi