 Day One Fixes
SolvedHow-toUpdated 2026-11-04
CONTROL Resonant: What to do First?
Short answer
This guide covers the essential tips, tricks, and priorities you need to tackle first to get the best possible start in the game.
Steam Community guide by Maj0r P1st0l.
Introduction
While Control: Resonant borrows some foundational elements from its predecessor, it introduces a wealth of new mechanics and a completely revamped world structure. Whether you are a returning veteran or a brand-new player, the shifting environments make it very easy to get lost. The game eventually teaches you the ropes, but knowing exactly where to direct your focus in the opening hours can be tricky.
Let's go over what to do first and how to optimize our experience before delving deeper into the world of Resonant!

Unlock More Weapons and Abilities ASAP
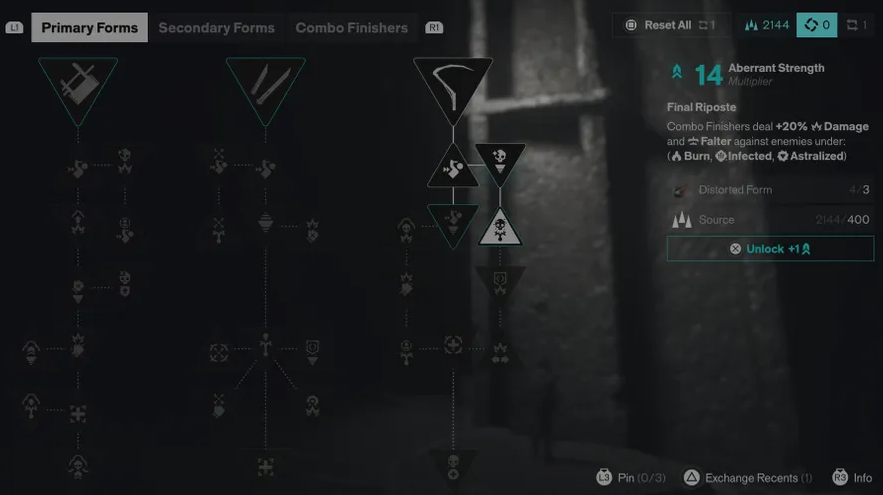
Combat in Control: Resonant can feel a bit restrictive during the opening hours. To make encounters more dynamic, prioritize expanding your toolset by unlocking new Aberrant Forms (weapons) and fresh Combat/Traversal Abilities.
Aberrant Forms: Don't just dump all your resources into upgrading your starter weapon. Unlocking new Aberrant Forms not only gives you more tactical options but directly increases your "Aberrant Strength"—the core stat governing your base damage and Falter (stun) damage. Buy the required materials from Vendors, then head into the Gap to unlock them. If you test out a newly unlocked Form and hate it, you can refund it for a full return on your resources—just make sure you do it before you exit the Gap.
New Abilities: To unlock new powers, you need to hunt down "Resonants" or traces of Jesse. Resonants are often hinted at in quest descriptions. You can also connect with Dylan's sister by finding illusions of her, which will physically guide you toward old video game consoles that grant upgrades.
Managing Loadouts: You can build two distinct ability loadouts and swap between them instantly during combat with the press of a button. However, swapping your Aberrant Forms requires you to manually pause and change them out in the Loadout menu.
Activate Every Location Tower as Soon as Possible
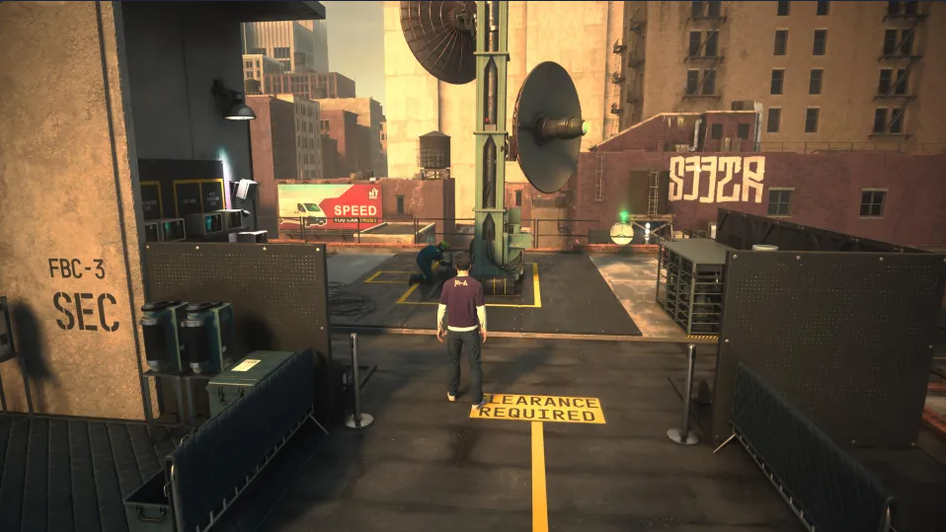
While you can pull up a basic map from your menu at any time, getting a fully detailed Zone Map requires a bit of legwork. You will need Map Kits to activate central Pylons (which look like large antenna towers) scattered throughout the world.
However, you can't just walk up and turn a Pylon on. Before activation, you must locate and interact with three Sensors hidden nearby.
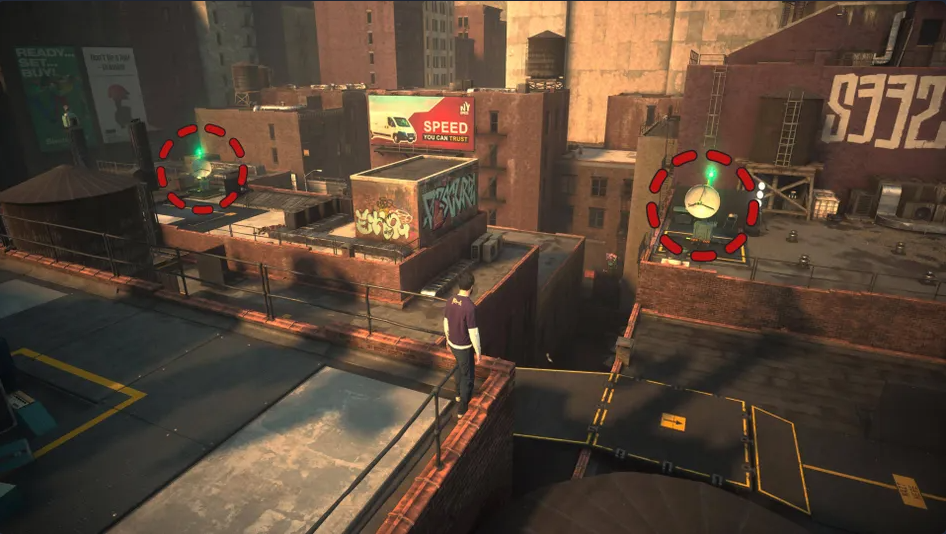
Finding Sensors: These small antennas won't show up on your map. To track them down, stand near the Pylon and scan your surroundings for flashing red lights—this indicates an unactivated Sensor.
Vantage Points: Getting to high ground makes spotting these red lights much easier. Don't wander too far, as Sensors are always kept within a tight radius of their respective Pylon.
Activating these Pylons should be your number one priority when entering a new zone. Doing so reveals optimal travel routes and marks important events and collectibles on your map (though some icons will only pop up as you physically get closer to them).
Find the Vendors in Each Location
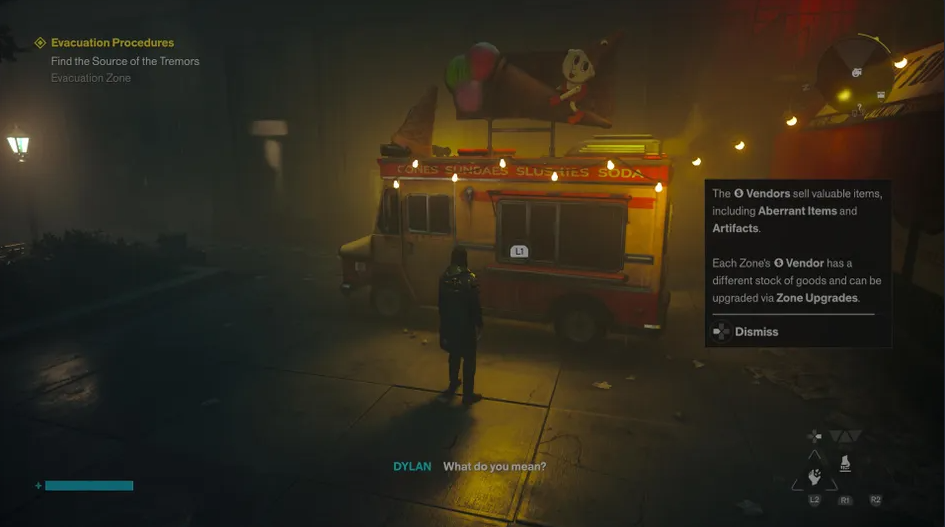
Once a Zone Map is fully revealed, your next stop should be the local Vendor. These merchants are marked on your map with a dollar sign ($) and take the physical form of ice cream trucks. Vendors are your primary source for the crafting materials needed to create Artifacts and upgrade your arsenal.
The Gap: When standing at a Vendor, you can seamlessly enter the Gap, craft or unlock what you need, and immediately jump back out to the merchant. Spend the Source you earn from combat to keep your character leveled up.
Stock & Leveling: Keep in mind that Vendor inventories are limited. If you need a large quantity of a specific resource, you'll need to visit multiple different Vendors. Furthermore, certain high-tier items are locked behind your "Vendor Level." To increase this, you must raise your overall Zone Level to unlock the necessary merchant rewards.
Unlock Shortcuts
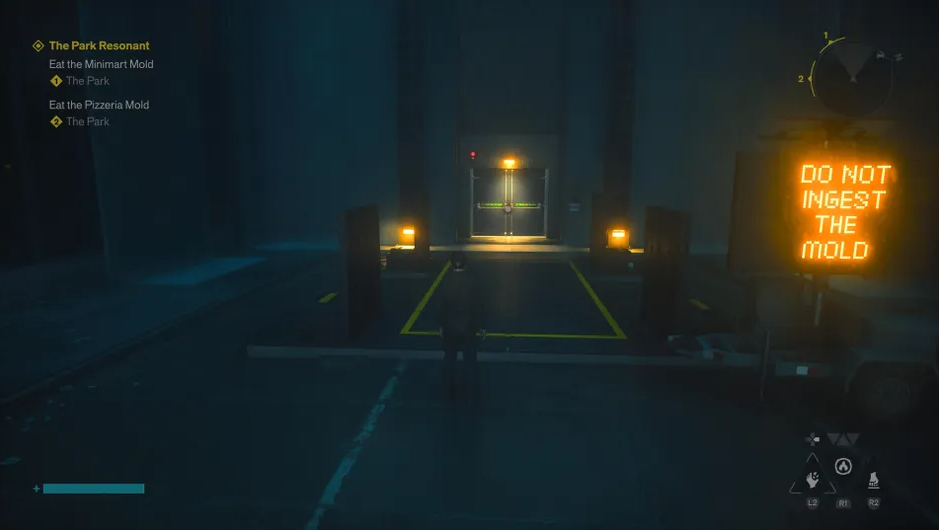
As you explore the edges of different zones, you will frequently encounter massive walls and doors equipped with red or green lights. These act as Zone Shortcuts. Because they initially only open from one side, you will be forced to find an alternate route to bypass them.
Whenever a quest marker points past one of these walls, open your map, analyze the street layouts, and carve out a new path. Crucial Tip: Once you finally reach the other side, do not immediately run off to complete your quest objective! Take a second to turn around and interact with the door to permanently open the shortcut for future use.
Platform Shortcuts: You will also find a variation of this mechanic in the form of unpowered platforms. To get them moving, locate nearby Power Cores (marked on your map) and strike them. You then need to quickly race back and hit the core connected to the platform before your weapon loses its electrical charge.
Explore the Streets for Restaurants, Markets, and Other Buildings
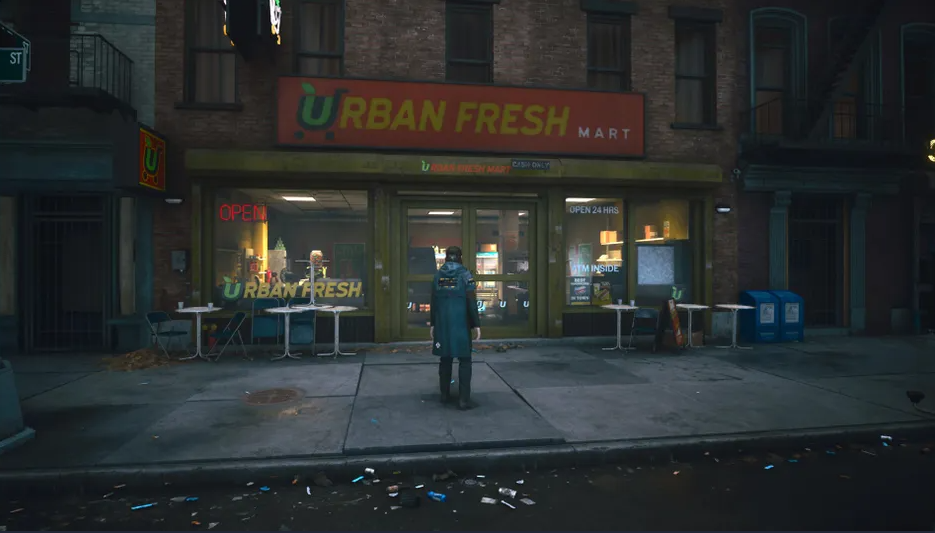
It is incredibly tempting to spend your time floating, dashing, and parkouring across the city rooftops to reach your next objective. However, whenever you arrive in a new area, take the time to drop down and explore street level.
The streets are lined with enterable interiors like laundries, small markets, and restaurants. These locations are rarely marked on your map. You have to rely on visual cues like storefront signage or physically peeking through the windows to see if you can go inside.
Always enter these buildings when you spot them! They reliably contain health chunks, resource crates, and hidden collectibles.
Cardboard Barricades: If a door is boarded up with cardboard, just hit it with any weapon to smash your way inside.
Webbed Doors: If an entrance is covered in a web-like substance, you will need to use a fire ability to burn it away.
Complete Every FBC Terminal
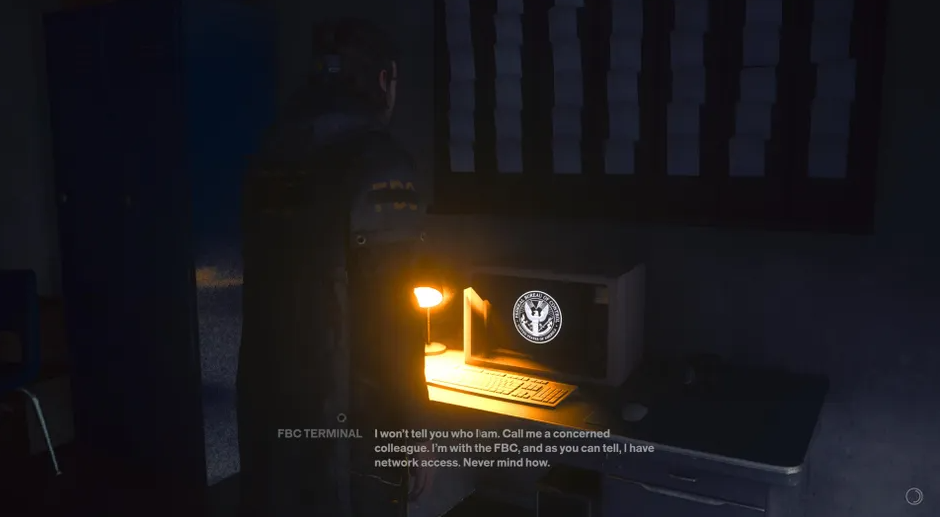
While exploring areas populated by Federal Bureau of Control (FBC) staff or equipment, keep an eye out for interactive PC monitors displaying the FBC logo. You will receive an interaction prompt when you get close to one, and they are sometimes marked on your map with a "World Feat" icon. (You can find the very first terminal inside a small room at headquarters right after your initial conversation with Emily Pope).
When you boot up a terminal, it will quiz you on the game's lore and story, giving you three dialogue options: “No”, “I don't know”, and “Yes”.
Here is the secret: Your actual answers do not matter. As long as you interact with the terminal and answer three questions consecutively, you will be rewarded with highly valuable upgrade resources.
Wrapping Up
I hope this guide helps you get a strong start in Control: Resonant! The shifting world can be overwhelming at first, but focusing on these early priorities will set you up for success.
If you found this guide useful, please consider supporting it:
Rate and Favorite: Give the guide a thumbs up and add it to your favorites so other players can easily find it.
Leave an Award: Steam points and community awards are always incredibly appreciated and help boost the guide's visibility on the hub.
Share Your Thoughts: Have any questions, or discovered any other great early-game tips on your own? Let me know in the comments below!
Good luck out there, and enjoy the game!